Climbing the Matterhorn
gusbatcho
Watch the madness here:
This trip report documents how I planned for, conditioned for, and climbed the matterhorn without a guide. Feel free to leave questions in the comments!
Should I get a guide?
If you are asking this question, you should probably get a guide. The matterhorn falls into the 5.4-5.5 grey area in which the climbing is not technically hard (Similar to V0-V1 bouldering in a gym) but the consequences are high and the route finding is difficult. If you get off the route the rock becomes loose, which endangers both you and climbers below you. You will also need to pass other parties, in peak season 100-150 people will climb the Matterhorn each day, when Joey and I climbed there were only 30ish other people on the route, but this still made passing on the fixed ropes very problematic.
If you decide to climb without a guide, it is necessary to be the first group out of the huts behind the guided parties (or reach the Hornli Hutt by 3:50AM if you are climbing from Zermatt). This will allow you to follow them up in the dark when the route finding is most difficult (I believe this is what many of the less experienced guides are doing anyways). This will be difficult if you are roped in with your partner and are not efficient with ropes. The guides move quickly. If you are staying the night at the Hornli (which is a good idea) I recommend getting there early and climbing past the first tower in the daylight.
A detailed account of what we did is provided in the blog below.
Gear
Listed Below is everything that I had in my bag while climbing the matterhorn.
Bag: Mammut Trion Spine 35
I bought this bag a little before the trip, and used it as both my carryon and mountaineering bag. In the mammut lineup the Trion Nordwand would be more specialized for a climb like the matterhorn (its lighter) the trekking characteristics of the Trion spine were enjoyable for traveling to and across Switzerland. I was super happy with the bags performance and size.
Rope: 40 Meter 9mm
Soft Shell Pants: Mammut Taiss SO
These soft-shell pants performed great, and during the trip I was able to test them in a variety of conditions. I wasn’t too hot during the ascents, and in a whiteout blizzard on Mont Blanc I did not get too cold.
Hard Shell Pants: Rab Downpour Hardshell pants
I carried these lightweight pants rolled up in my bag but did not use them, so I don’t have much to say. They were the only hardshell pants in stock at bent gate the day before my trip.
Boots: La Sportiva Aequilibrium Top GTX
I bought these boots on sale at bent gate and used them a couple times on spring 14teeners in the weeks leading up to the matterhorn. They have a climbing toe, and are very lightweight as opposed to the more heavy duty options. They were perfect for the Matterhorn which required a lot of trust in footholds. Because I had tested them on trips like the Little-Bear blanca traverse I was confident in where I could put my feet. I purchased the version with the cover/bola laces… because that was all that was in stock. I don’t think that will matter unless you care about how long it takes for you to put them on.
Ice Axe: CAMP Corsa Nanotech 50cm
I have had this ice axe for about 4 years now, and I’ve never had an issue. It is lightweight, and hasn’t broken. Mine was a bit dull, so I gave it a freshly sharpened point, wrapped it in a sock, and threw it in my checked bag.
Crampons: CAMP Ascent Auto/Semi Auto
I got these crampons for ski mountaineering after my old black diamonds fell apart on mount Whitney. With my ski boots in auto mode they performed great, but when I swapped out the toe piece for the semi auto functionality I ran into issues. It could be that I never got the sizing quite right but when I strapped them onto my mountaineering boots they would inevitably slide off to one side. This happened quite dramatically on the little bear hourglass and I spent some time re-optimizing the fit before the matterhorn, but the same thing occurred although not as bad. The result is that I instead of driving my toe into the slope I need to hike in a slightly duck footed manner which limited my kicking power. This is likely user error, or me being too used to using crampons with stiff ski boots.
Hardshell: Patagonia Triolet
This is my workhorse backcountry shell. Dany bought me it as a Christmas present last year and it has been my primary outer layer ever since. For nearly every expedition all I seem to need is a merino wool base layer for the uphill, and this in my pack for the windy ridge/descent. On the matterhorn I donned this layer on the windy ridge below the upper fixed ropes and then did not take it off until I got back to the hut.
Softshell: Some Dynafit Jacket
I bought this jacket as a Christmas gift for my dad. I borrowed it for the matterhorn (he had hardly worn it) and was disappointed when the zipper critically failed as I was zipping up in the hut about to begin. I wore the coat completely unzipped over my smart wool base layer and left it on when I put on my hardshell. If I could have zipped it up I probably would not have needed the hardshell jacket.
Puffy: Kuhl Spyfire Hoodie
Dany also bought me this jacket for Christmas. It is what I put on when sitting on summits or if the weather turns sour and I need a lot of warmth. It is warm, somewhat packable, and I like having a hood.
Harness: Lightweight Alpine Harness
I wasn’t planning on taking any big whips, and I wanted one for the next backcountry ski season, so I bought a lightweight alpine harness. I can’t remember the brand or the model but if you don’t mind shelling out some extra cash it can save you some weight/comfort compared to a traditional climbing setup.
Gloves: Hestra Mountaineering Gloves + Some heavy duty winter Hestra mittens
Lightweight mountaineering gloves are a must. Its a good idea to have some heavy duty gloves if your hands get cold. Joey has circulation issues and used his. I brought mittens, but gloves would be better.
Planning and Prepping for the Trip
On Monday February 27th at 3:59 PM Joey texted me the following “Want to climb the Matterhorn this summer? I really want to climb it on July 3rd, my dad climbed it July 3rd 1983 so I want to do it 40 years later. I think I can do it without a guide but some extra experience and a partner would be nice.”
My response was “Do we need a rope?” We did not know much, and only 3 months to prepare. Going for an ambitious trip we decided to also try and tag the west flank of the Eiger and mont blanc in the same week long trip. This tripled the route planning and logistics that would be required. I watched hours of YouTube videos (there are many good ones), religiously studied the sacred mediocre amateur scripture (I spent a day trying to figure out what pants Dany was wearing in his video), and set up a plan to crank through as many of the technical Colorado 14teeners as I could.
Our first training mission was to climb/ski mount Whitney on March 31st. I had done a couple ski trips up Greys/Torreys at this point… but this was Joeys first time above 14thousand feet in a while. We both felt pretty good cranking the 8,000ft+ day. I completed several more Colorado objectives, until Joey flew out to Colorado for a Holy Cross attempt in early June. While that sufferfest was wonderful for our overall conditioning, we were not able to do the mixed climbing trip that we had planned the next day which would have been more applicable to the matterhorn.
The next weekend I did the Little Bear to Blanca traverse, followed by the Blanca to Ellingwood ridge, and a descent/glissade down the south ride of Ellingwood. This was the closest in sustained exposure to the matterhorn that I have done so far in Colorado. If you stay Ridge Proper (Pun intended) on the ridge then the moves are of similar difficulty as well. I would describe the matterhorn as similar to if you were traversing from Little Bear to Blanca, and then back again. With far more vert as well.
Our itinerary was outlined as follows:
Friday - Saturday: Fly to Geneva
Sunday - Travel from Geneva to Zermatt and hike to the Hornli
Monday - Climb the Matterhorn
Tuesday - Back-up Matterhorn summit day in case of weather
Wednesday - Travel from Zermatt to Grindelwald
Thursday - Climb the Eiger West Flank
Friday - Travel from Grindelwald to Chamonix
Saturday - Climb Mont Blanc - Travel back to Geneva
Sunday - Fly Home
This was a jam packed agenda, and logistically required a lot of trains. The travel from Grindelwald to Chamonix would especially be a pain, as well as storing our extra luggage in hostels specifically in Zermatt where it did not make sense to drag all our gear up to the Hornli.
Hut reservations for Mont Blanc had filled up, which meant we were going to have to try it from the town in a single day push. This is where Joey’s dad would prove invaluable. In Zermatt he booked a chalet that allowed us to store our gear while we went to the Hornli and he rented a car in Interlaken which allowed us to drive to Grindelwald and Chamonix, cutting many hours off our transit. He also built great rapour with the guides in Zermatt and at the Hornli Hut, whose advice for the ascent, and route-finding help on the descent was very useful.
In the week leading up to the trip the weather forecast looked grim. It was forecasted to be rainy across Switzerland for most of the dates we had planned for. This was made even more brutal by the stellar weather that we could see in the webcams during the week leading up to our departure.
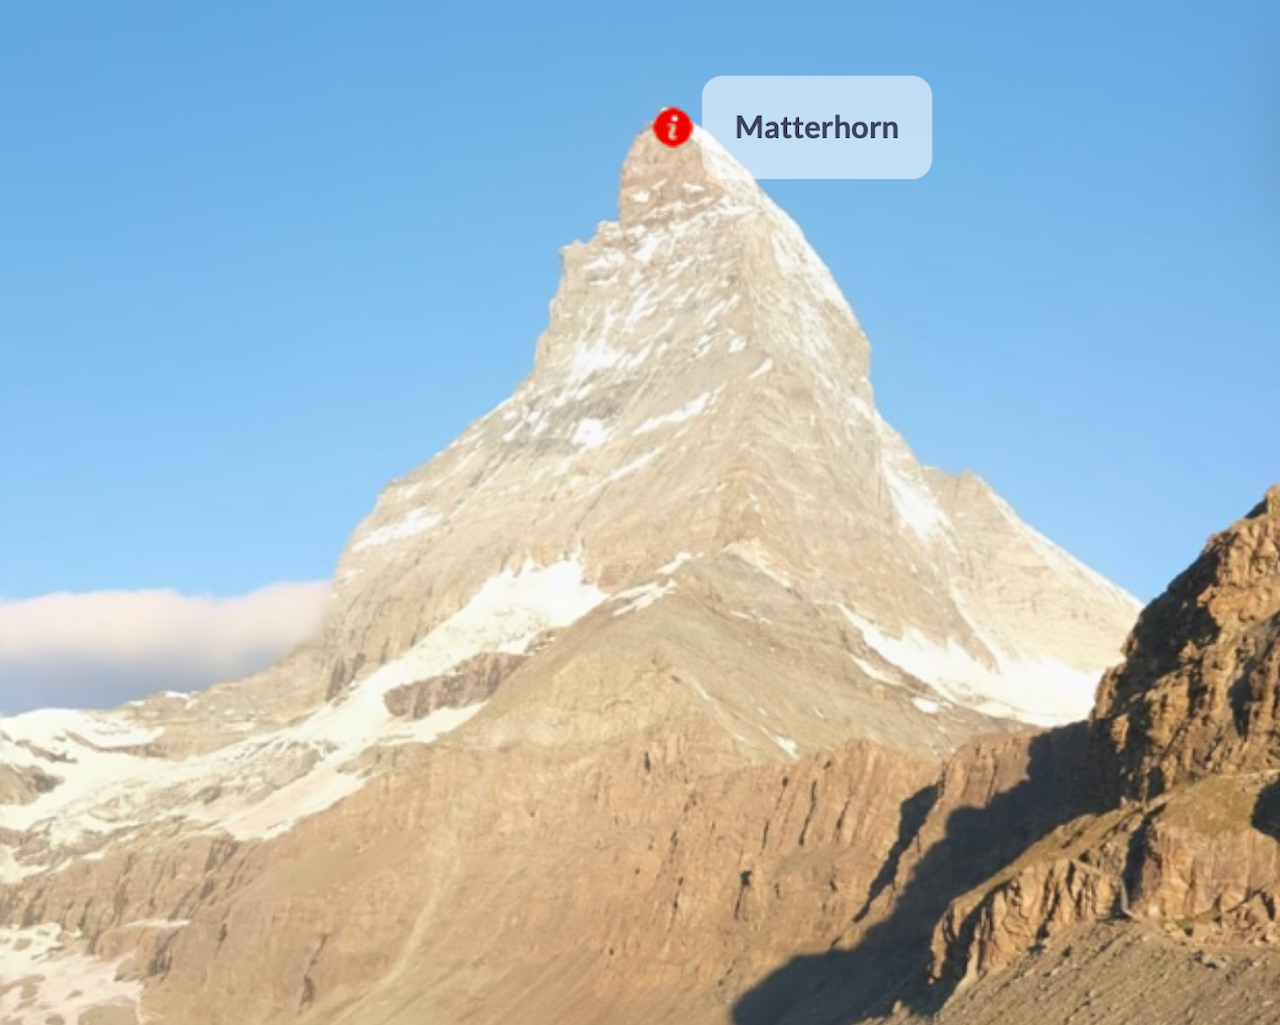
But the round shot cam indicated that the mountain would be in stellar condition for our climb… if the weather worked out. (At the Hornli Hut we learned of the MetoSwiss app which seemed to provide the best forecasts for Switzerland).
When we got a couple days out, the weather had shifted in our favor, it looked like we would have a good window Monday for the matterhorn, the rain was now contained to mid week, and Saturday was looking promising for Blanc. The midweek eiger attempt was looking questionable and I came up with an ambitious gambit to rent a car Saturday in Geneva, driving straight to Grindelwald for an overnight mission into Sunday before driving to Zermatt and hiking to the Hornli Hut. Looking back this was a terrible idea and I am glad Joey talked me out of it.
Instead we spent a relaxing Saturday afternoon in Geneva, and took a train to Zermatt Sunday Morning.
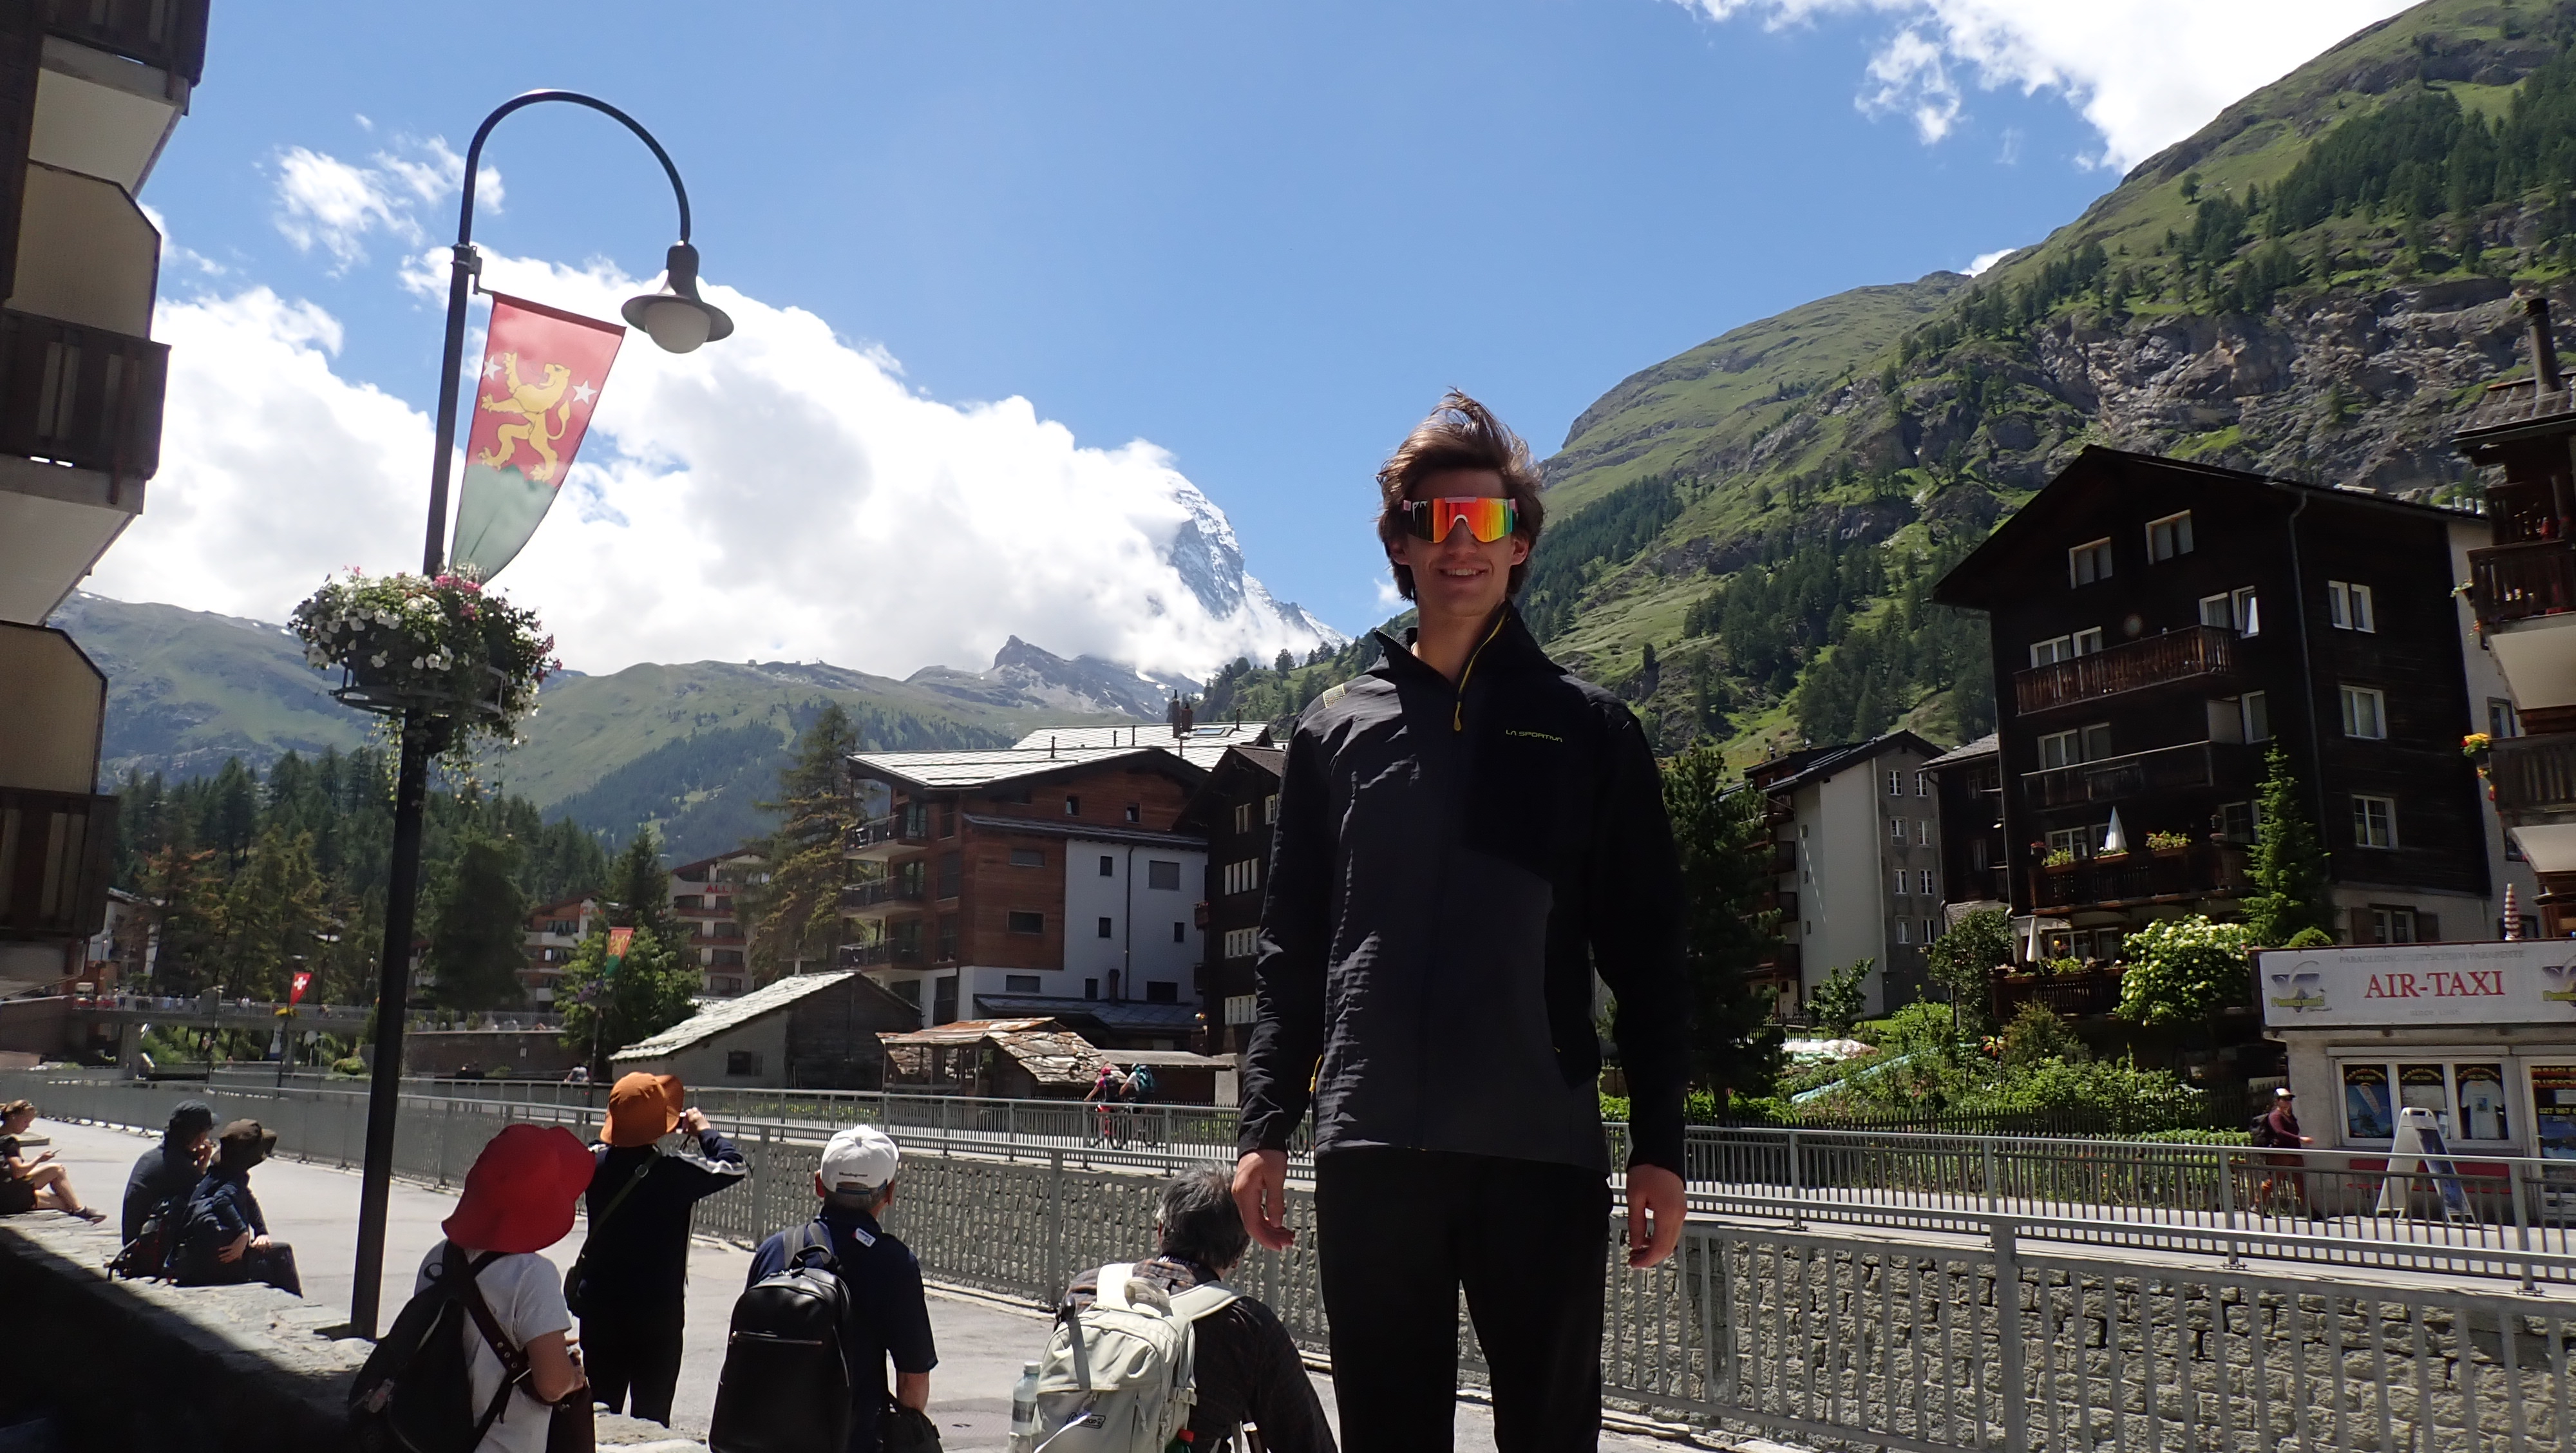
We met Joeys dad in Zermatt where we dropped our stuff in his Chalet. I cannot recommend this chalet enough, it had perhaps the best view in downtown Zermatt of the Matterhorn. It was partially obscured by clouds when we first arrived.
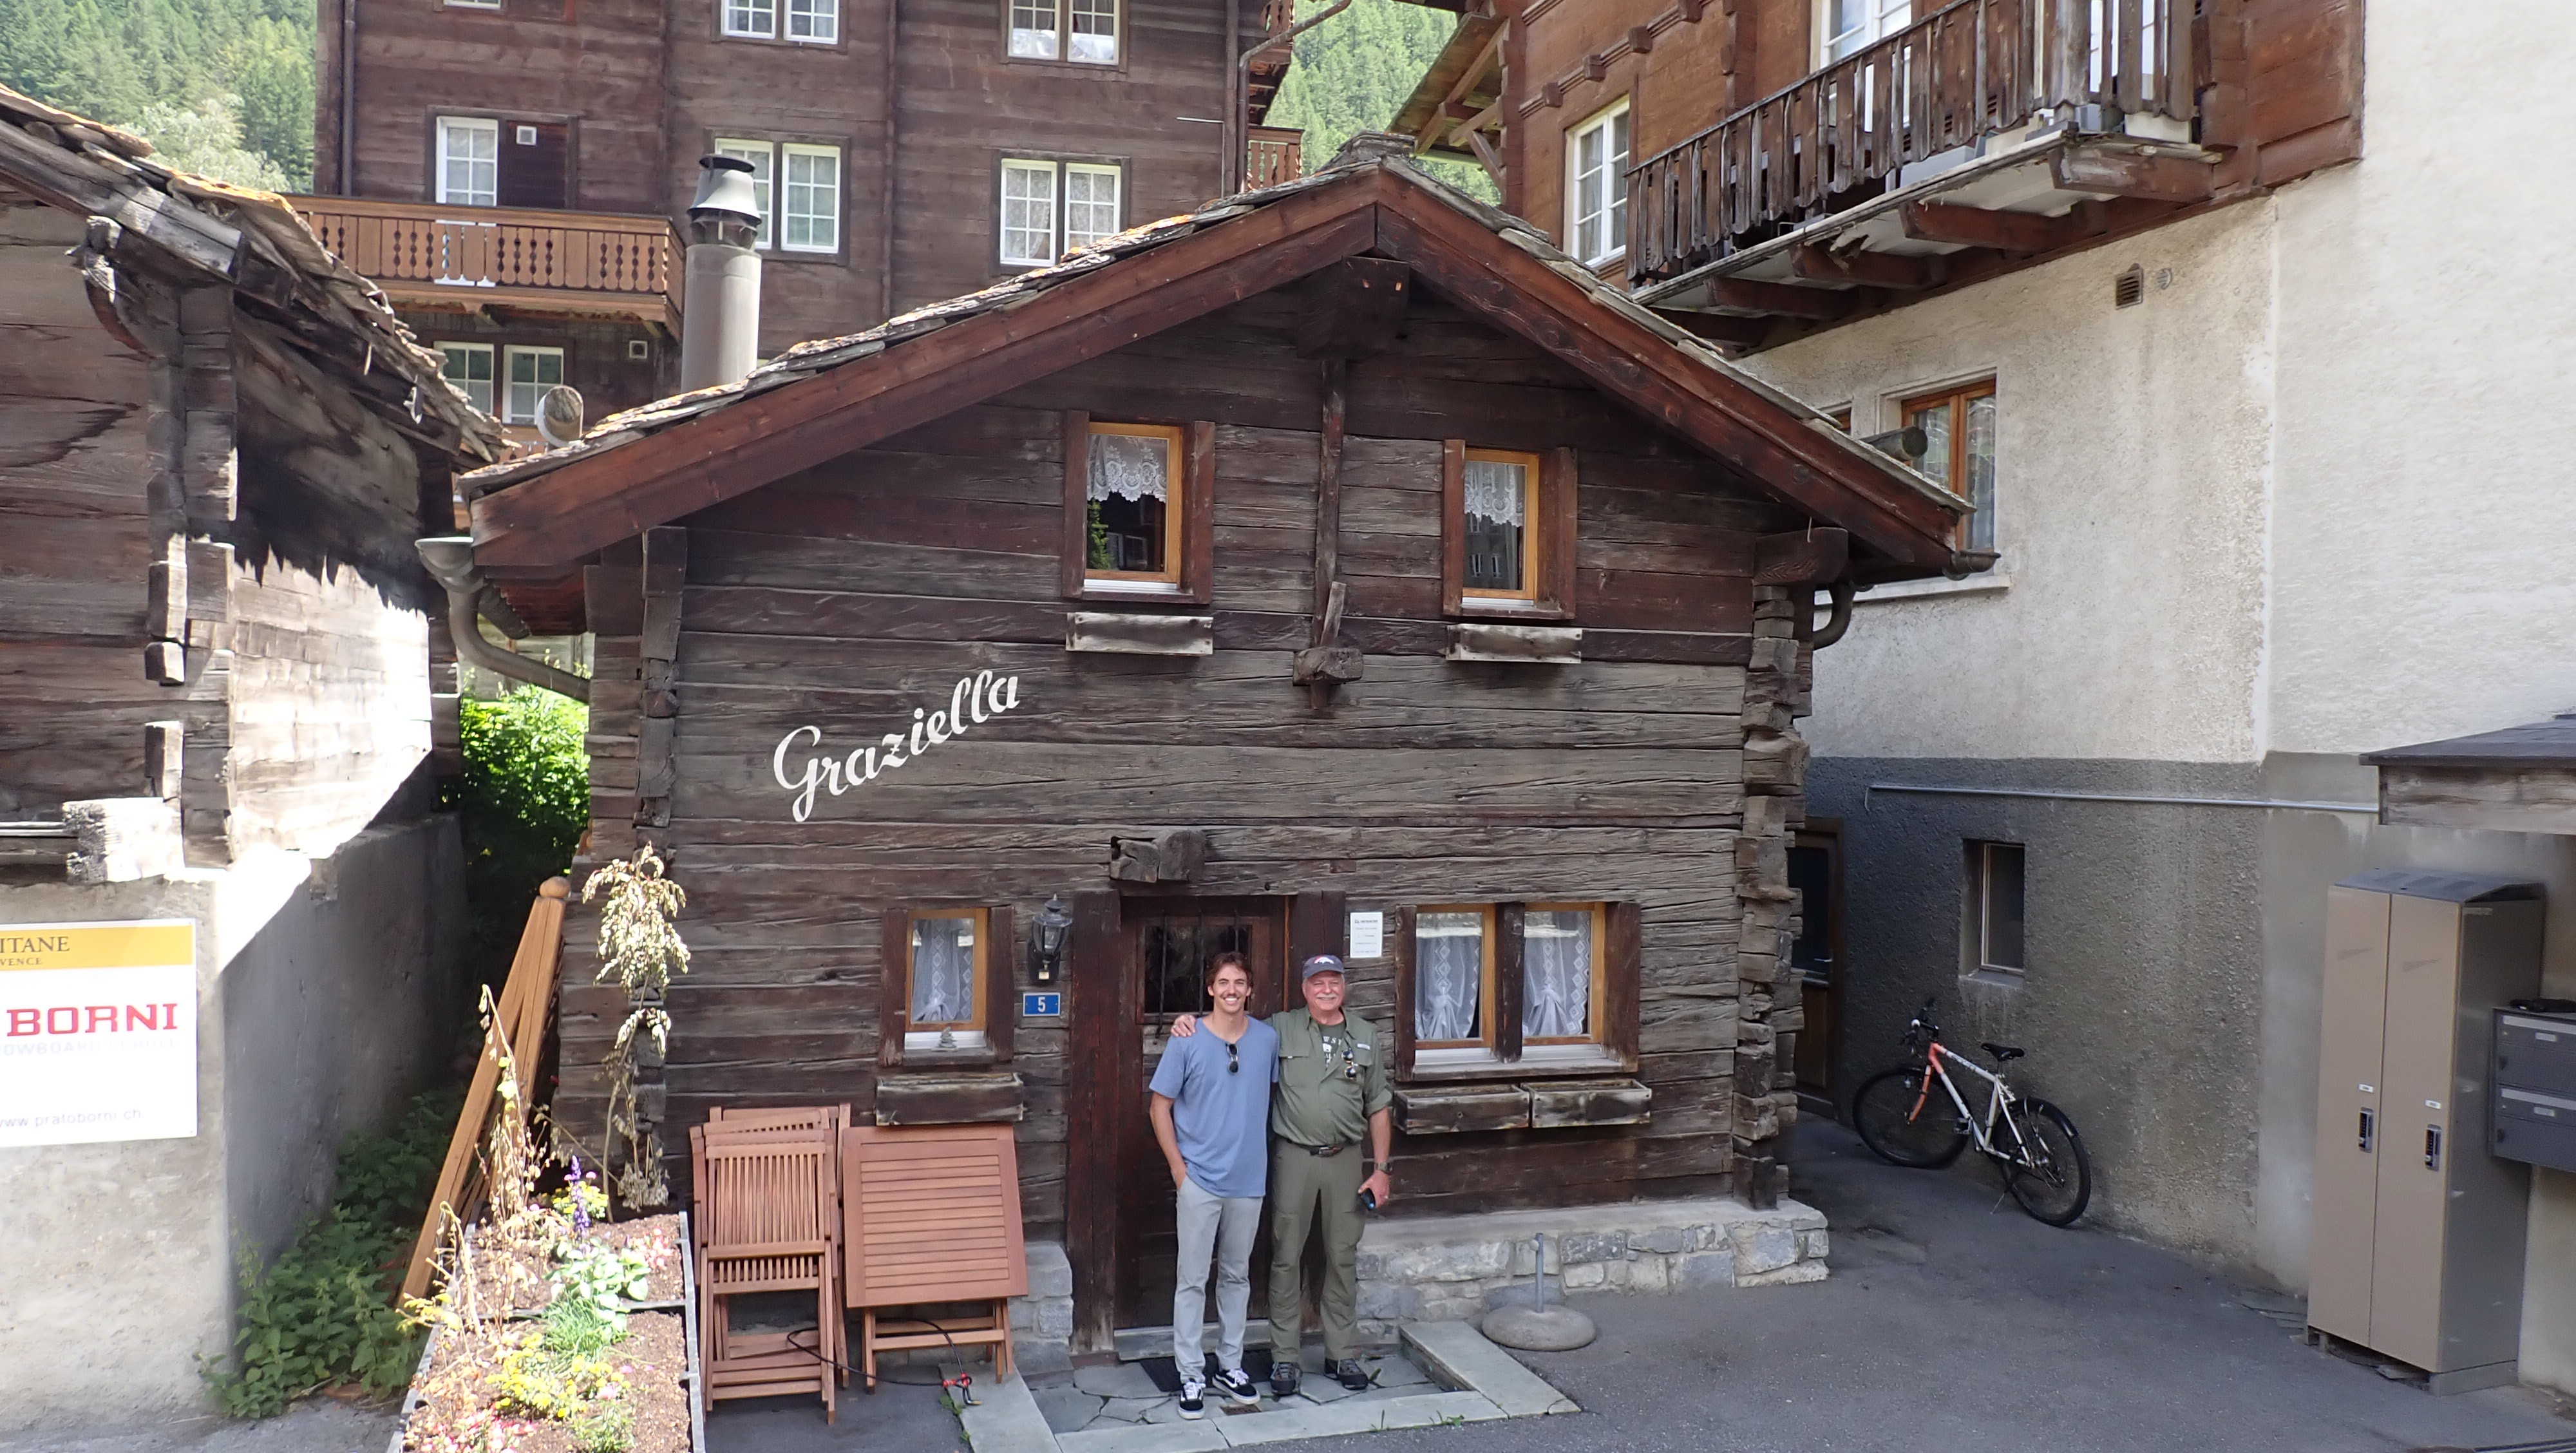
Here is Joey and his dad in front of the chalet.
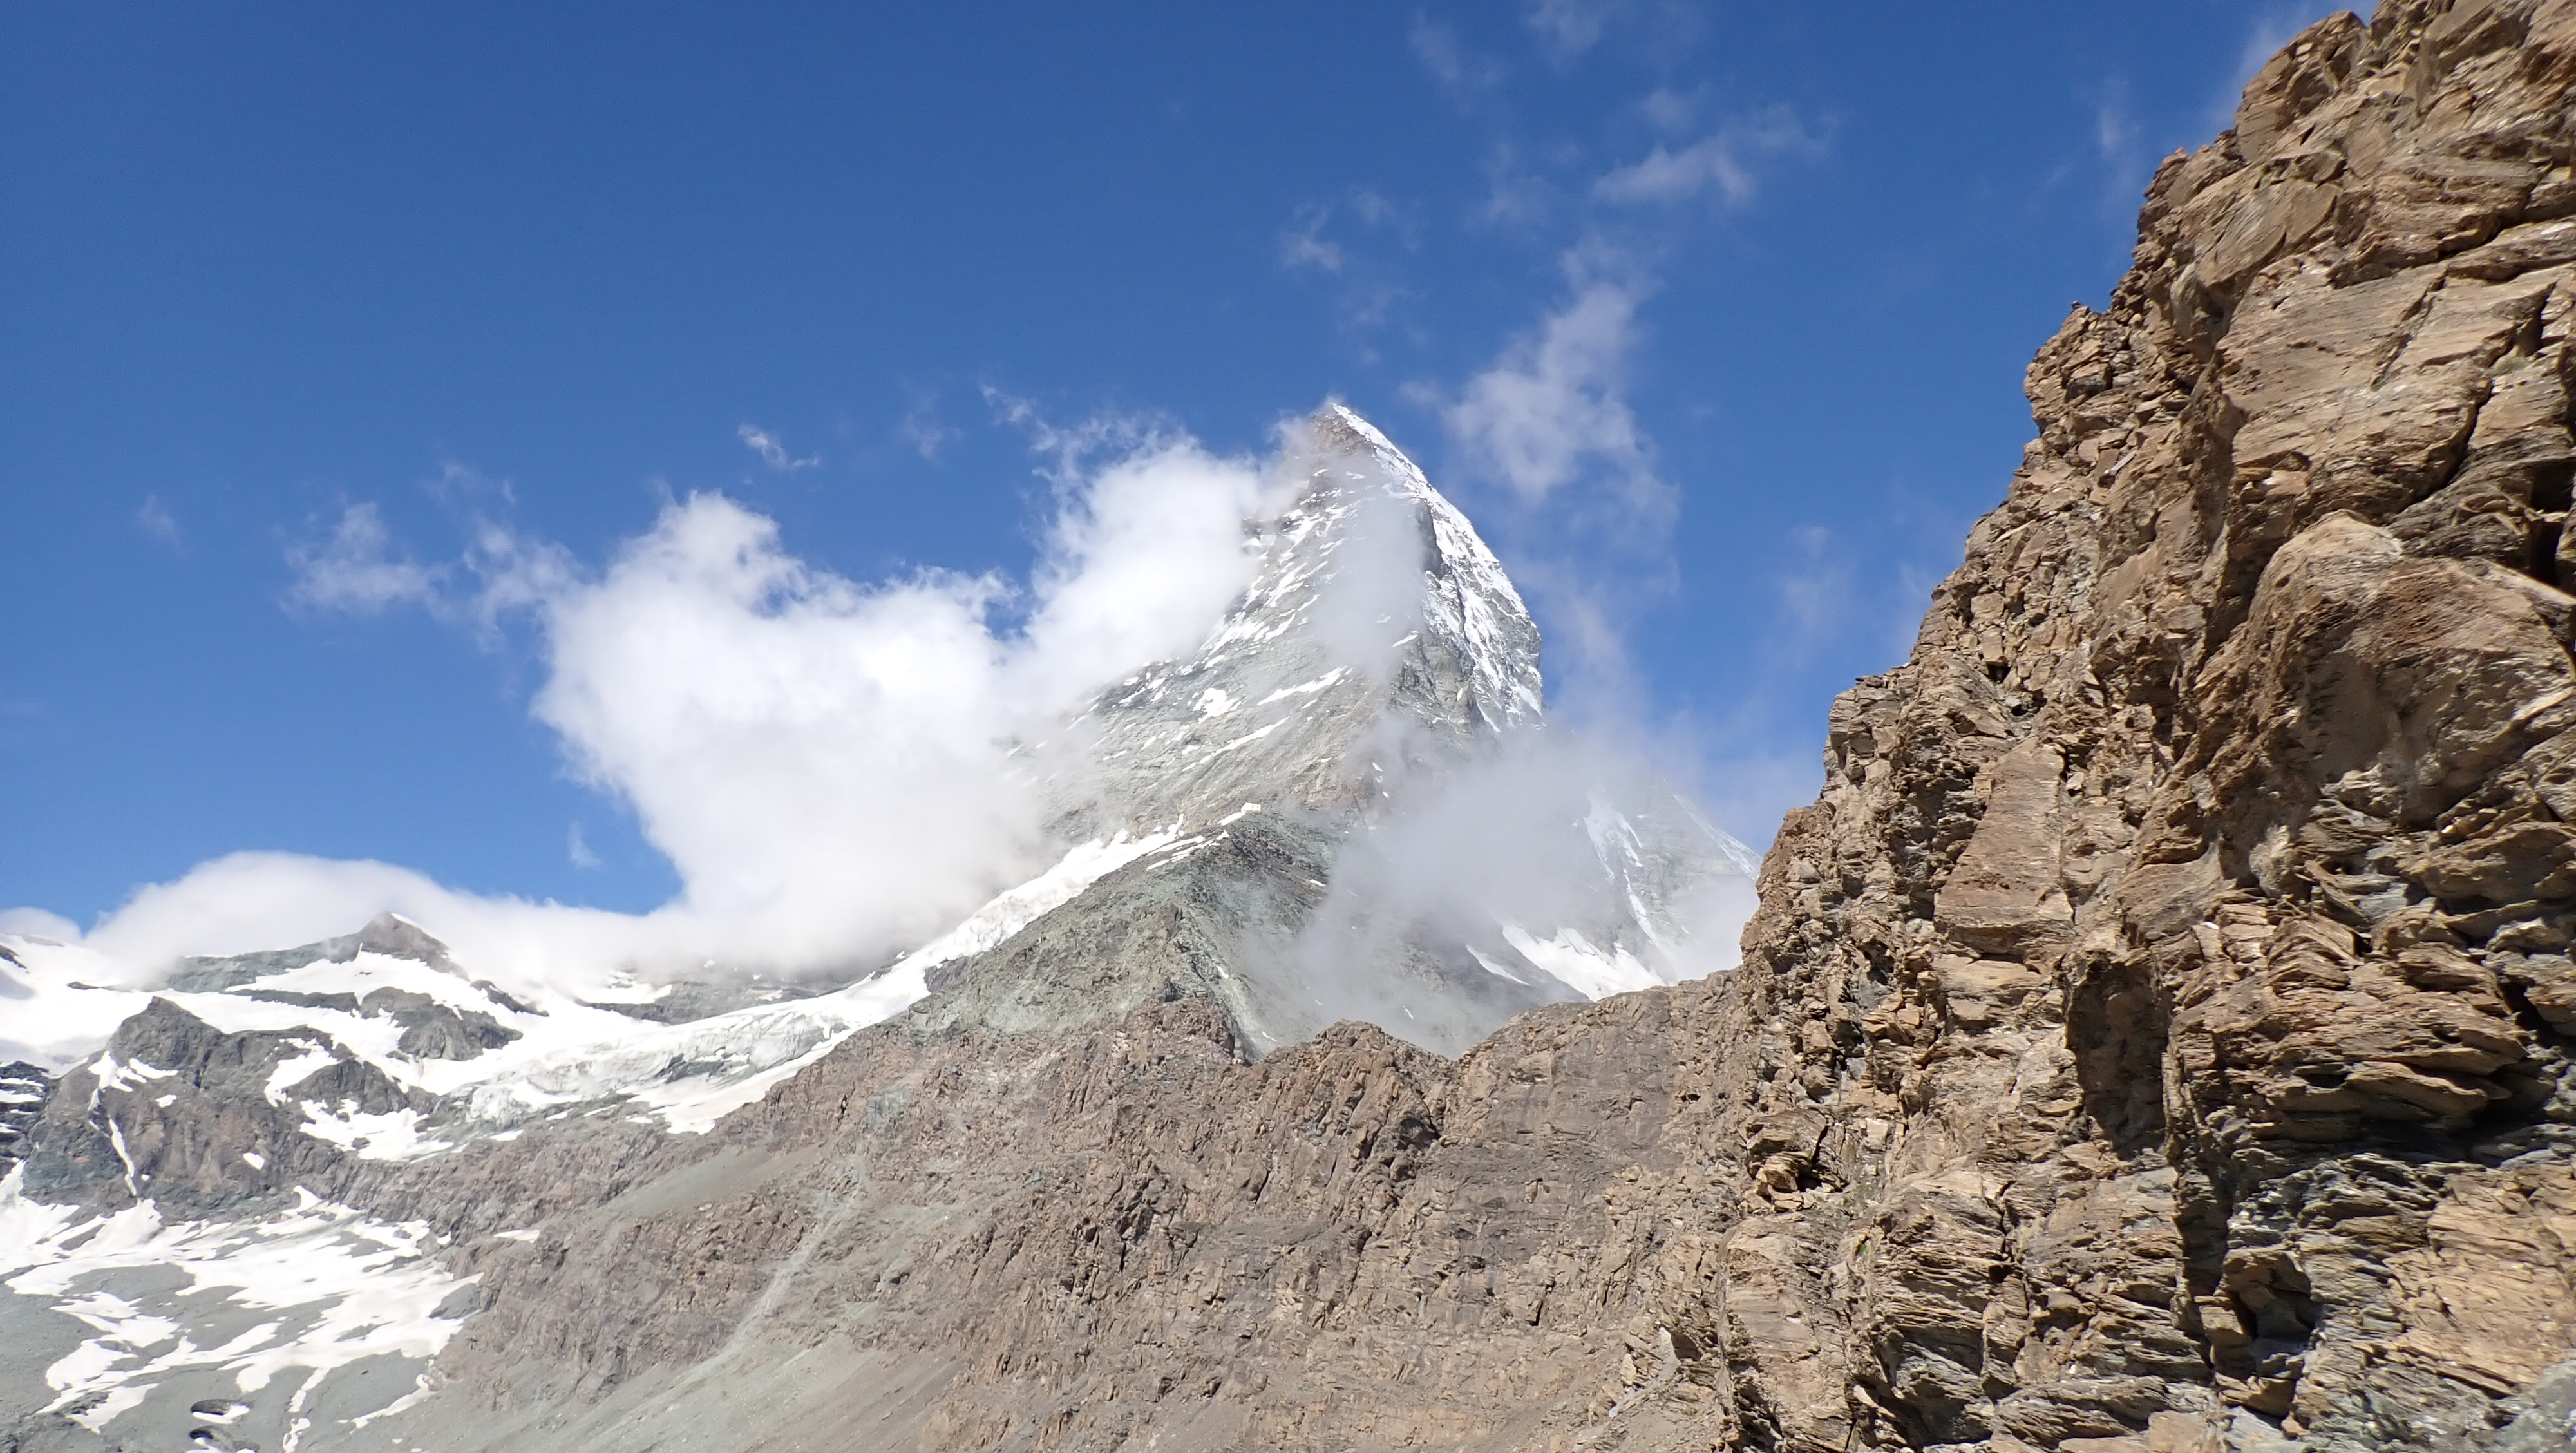
We ate lunch in Zermatt, then took the tram up towards the start of the trail to the Hornli Hut. The hike to the Hornli Hut was stunning by itself. It was the optimal viewpoint of the matterhorn, and the surrounding peaks. The trail itself was well maintained, and had interesting metal catwalks up a cliff face to gain the ridge. Even if you are not planning on climbing the Matterhorn, or are bringing a support/cheer squad, it is worth doing the hike and staying at the Hut.
A Hut reservation makes climbing the matterhorn much more attainable. With a stellar weather forecast it would be possible to start from the town, take the earliest tram, and climb faster in the daylight without the hindrance of waiting for the guided parties (Mediocre Amateur style) you still run the risk of congestion at the choke points, you must be extremely well conditioned in order to make it up and down before dark, and unless your rope skills are phenomenal, you would have to forgo protection for speed. Starting earlier from the Zermatt means you have the additional climb cut out by the Tram and you will undergo route finding in the dark, which if you can’t keep up with the guides will be extremely difficult. In short, I recommend the hut. Its worth it.
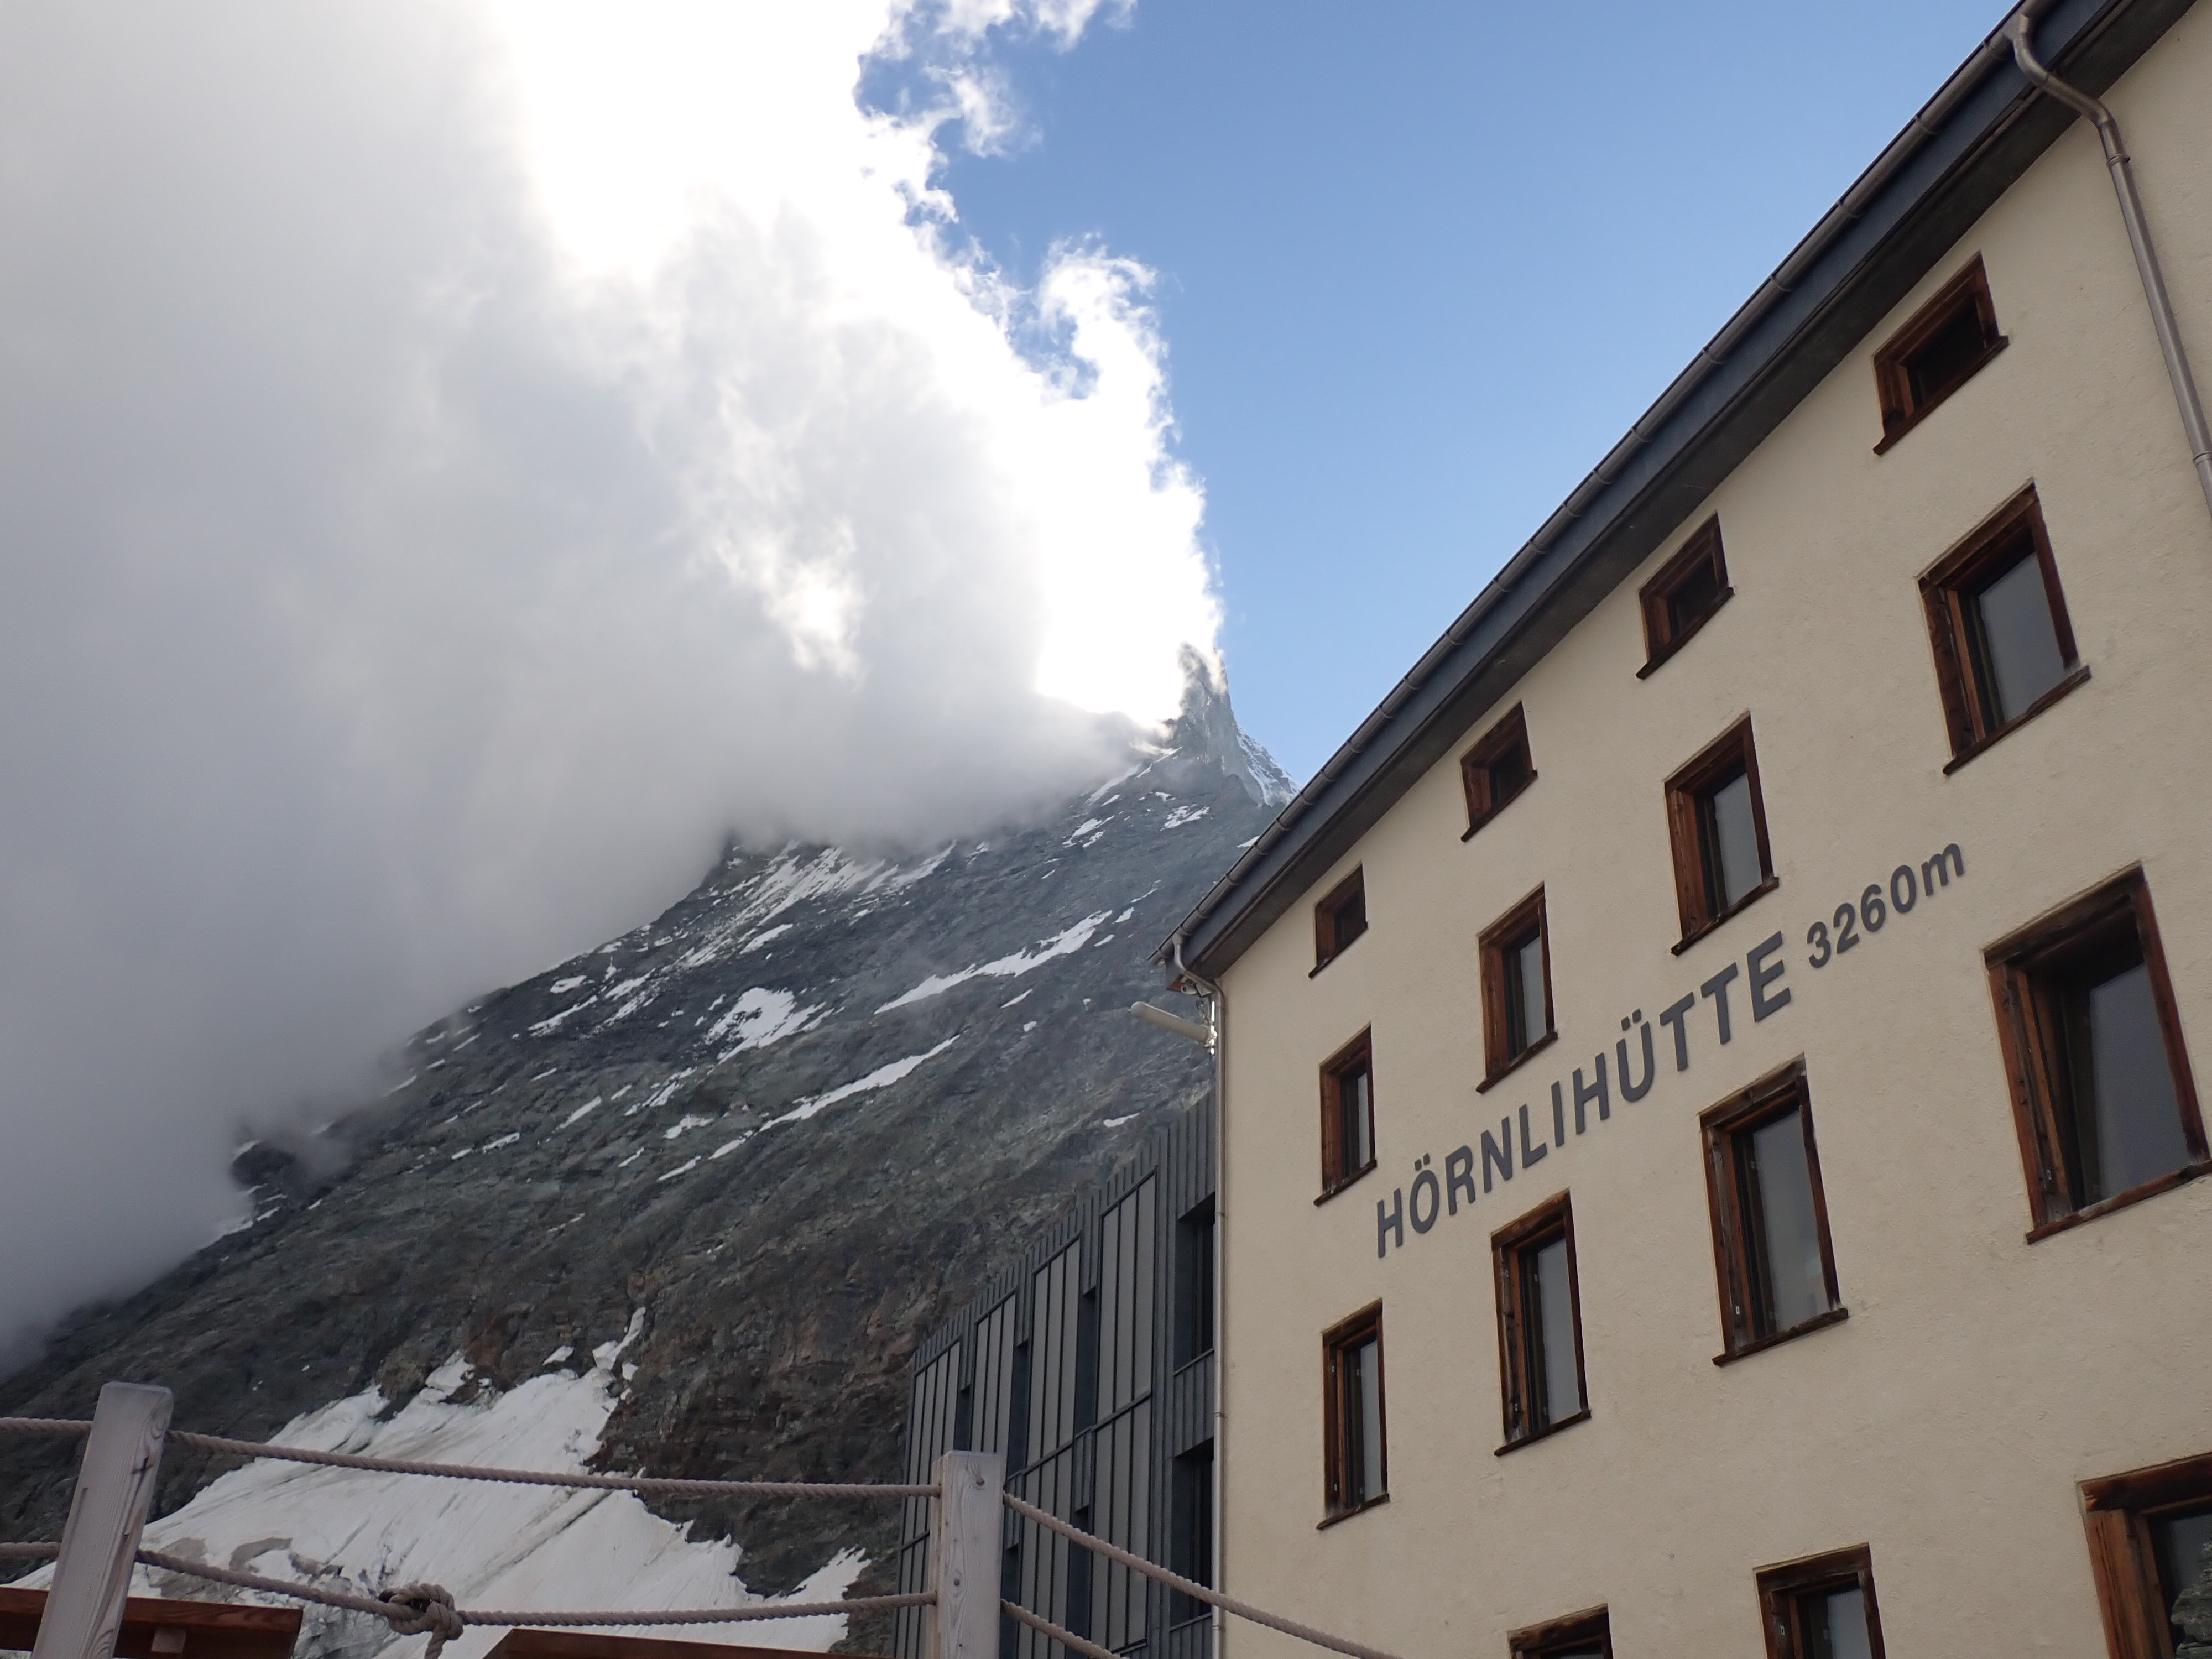
If/when you hike to the hut, I recommend going earlier in the day then we did. We didn’t get to the hut until around 5:00pm, which gave us limited time to climb the first section of the route and be back in time for dinner. It would have been nice to get above the first tower in the light, just in case we had fallen behind the guides somehow. I believe the earliest check in is 3:00PM, but you can leave your gear in the gear room before you check in, and a couple hours up and down the route will be extremely useful, especially on your descent during the summit day.
Here are the pictures I took of route up:
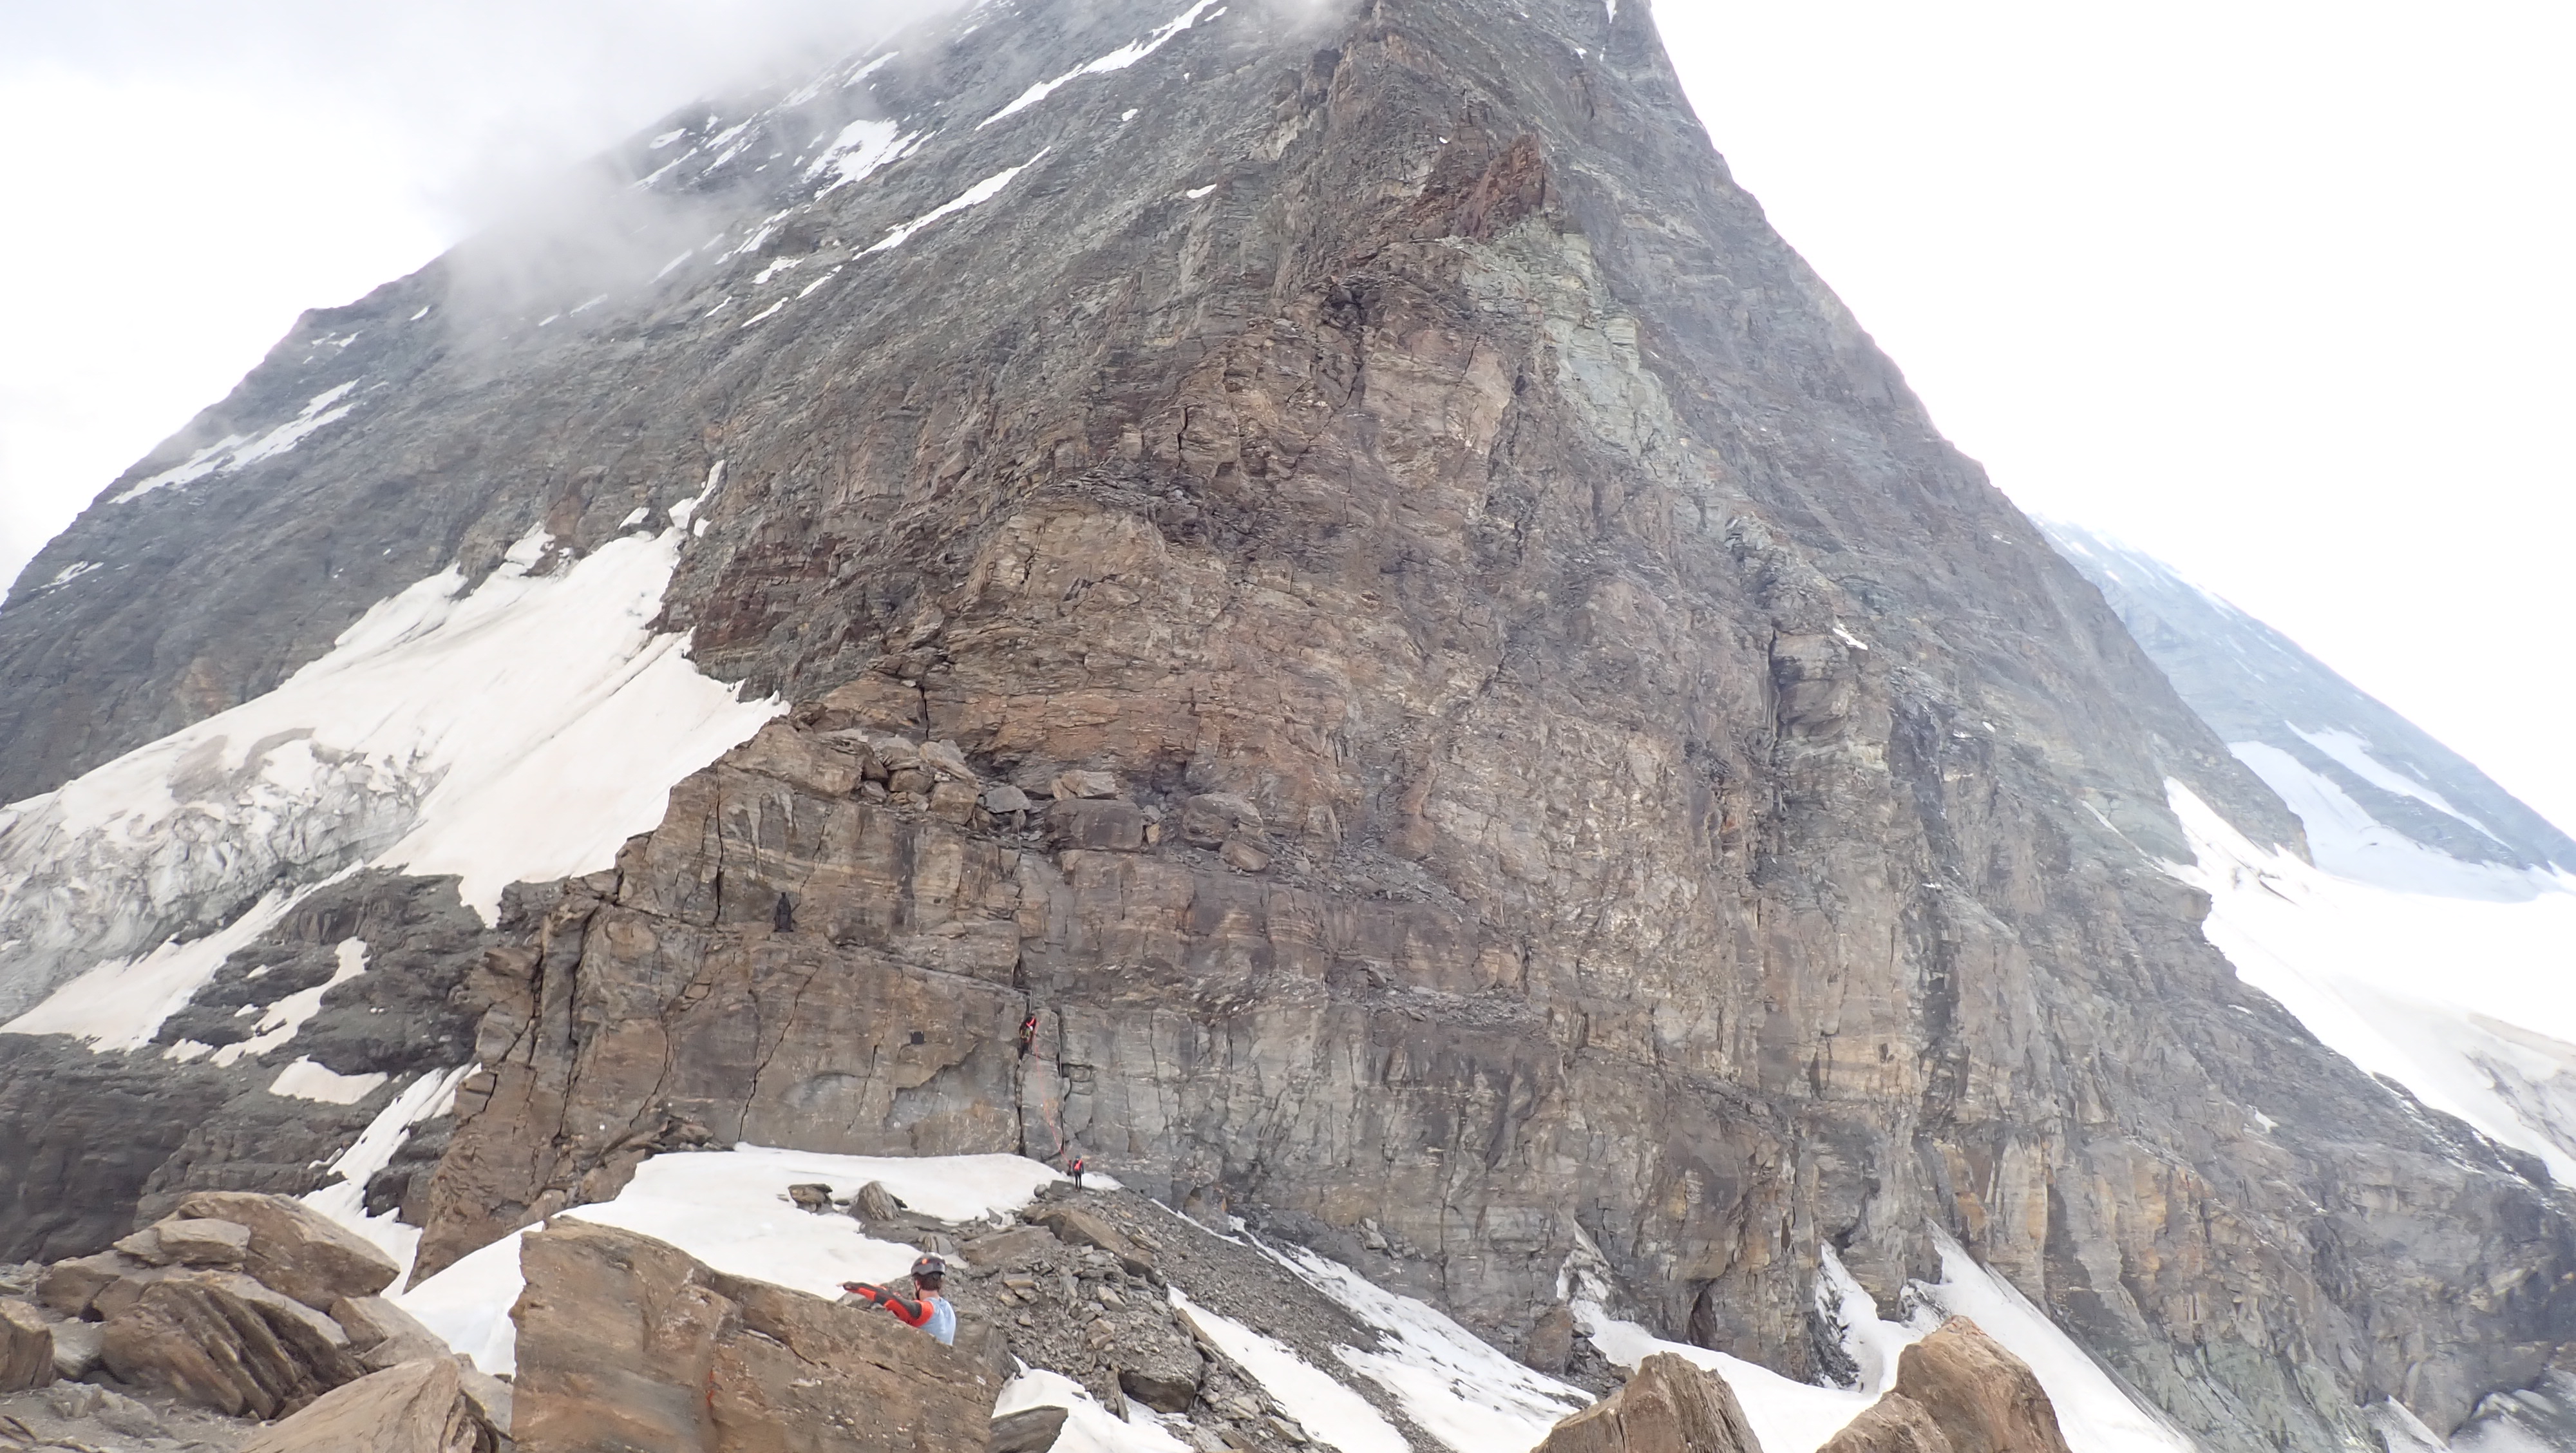
The first wall has the lower fixed ropes, navigation is very straightforward
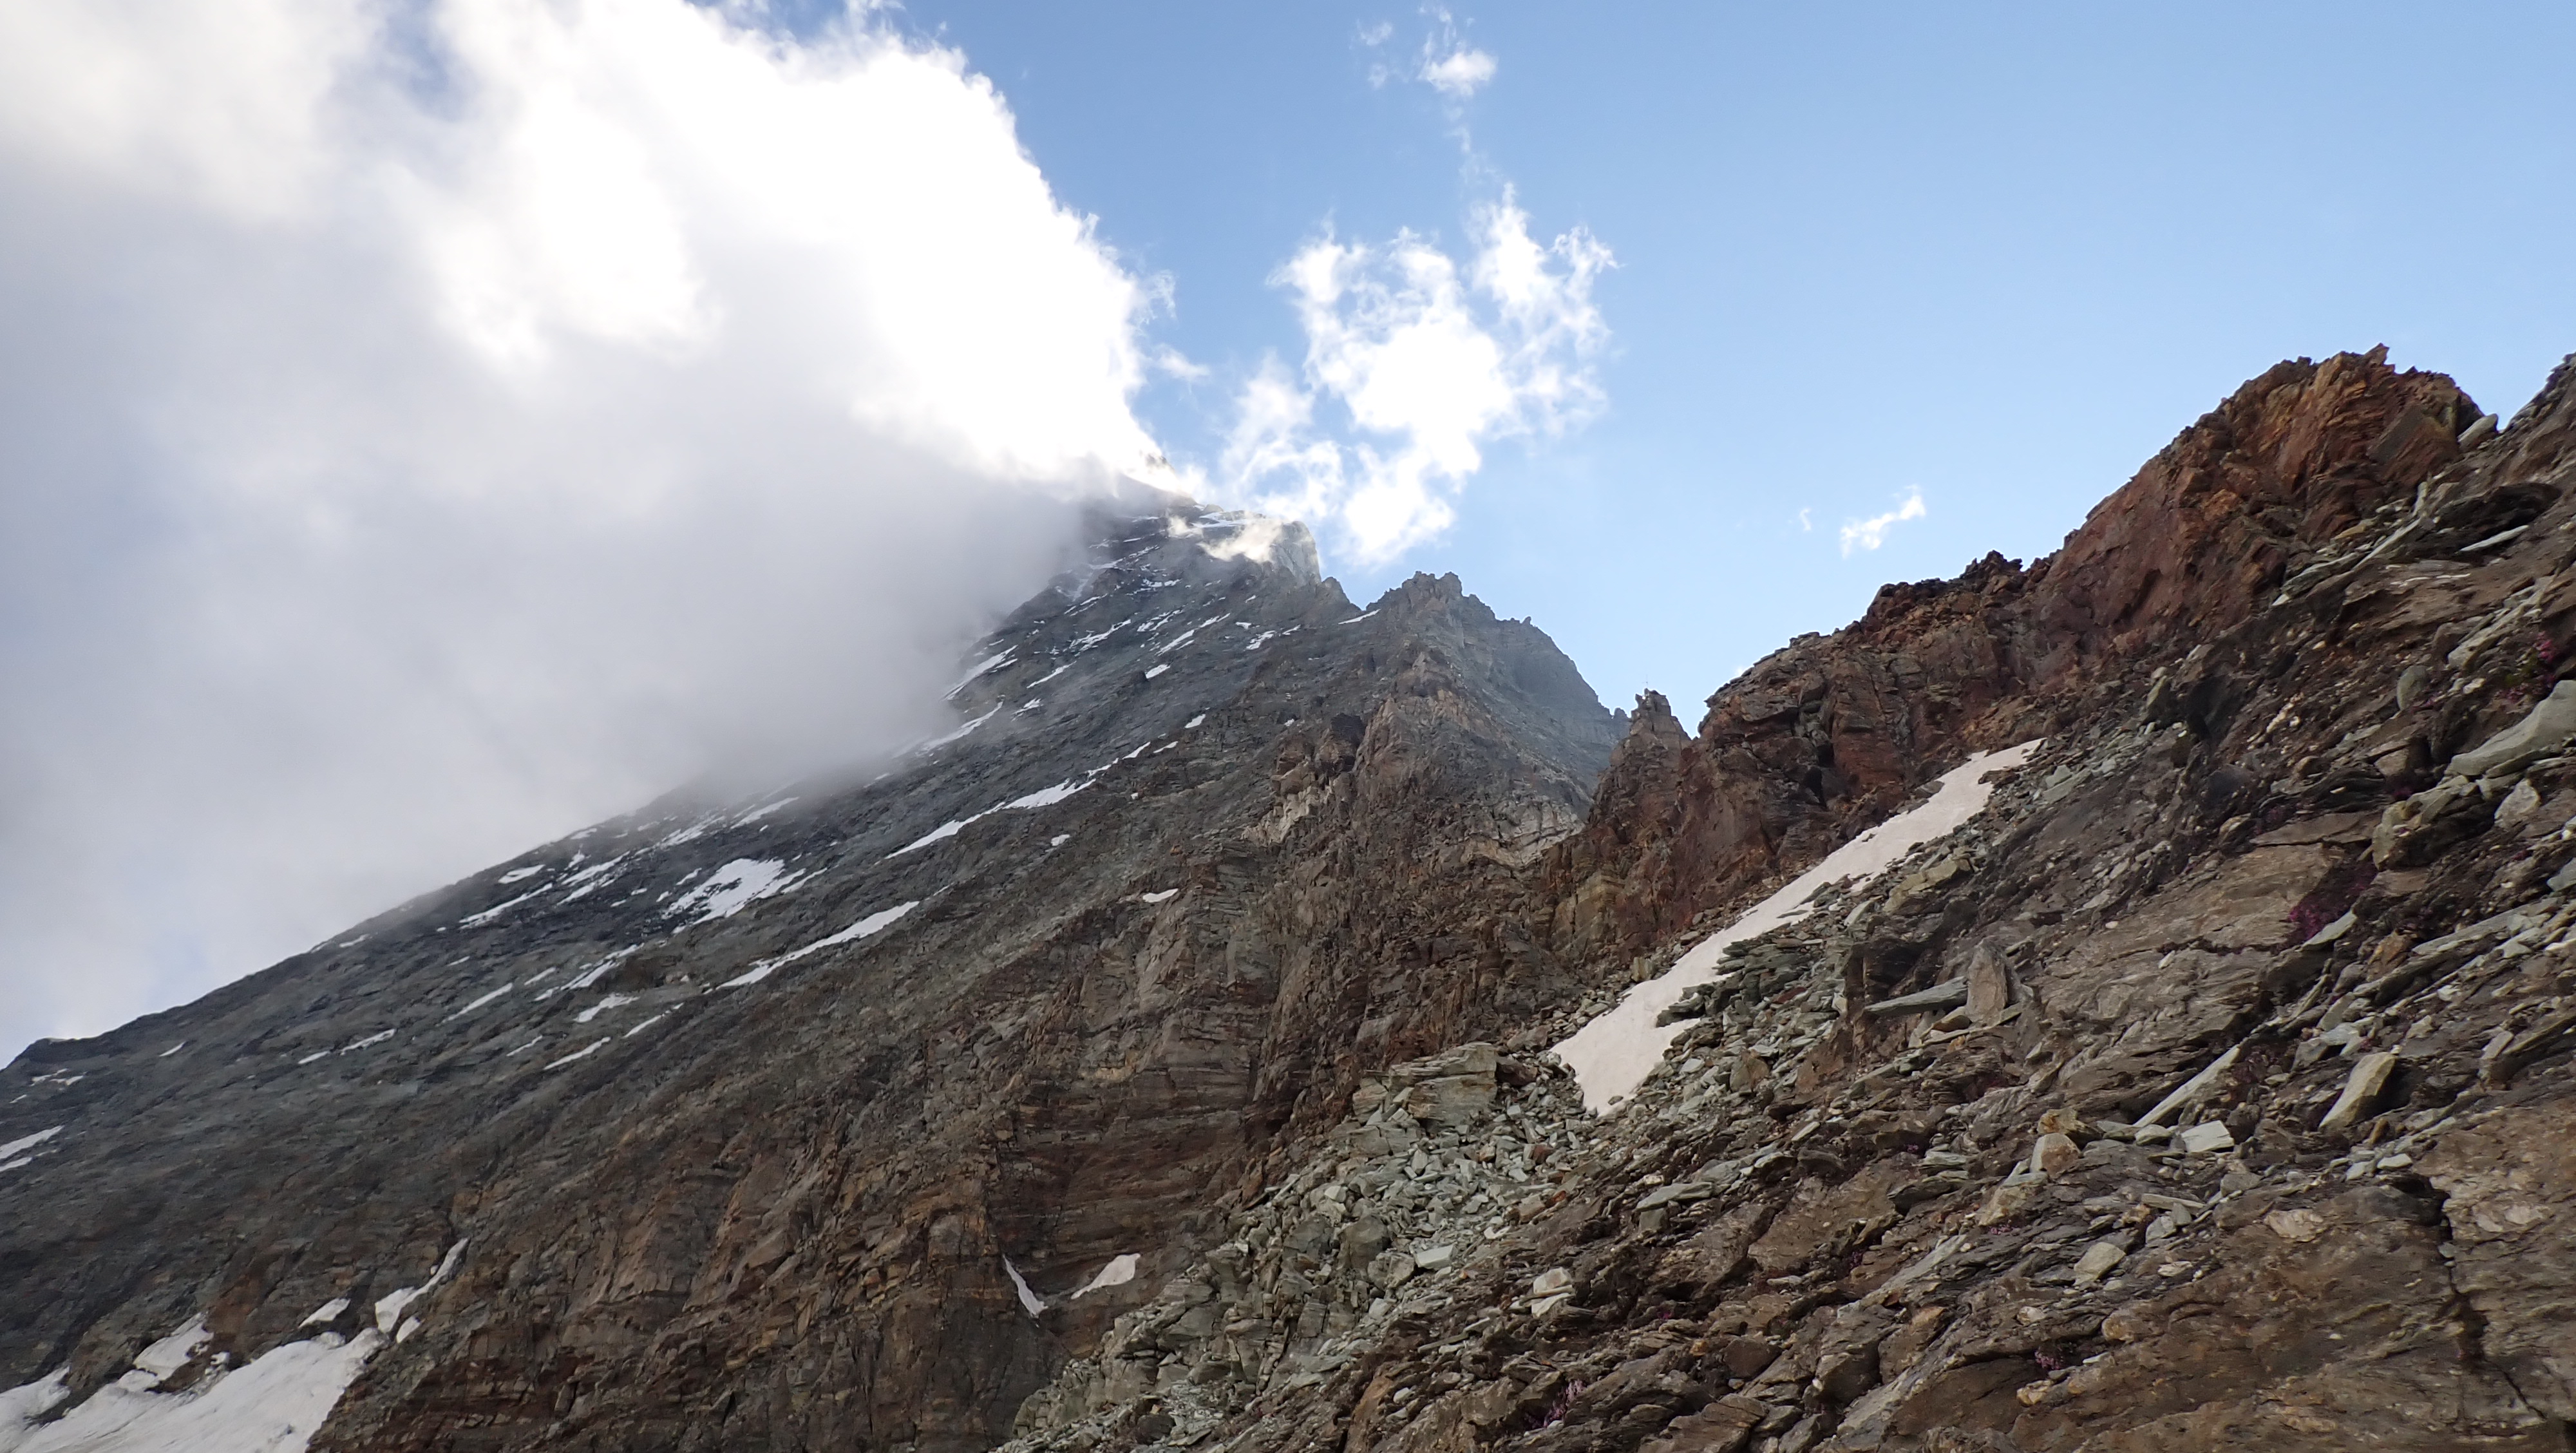
The route becomes less obvious after you come around the corner, the route goes right below the snowfield.
Climbing to the first tower is not straightforward. The below picture was taken from the extent of our afternoon excursion. I would draw a line up our route if I could distinguish it in the photo… but I can’t.
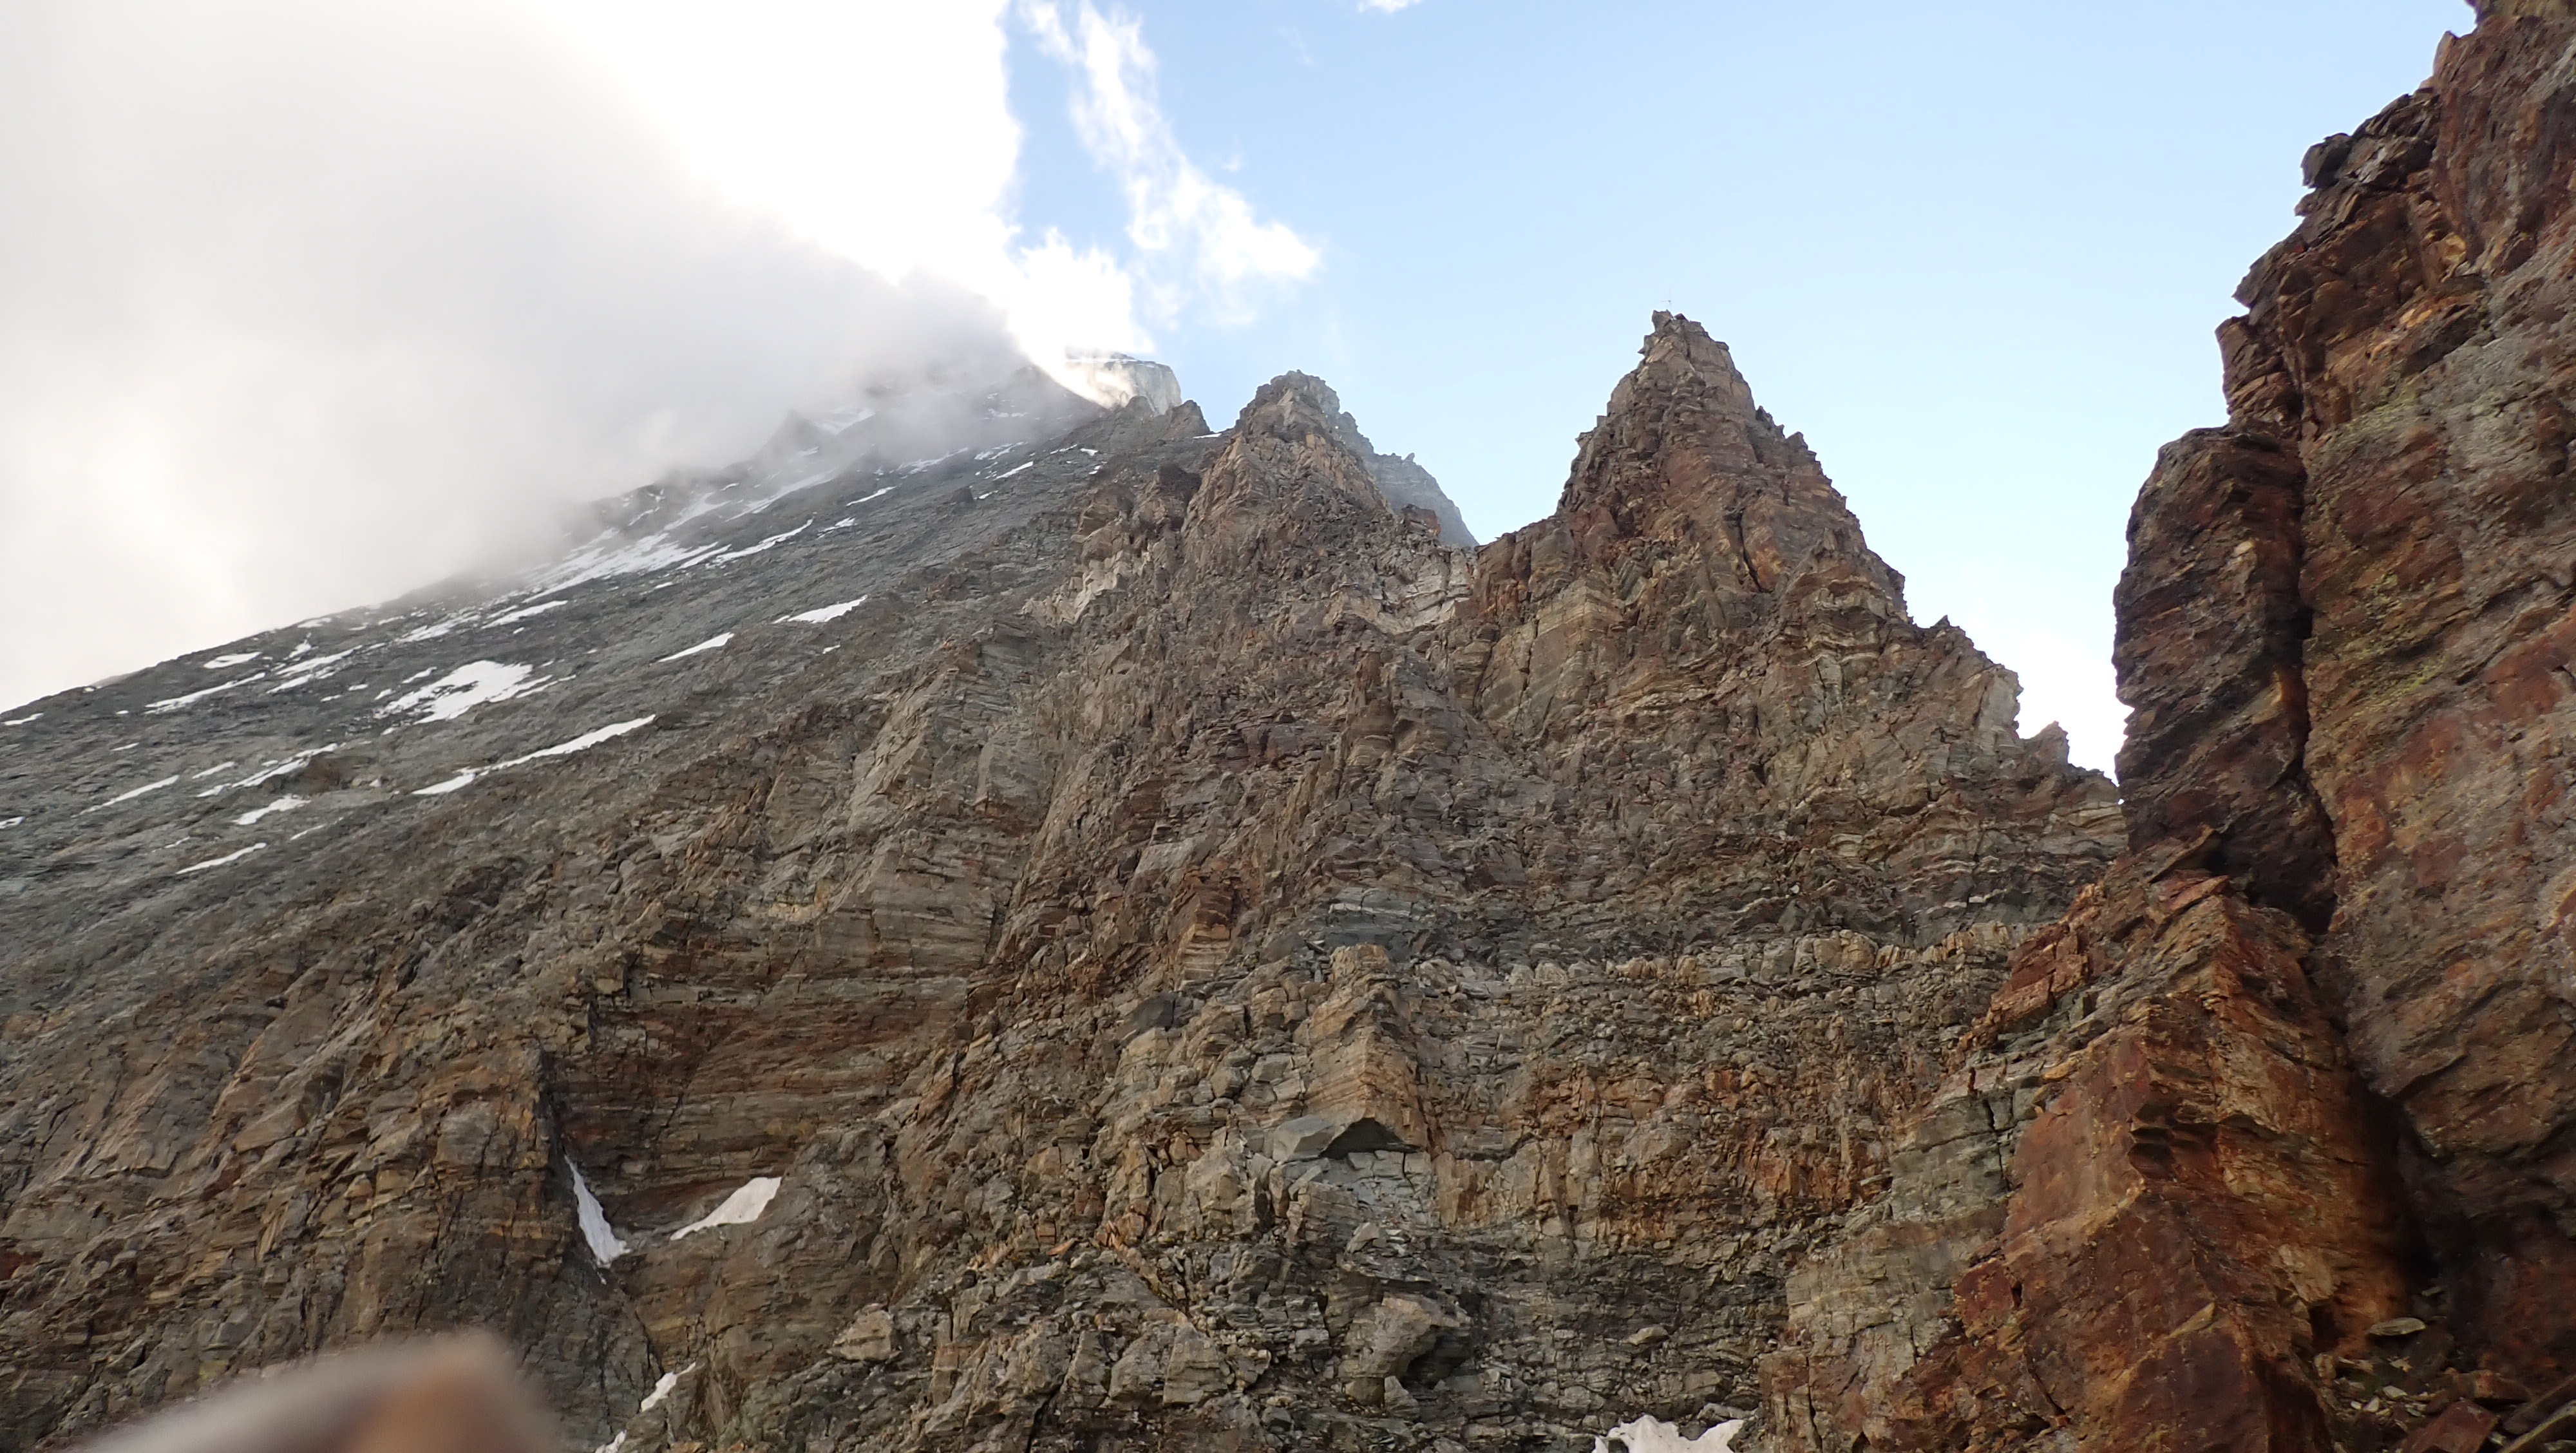
Finding this route in the dark without the guides would have been problematic.
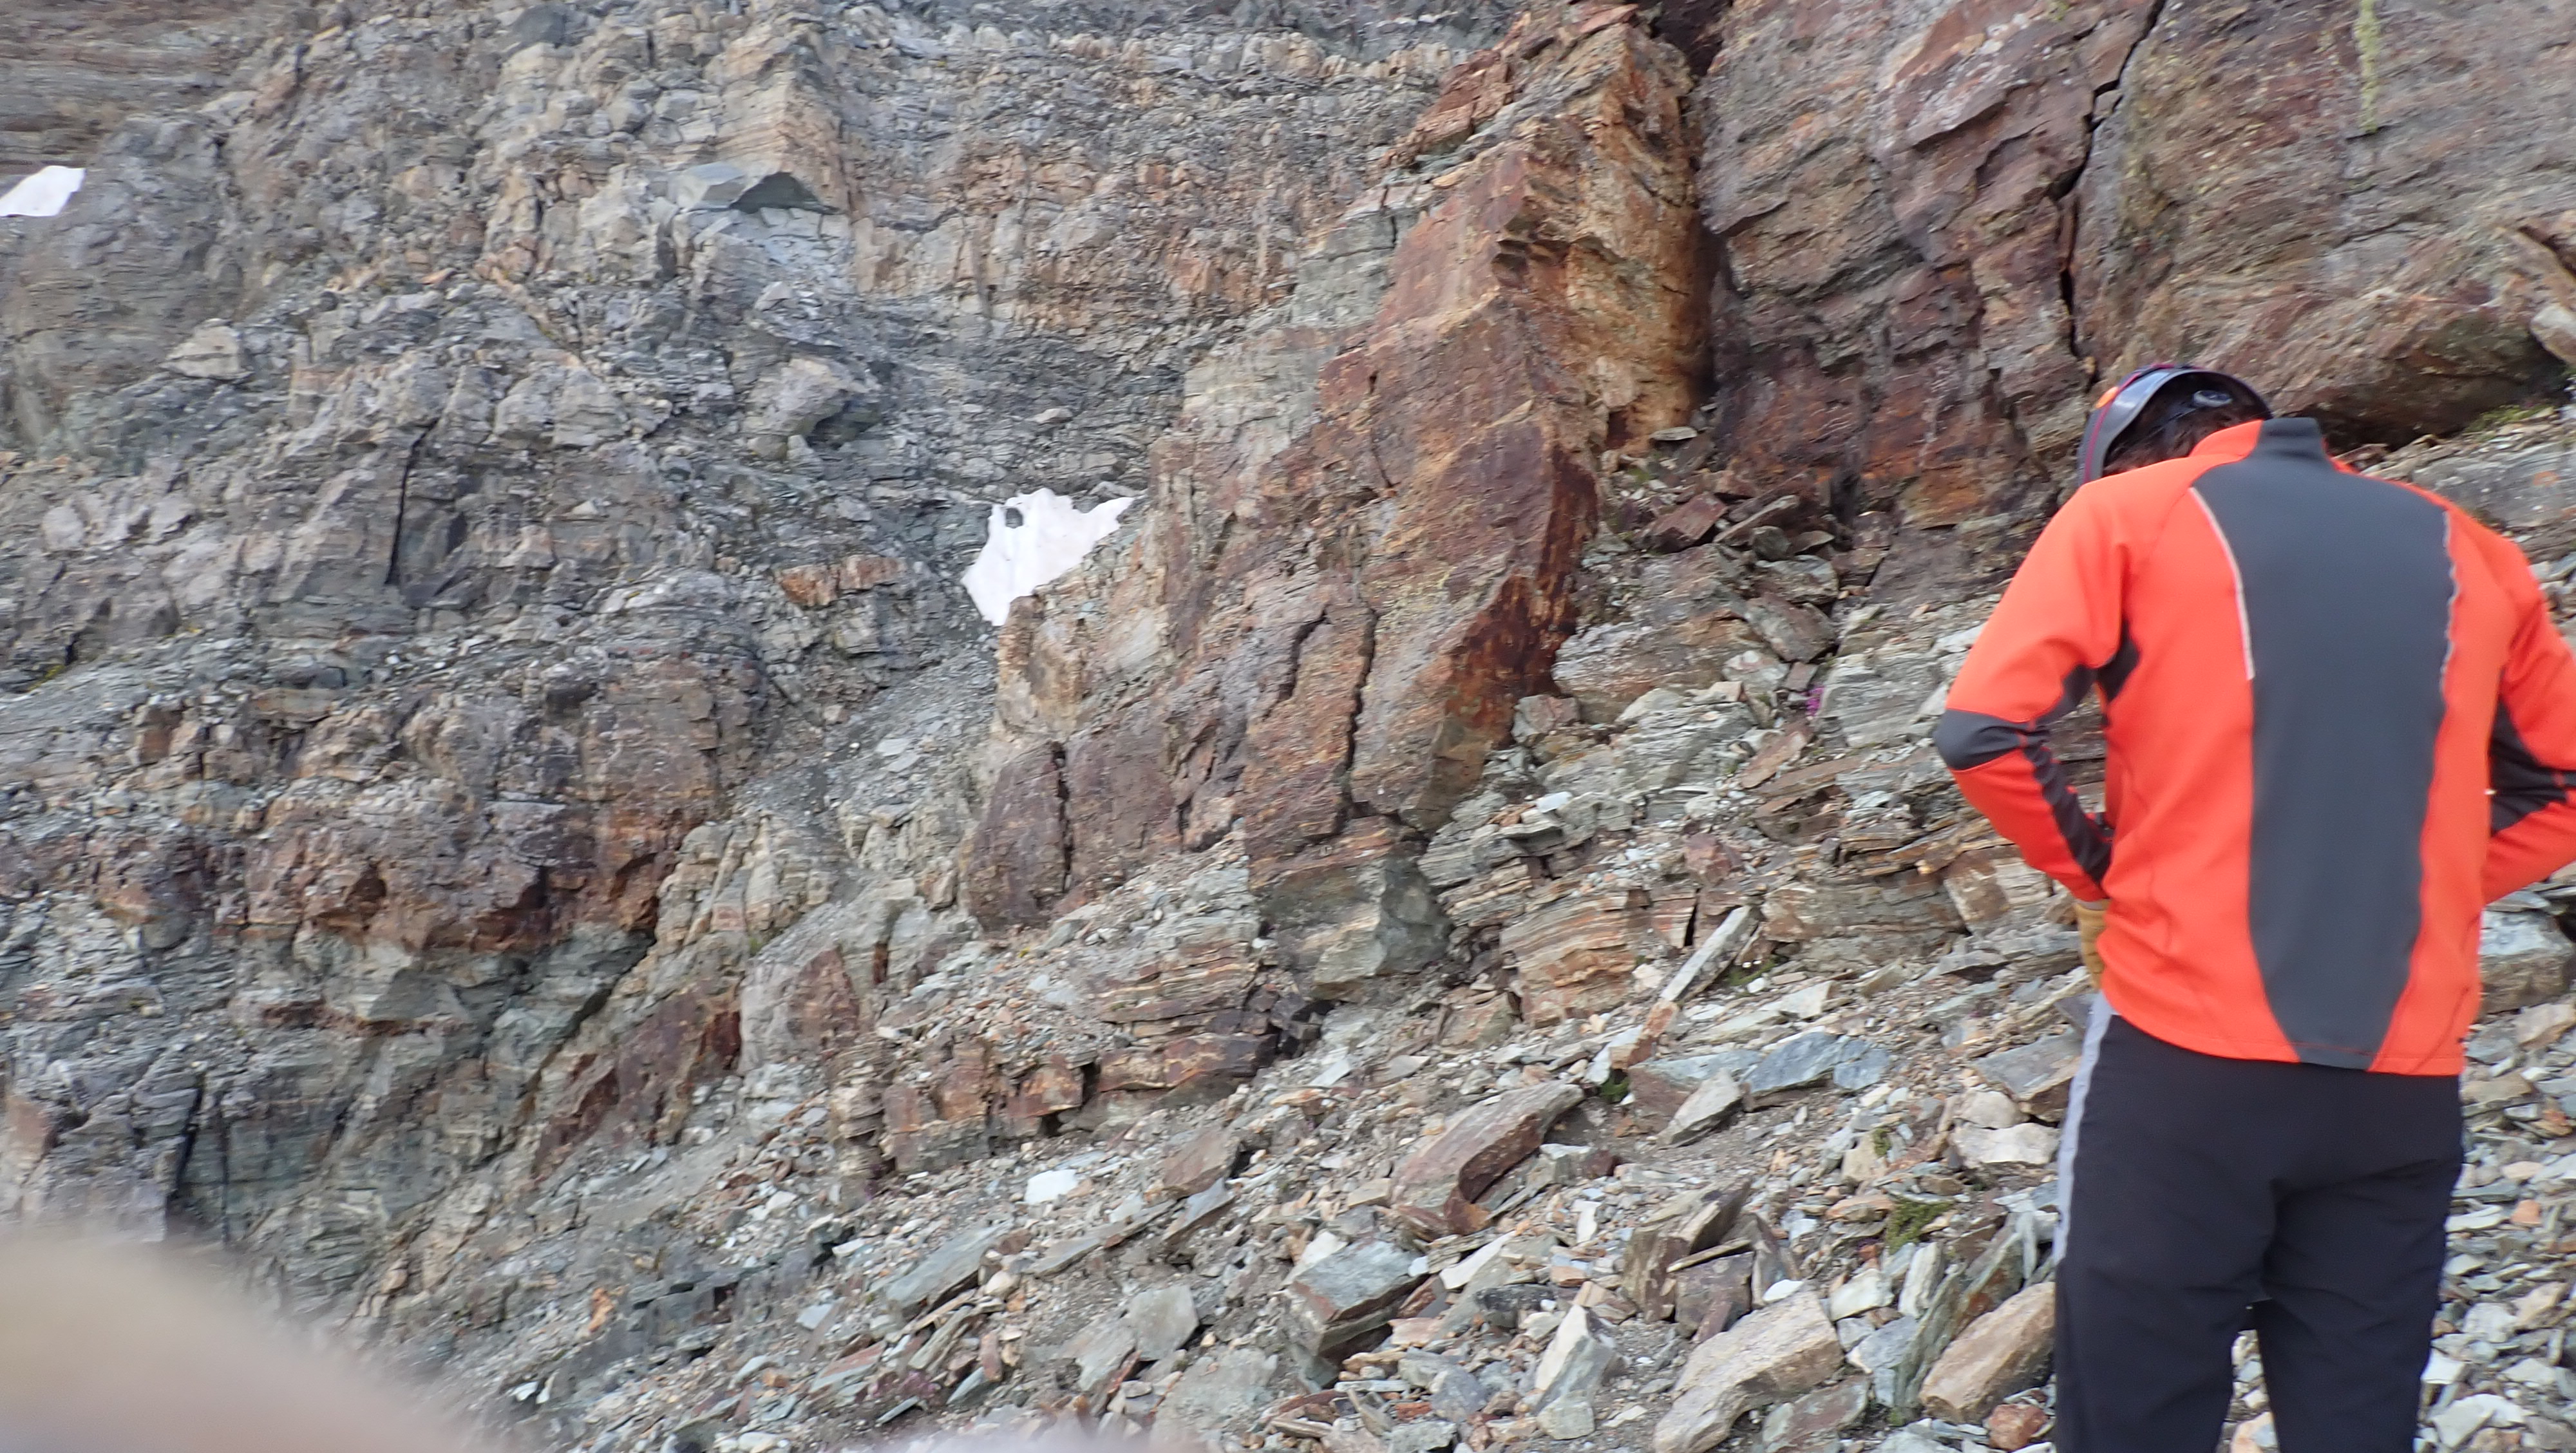
We came back down the fixed ropes, ate dinner, then took another look at the mountain before an early bedtime.
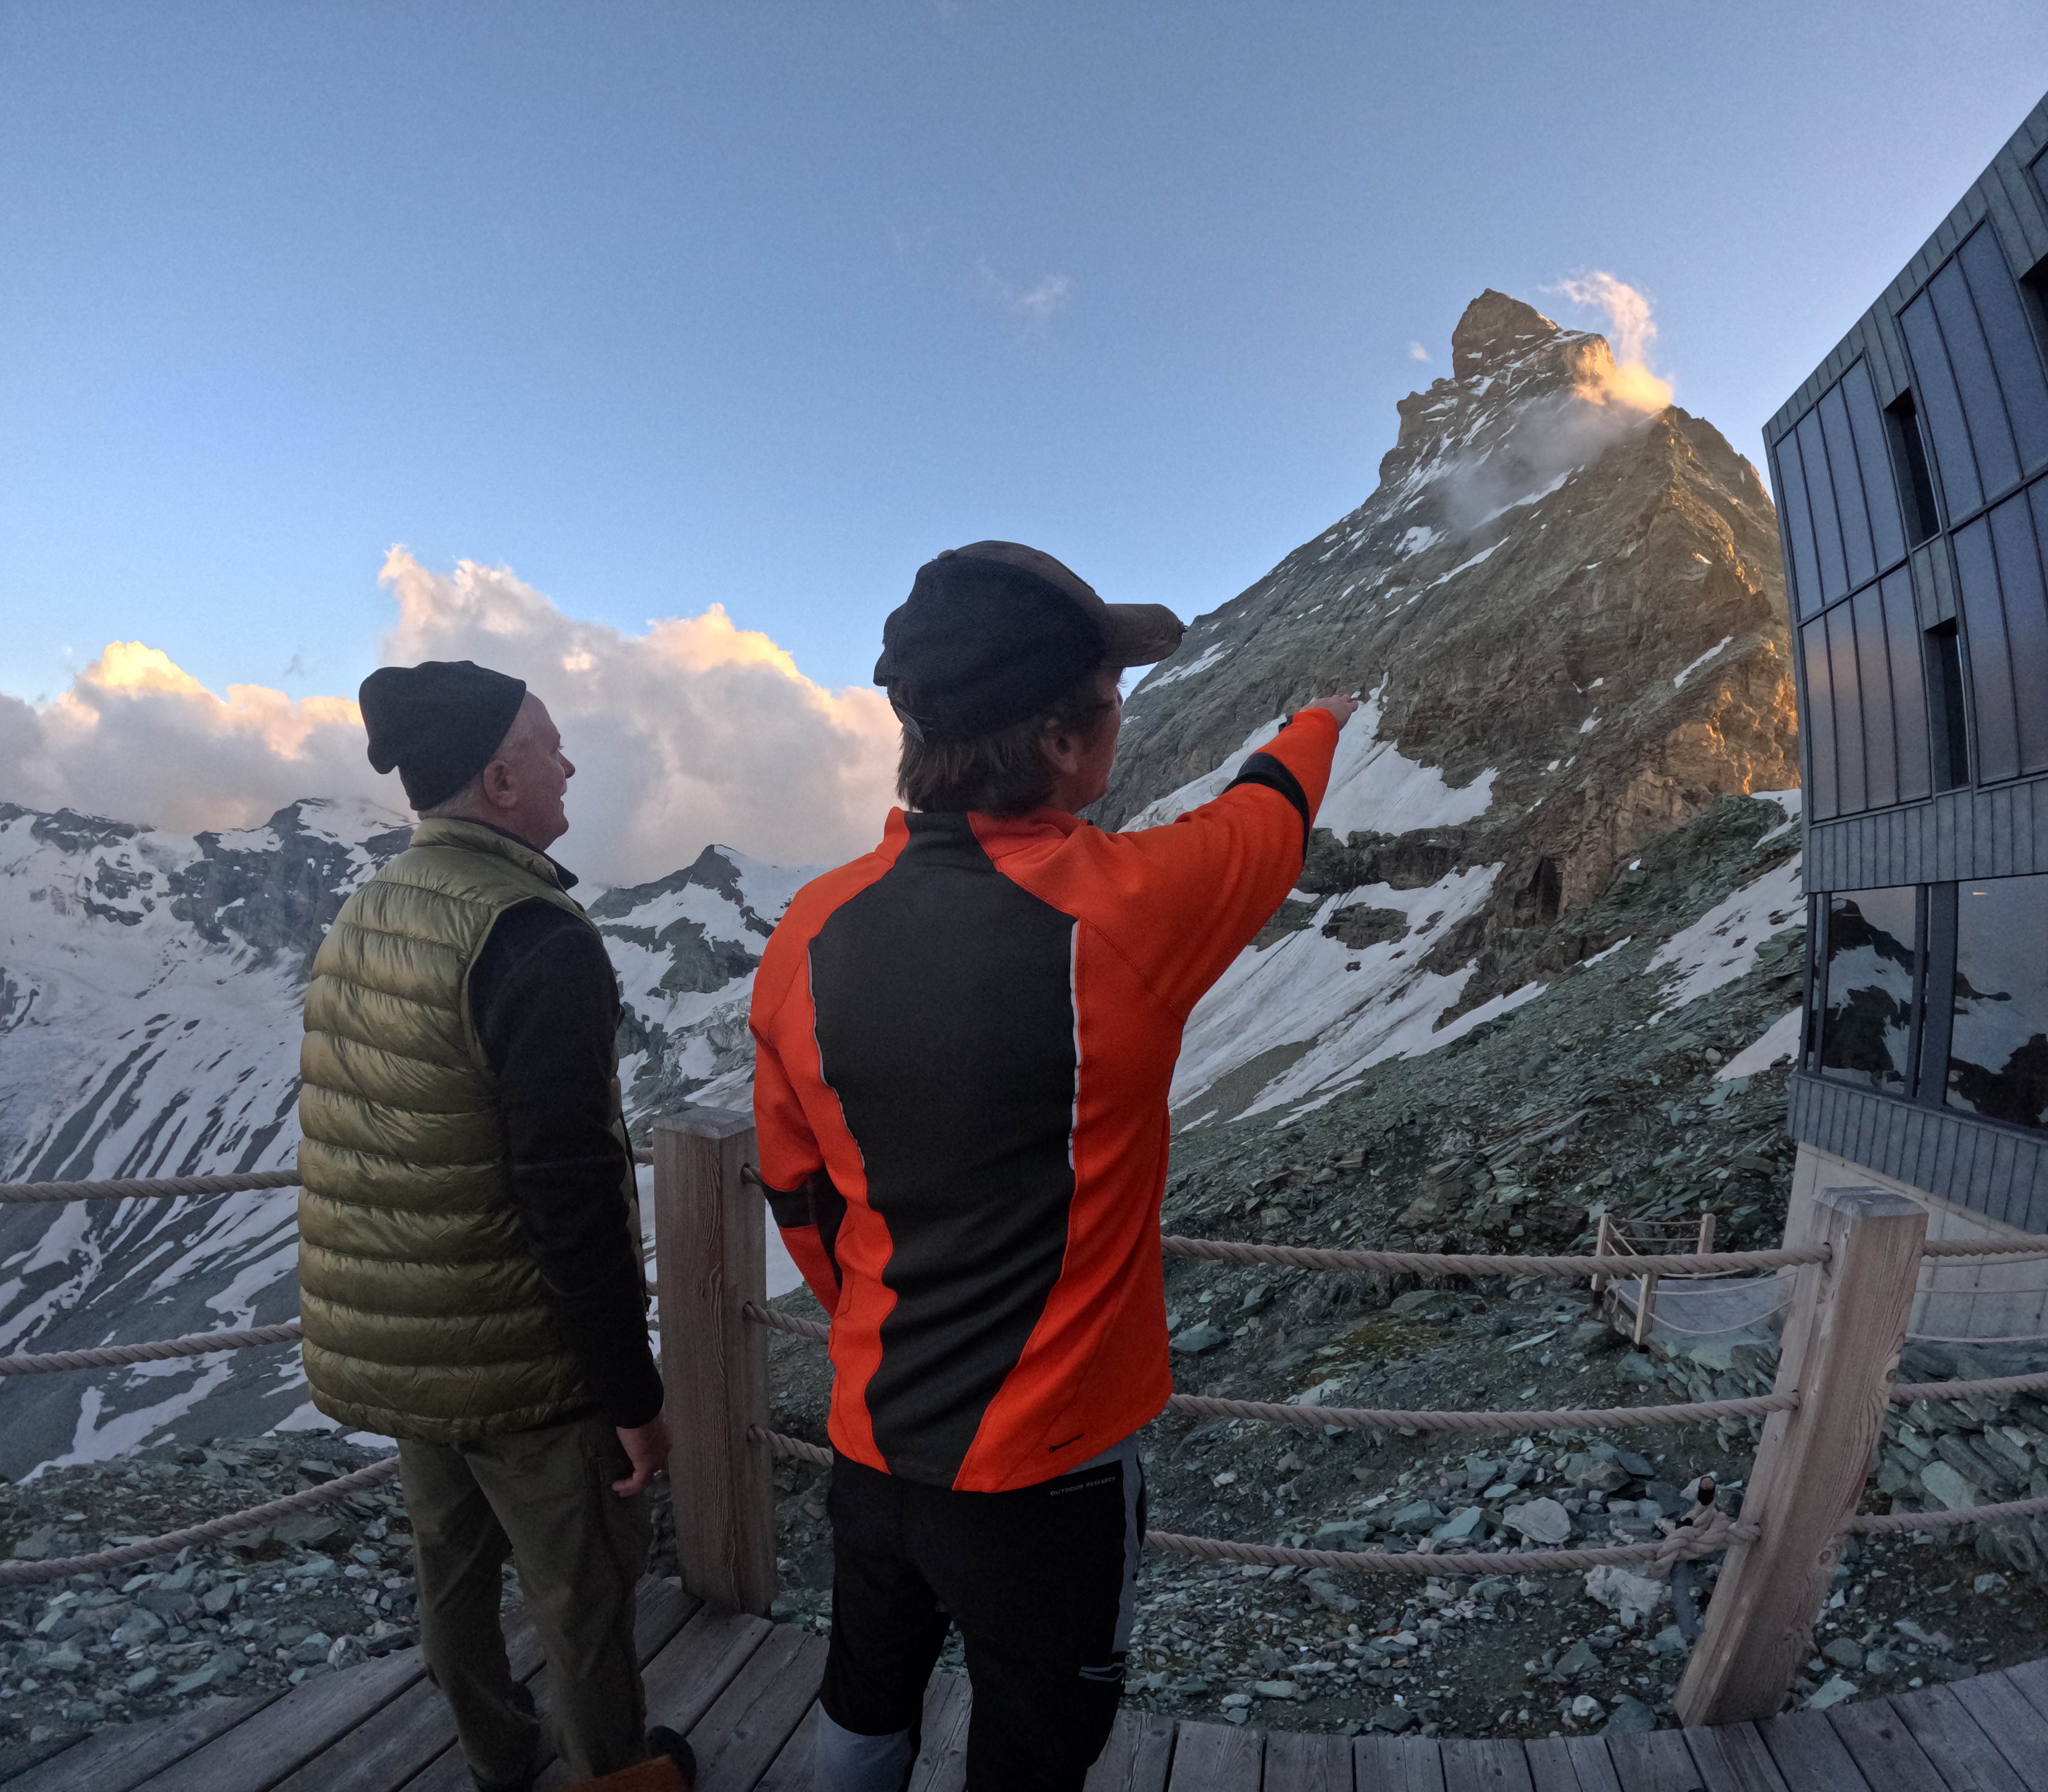
Wake up was at 3:30, and after getting into my harness and gear, I bounded a bowl of cereal. After nearly forgetting my Ice Axe, we exited the hut just before 4:00AM. There were seven guided groups ahead of us, which totaled 14 people. It took some time for them to make their way up the first set of fixed ropes as they had to place and remove protection.
Because we were not dealing with a rope, and both Joey and I were in fairly good condition (Joey is a college runner, and I had been cranking high altitude peaks), we were able to keep up with the guides. We even passed four of the guided parties. We moved in a slinky fashion, waiting while they climbed up the more technical faces, then playing catchup across the easier terrain(easier is relative, nothing was fast-paced). We experienced some incredible cloud exposure as the sun came over the ridge.
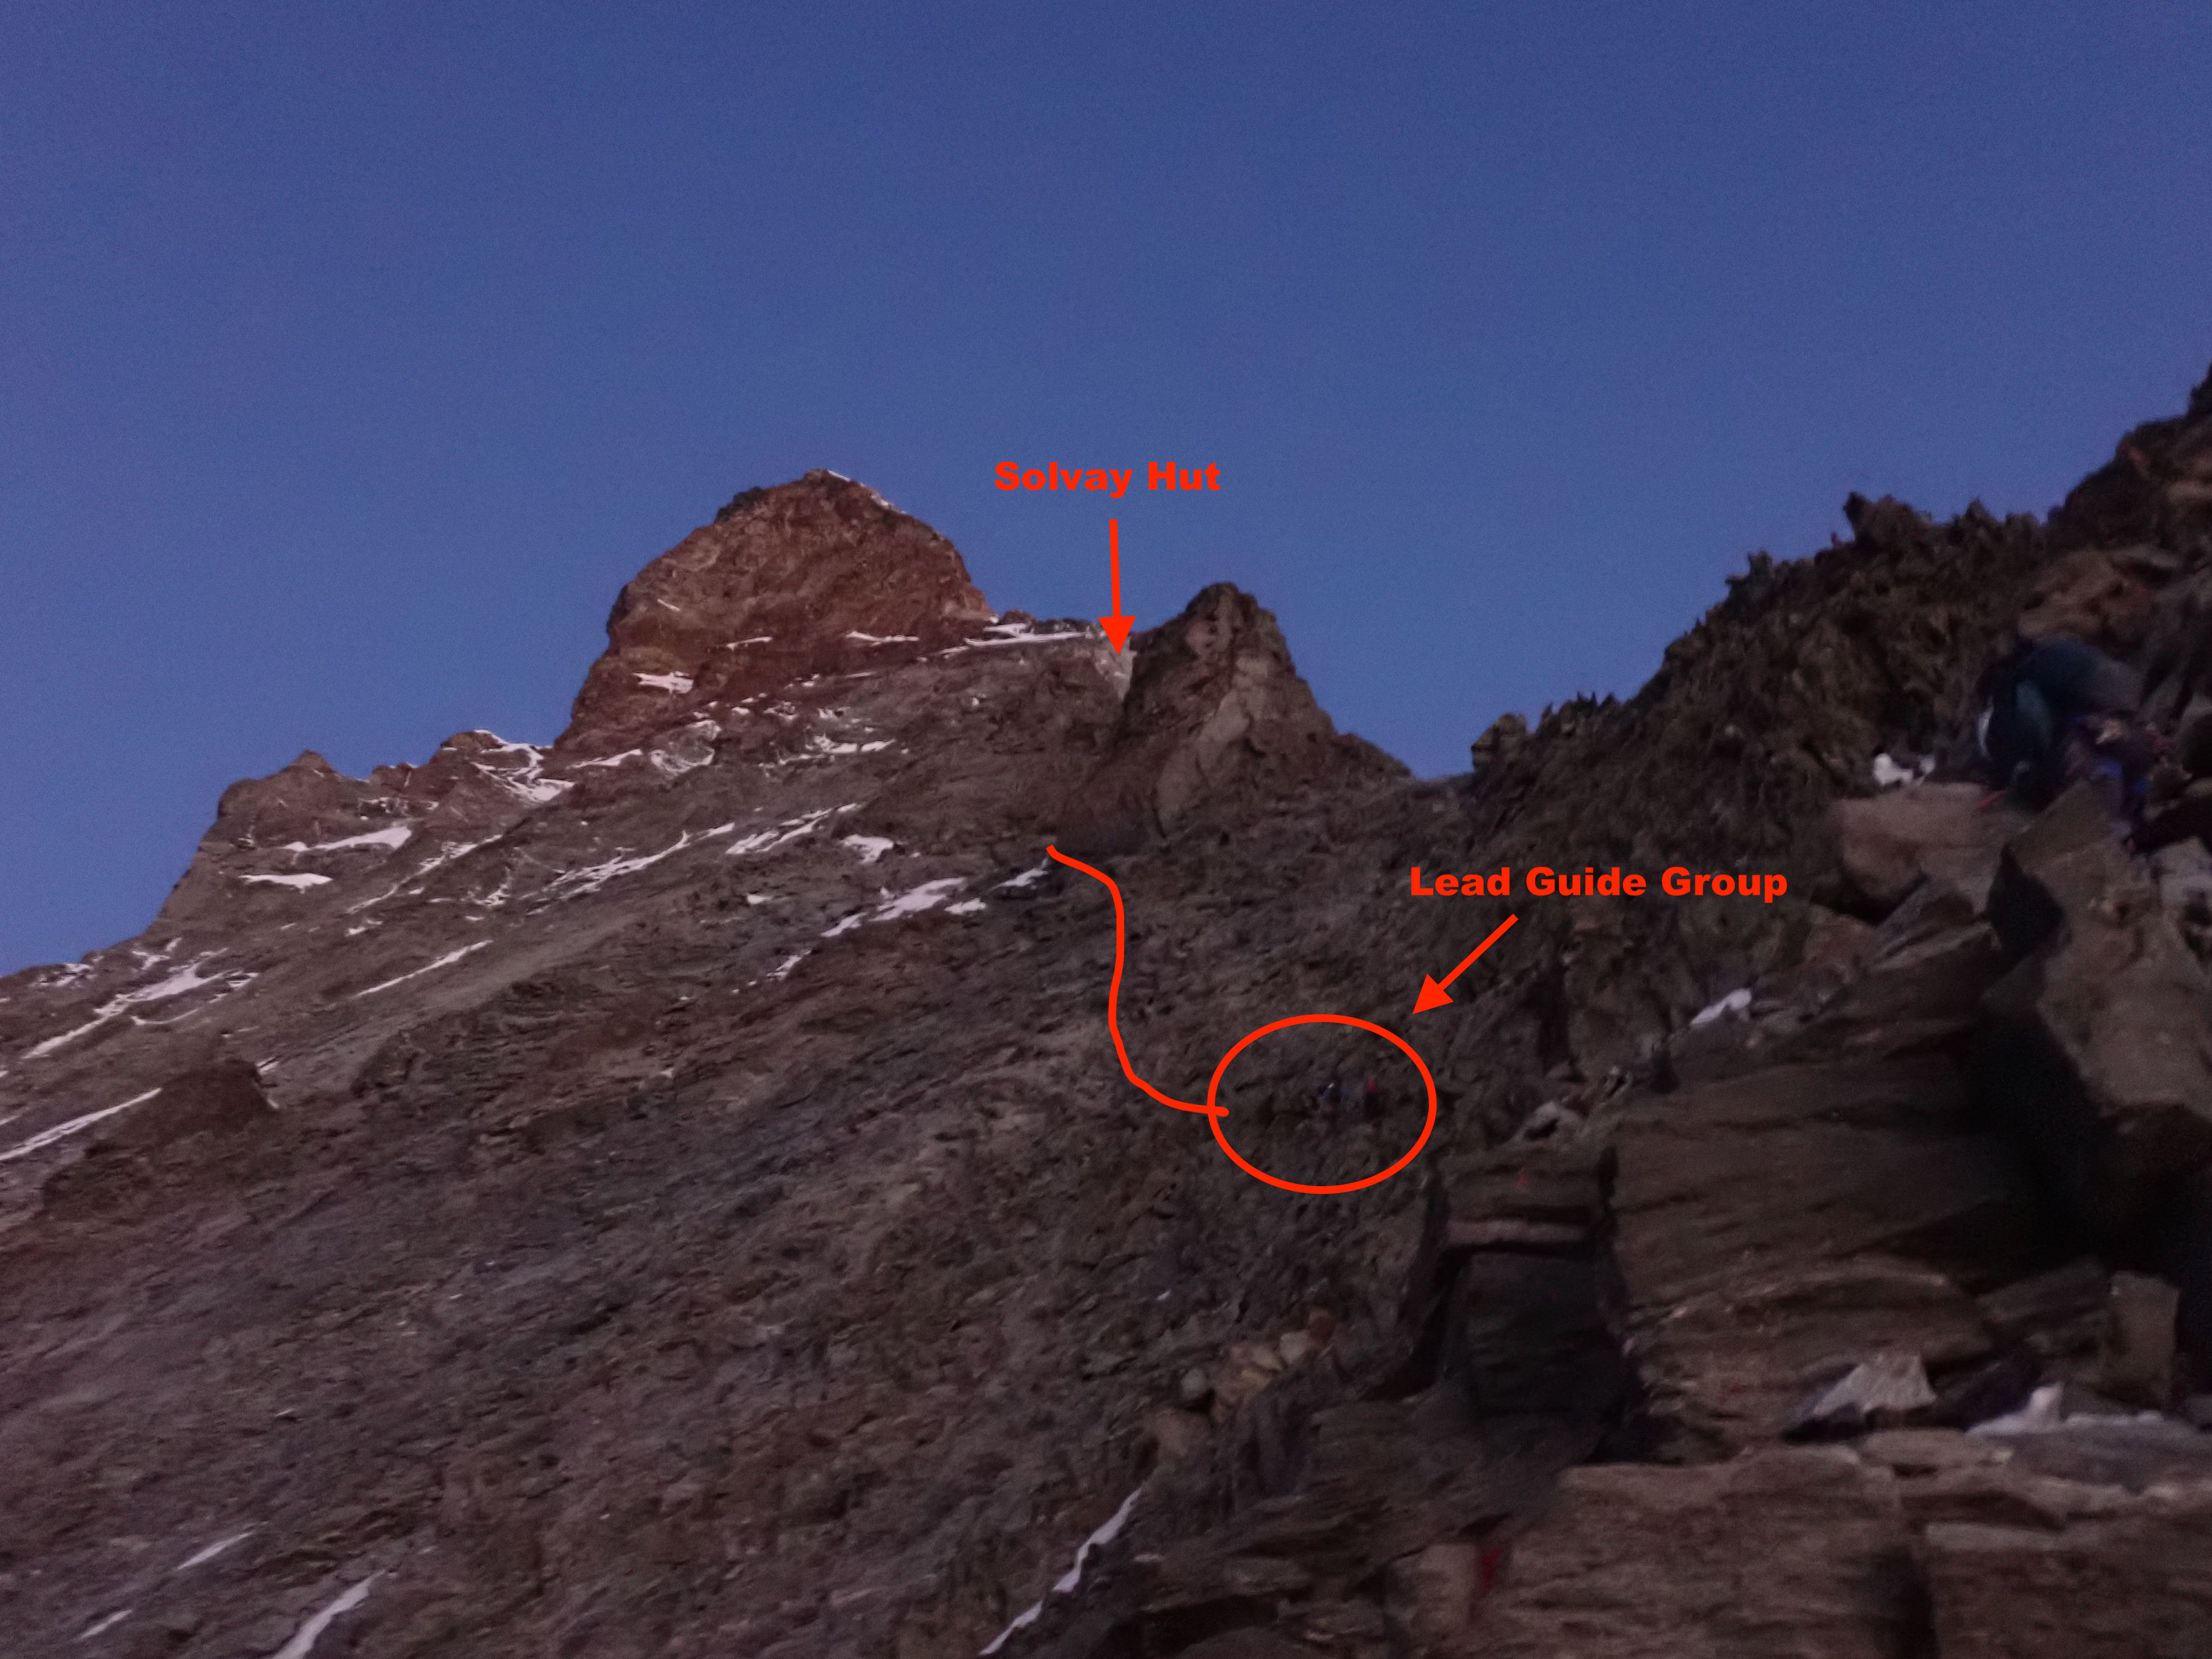
I took some good images of the route finding below the Solvay hut, which is hidden behind a rock structure for most of the ascent. The guides indicated that the route can change over the years, and my red lines are only approx. where we went. Do not use this as your sole form of info. In the below image the hut is still hidden behind that central spire.
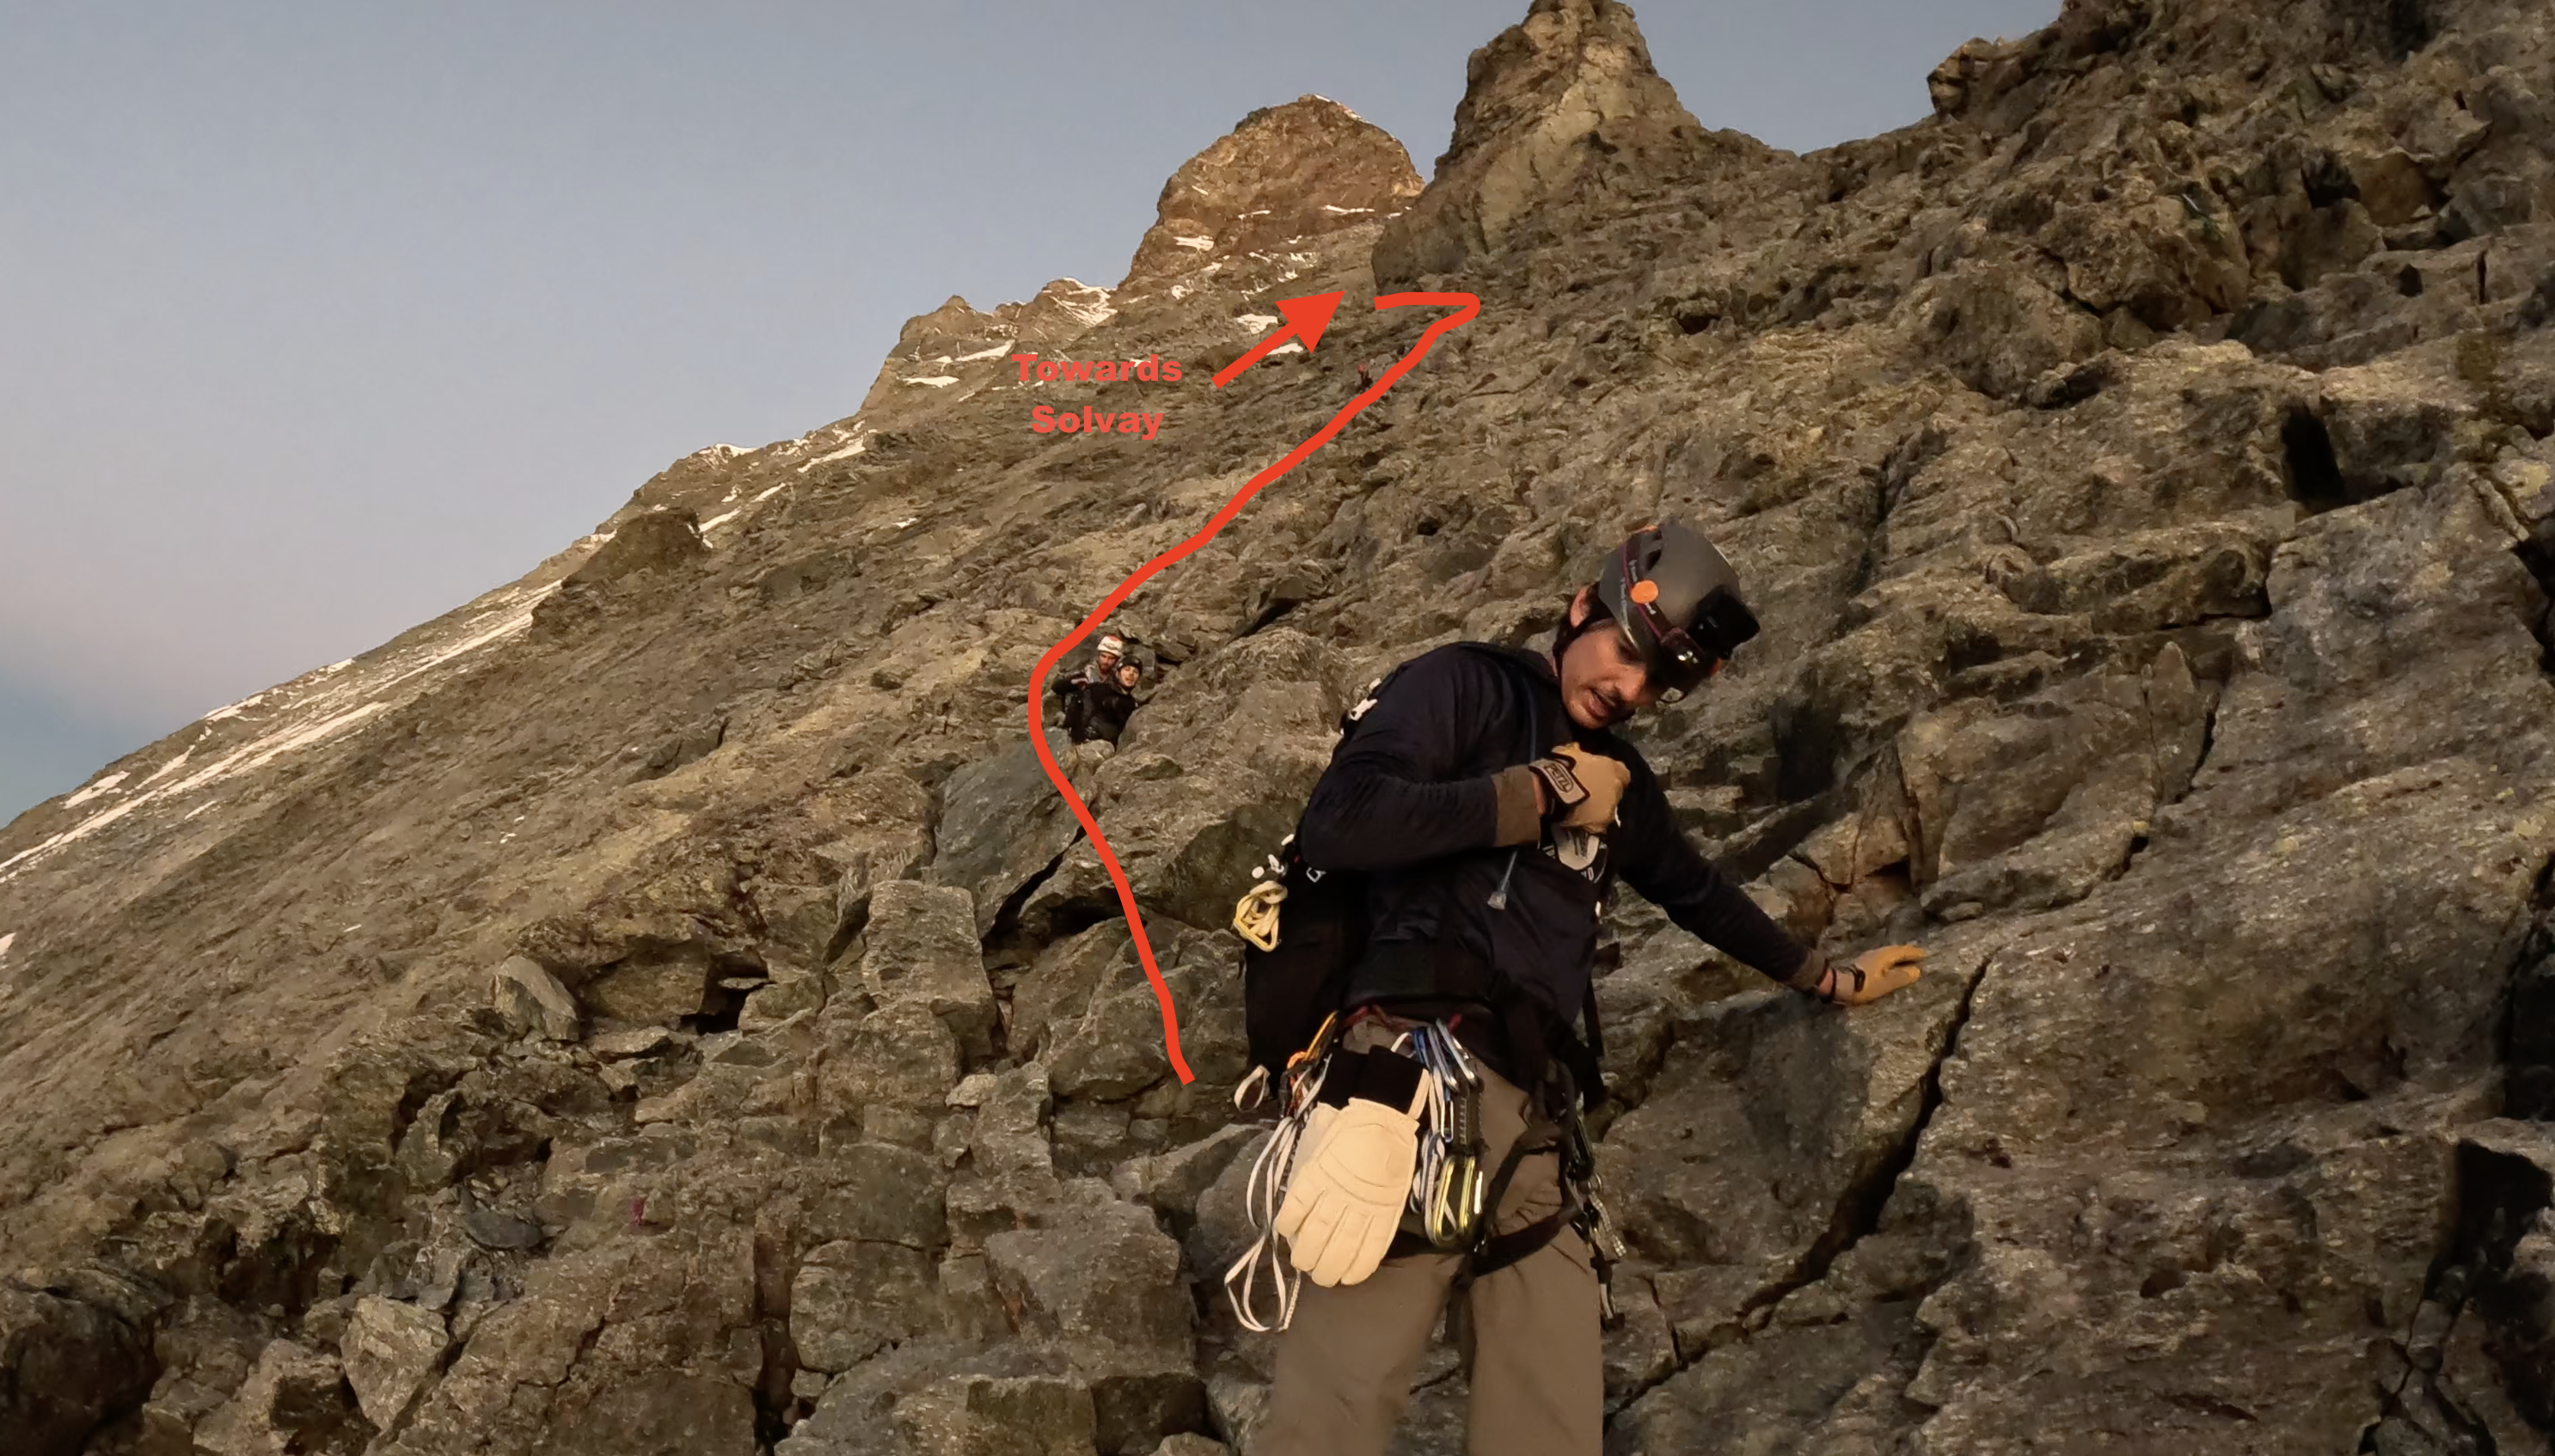
Here is a screen grab from the GoPro a little bit further up, note the locations of two guided parties ahead of us. We climbed to, and then traversed under that prominent rock wall. There is a slab traverse marked by metal spikes that are excellent handholds.
Once around the rock wall the Solvay hut comes into view. The climbing below the Solvay involved two pitches that were the most technical climbing aspects without a fixed rope.
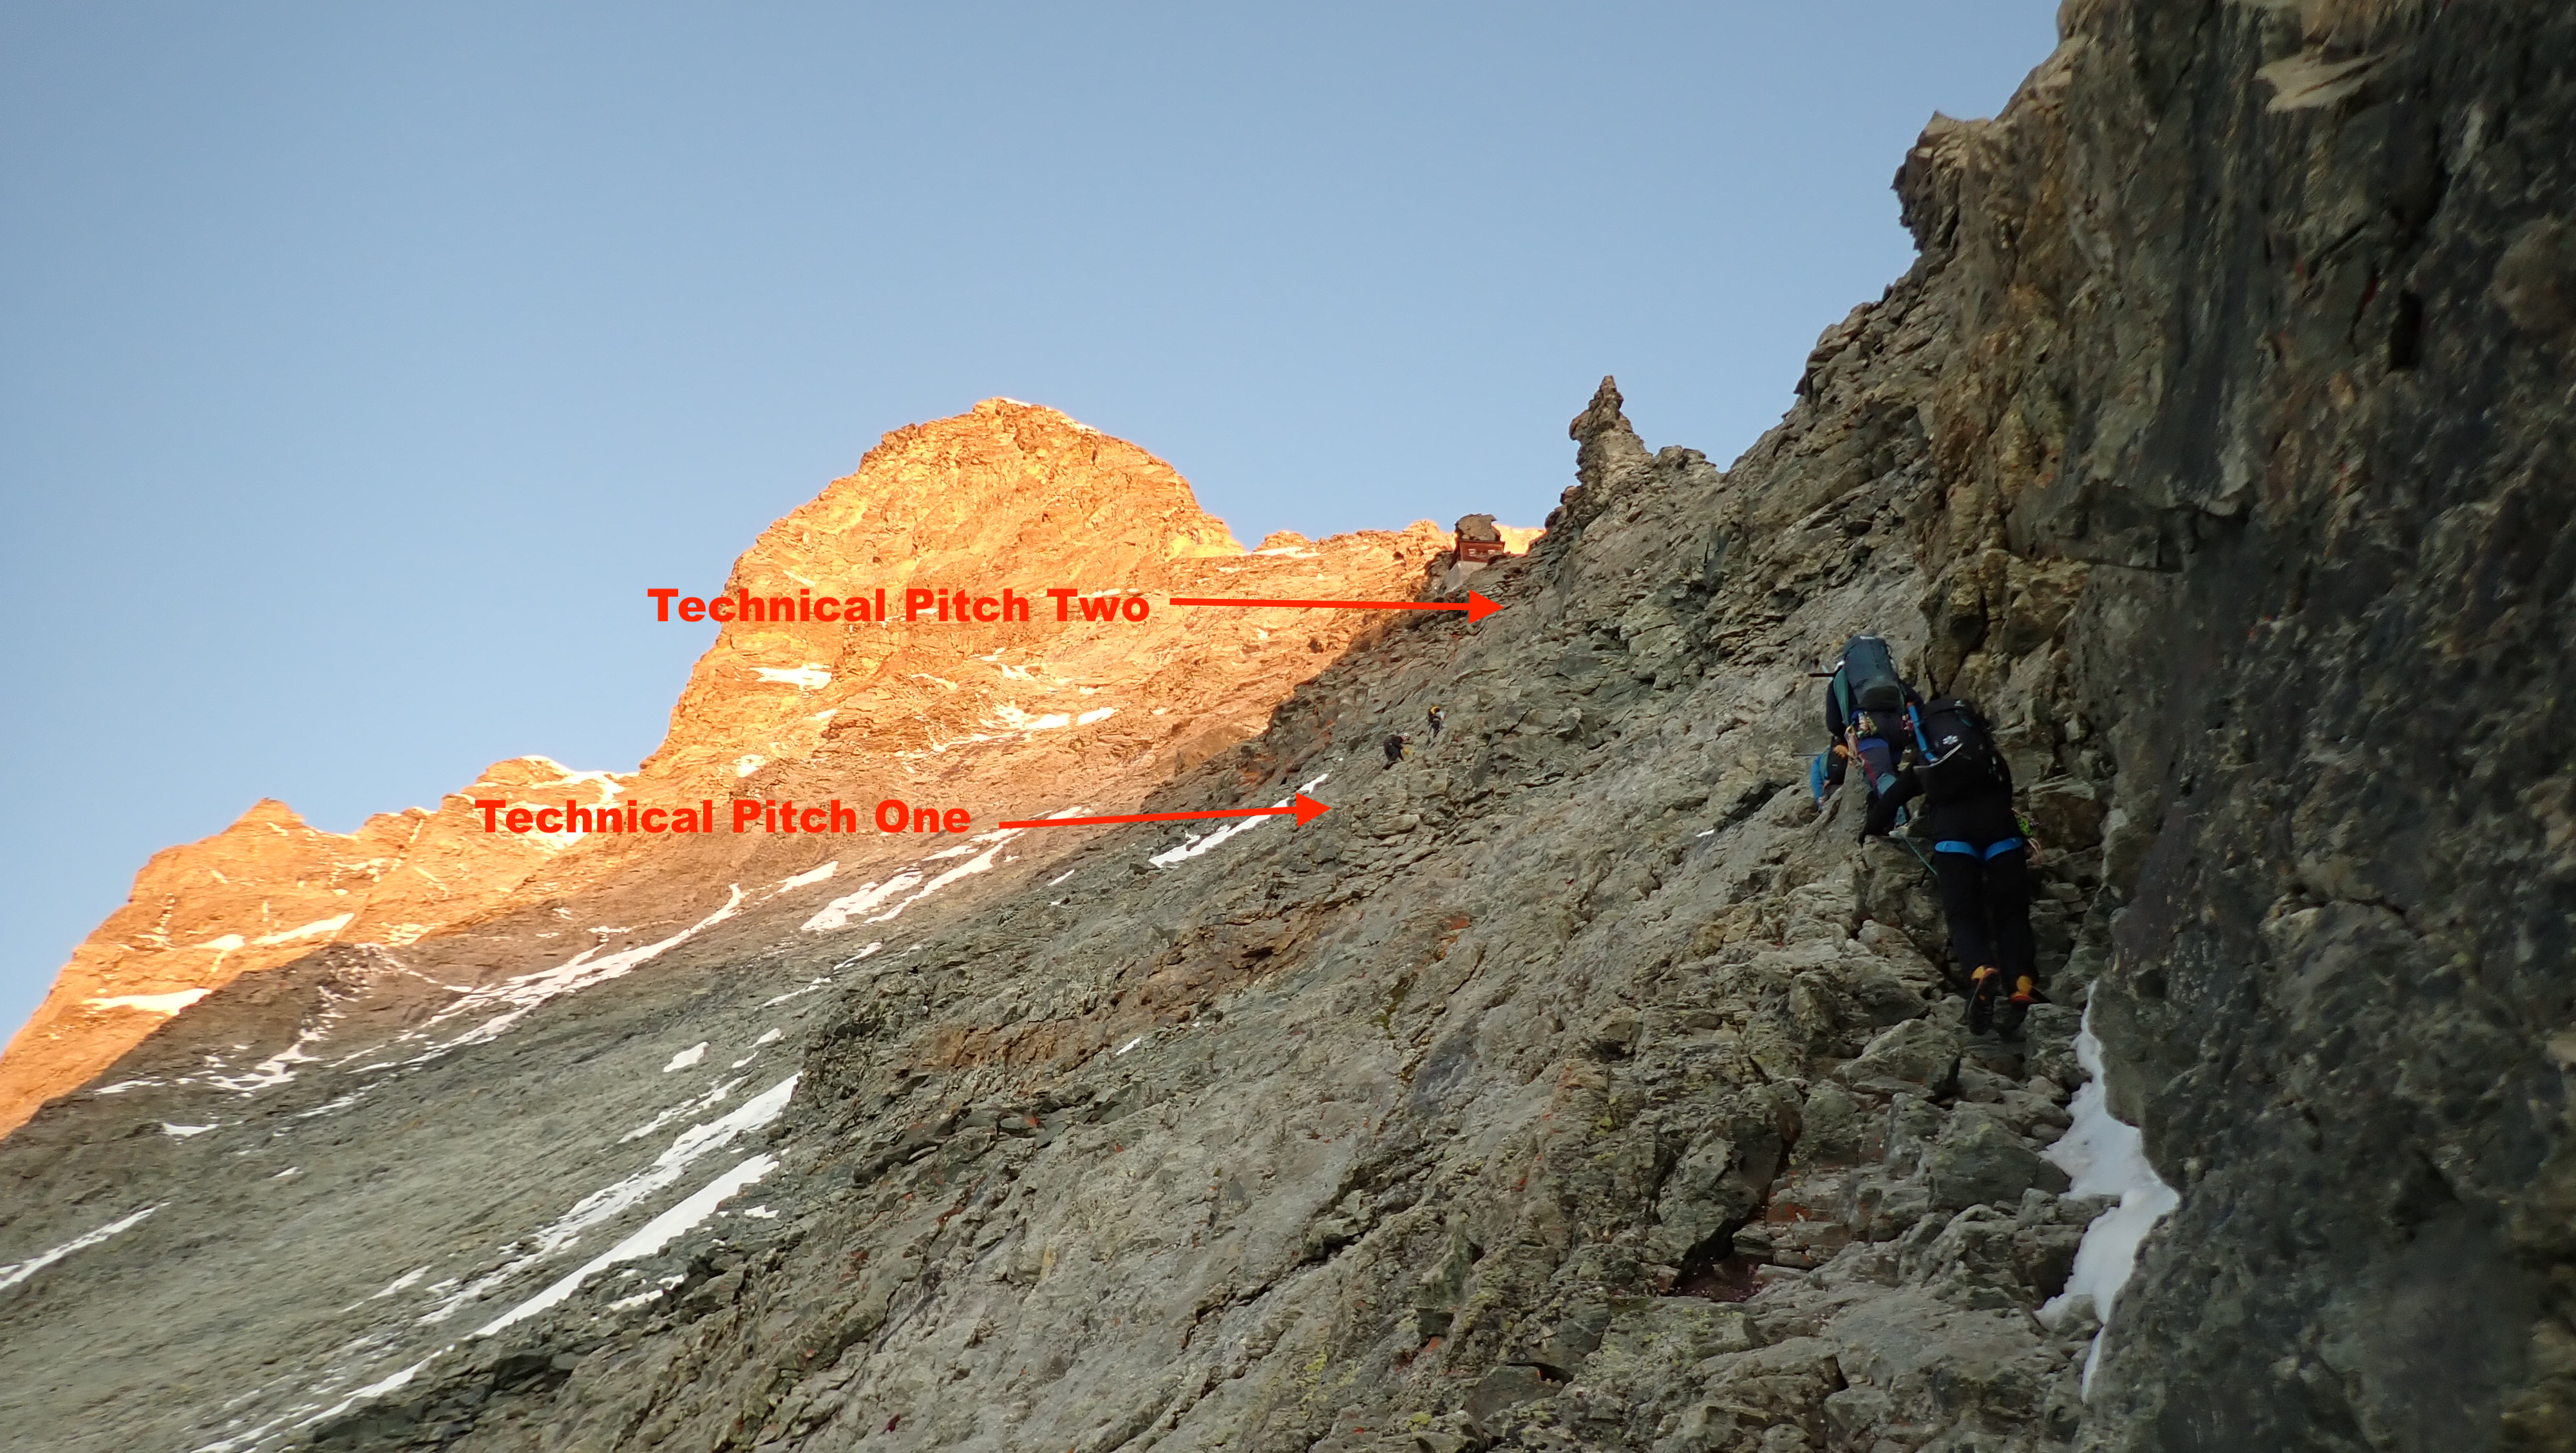
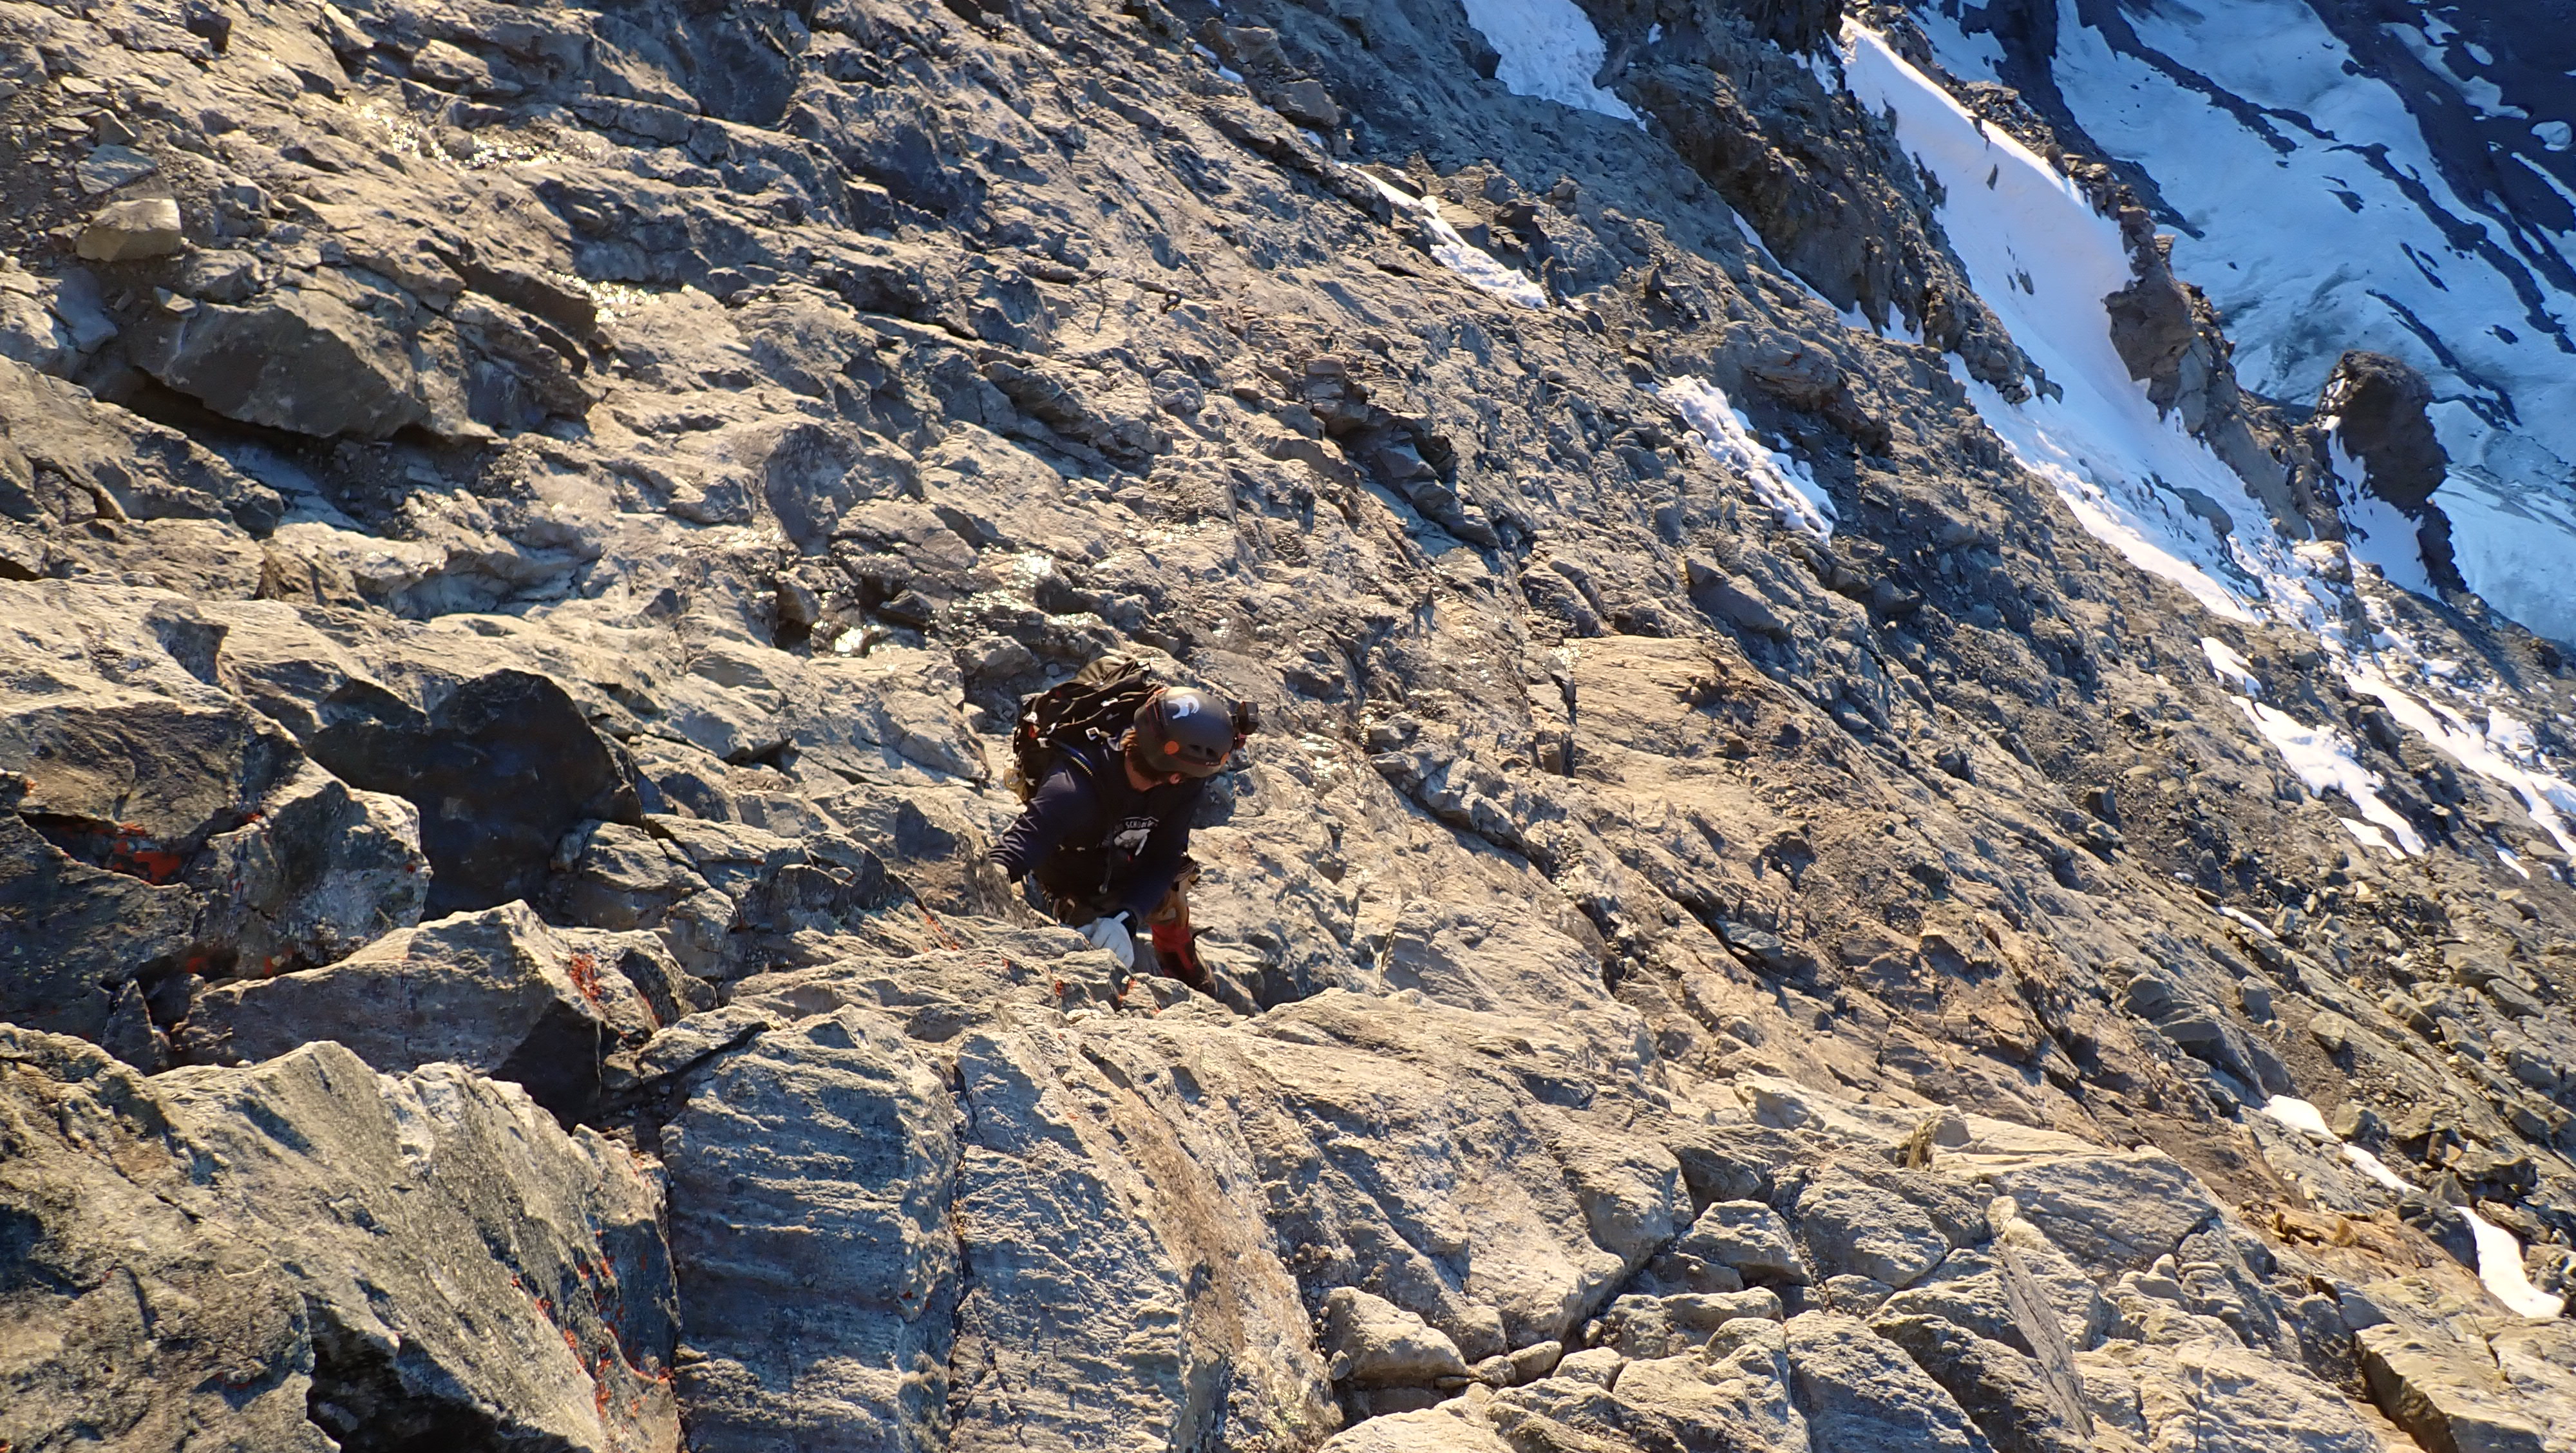
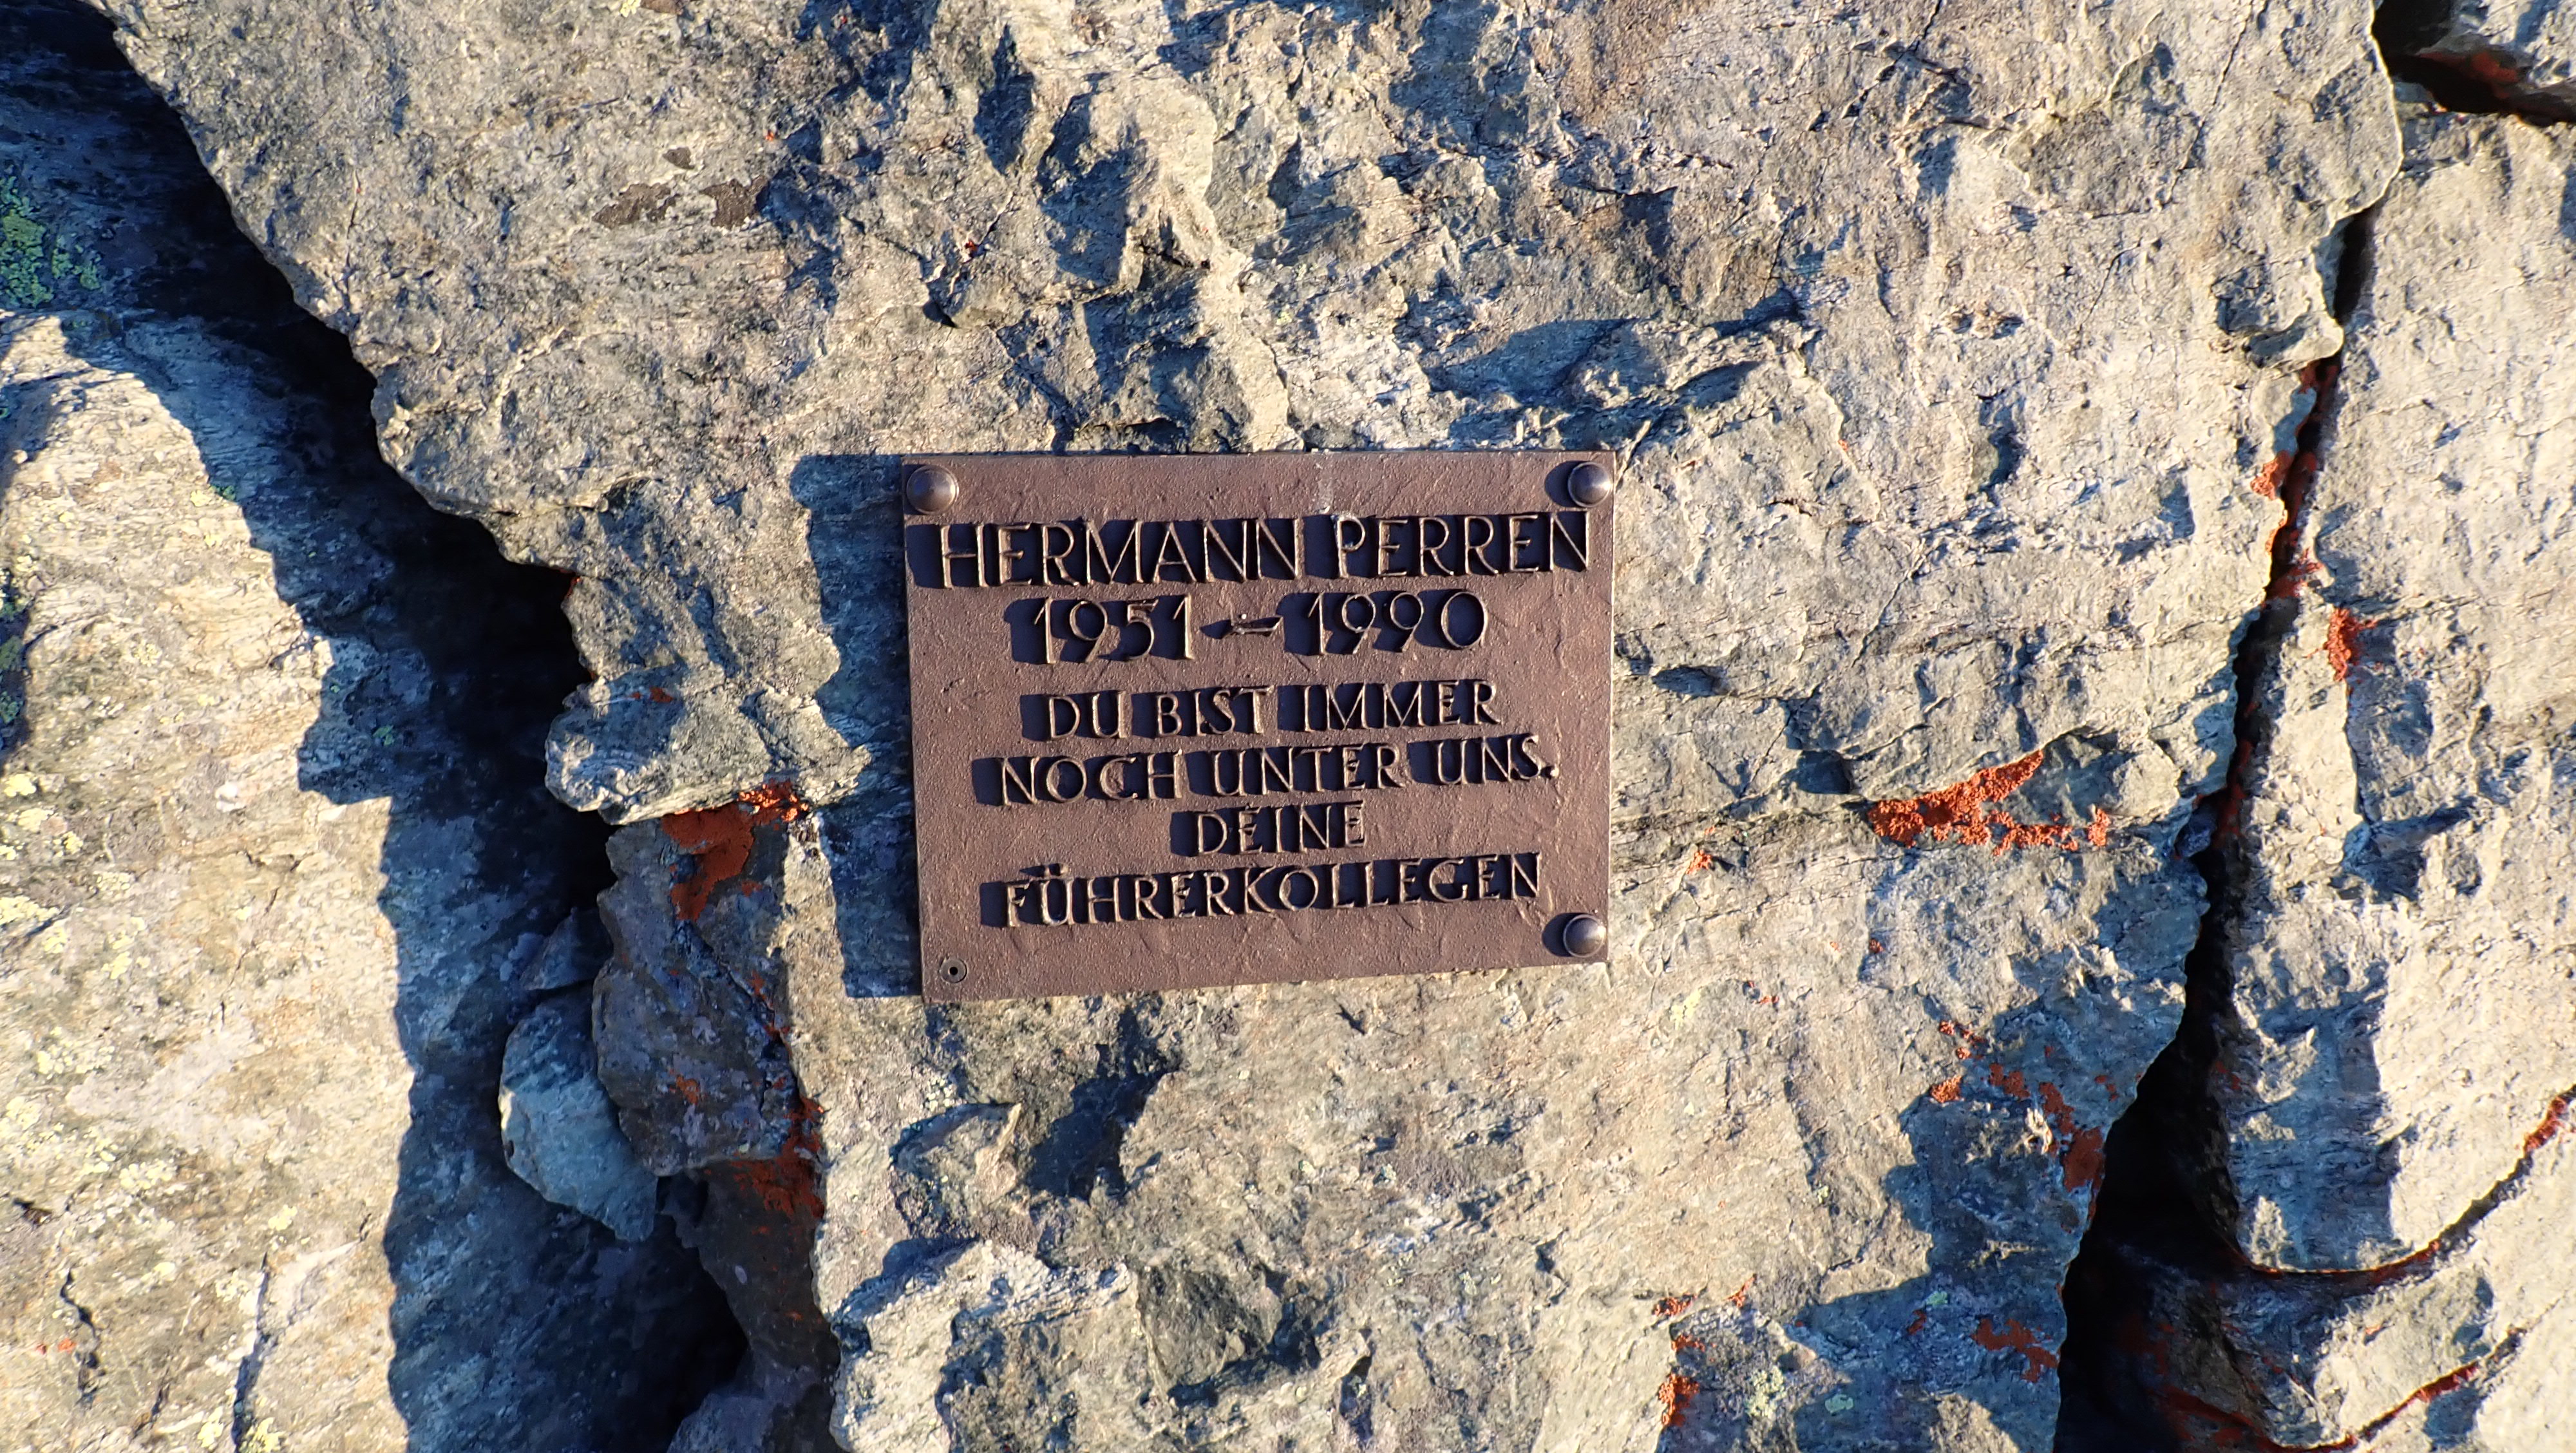
The first pitch is short, but encompasses high exposure vertical climbing. At the top is a plaque honoring Herman Perren, who was Joey’s Dad’s guide.
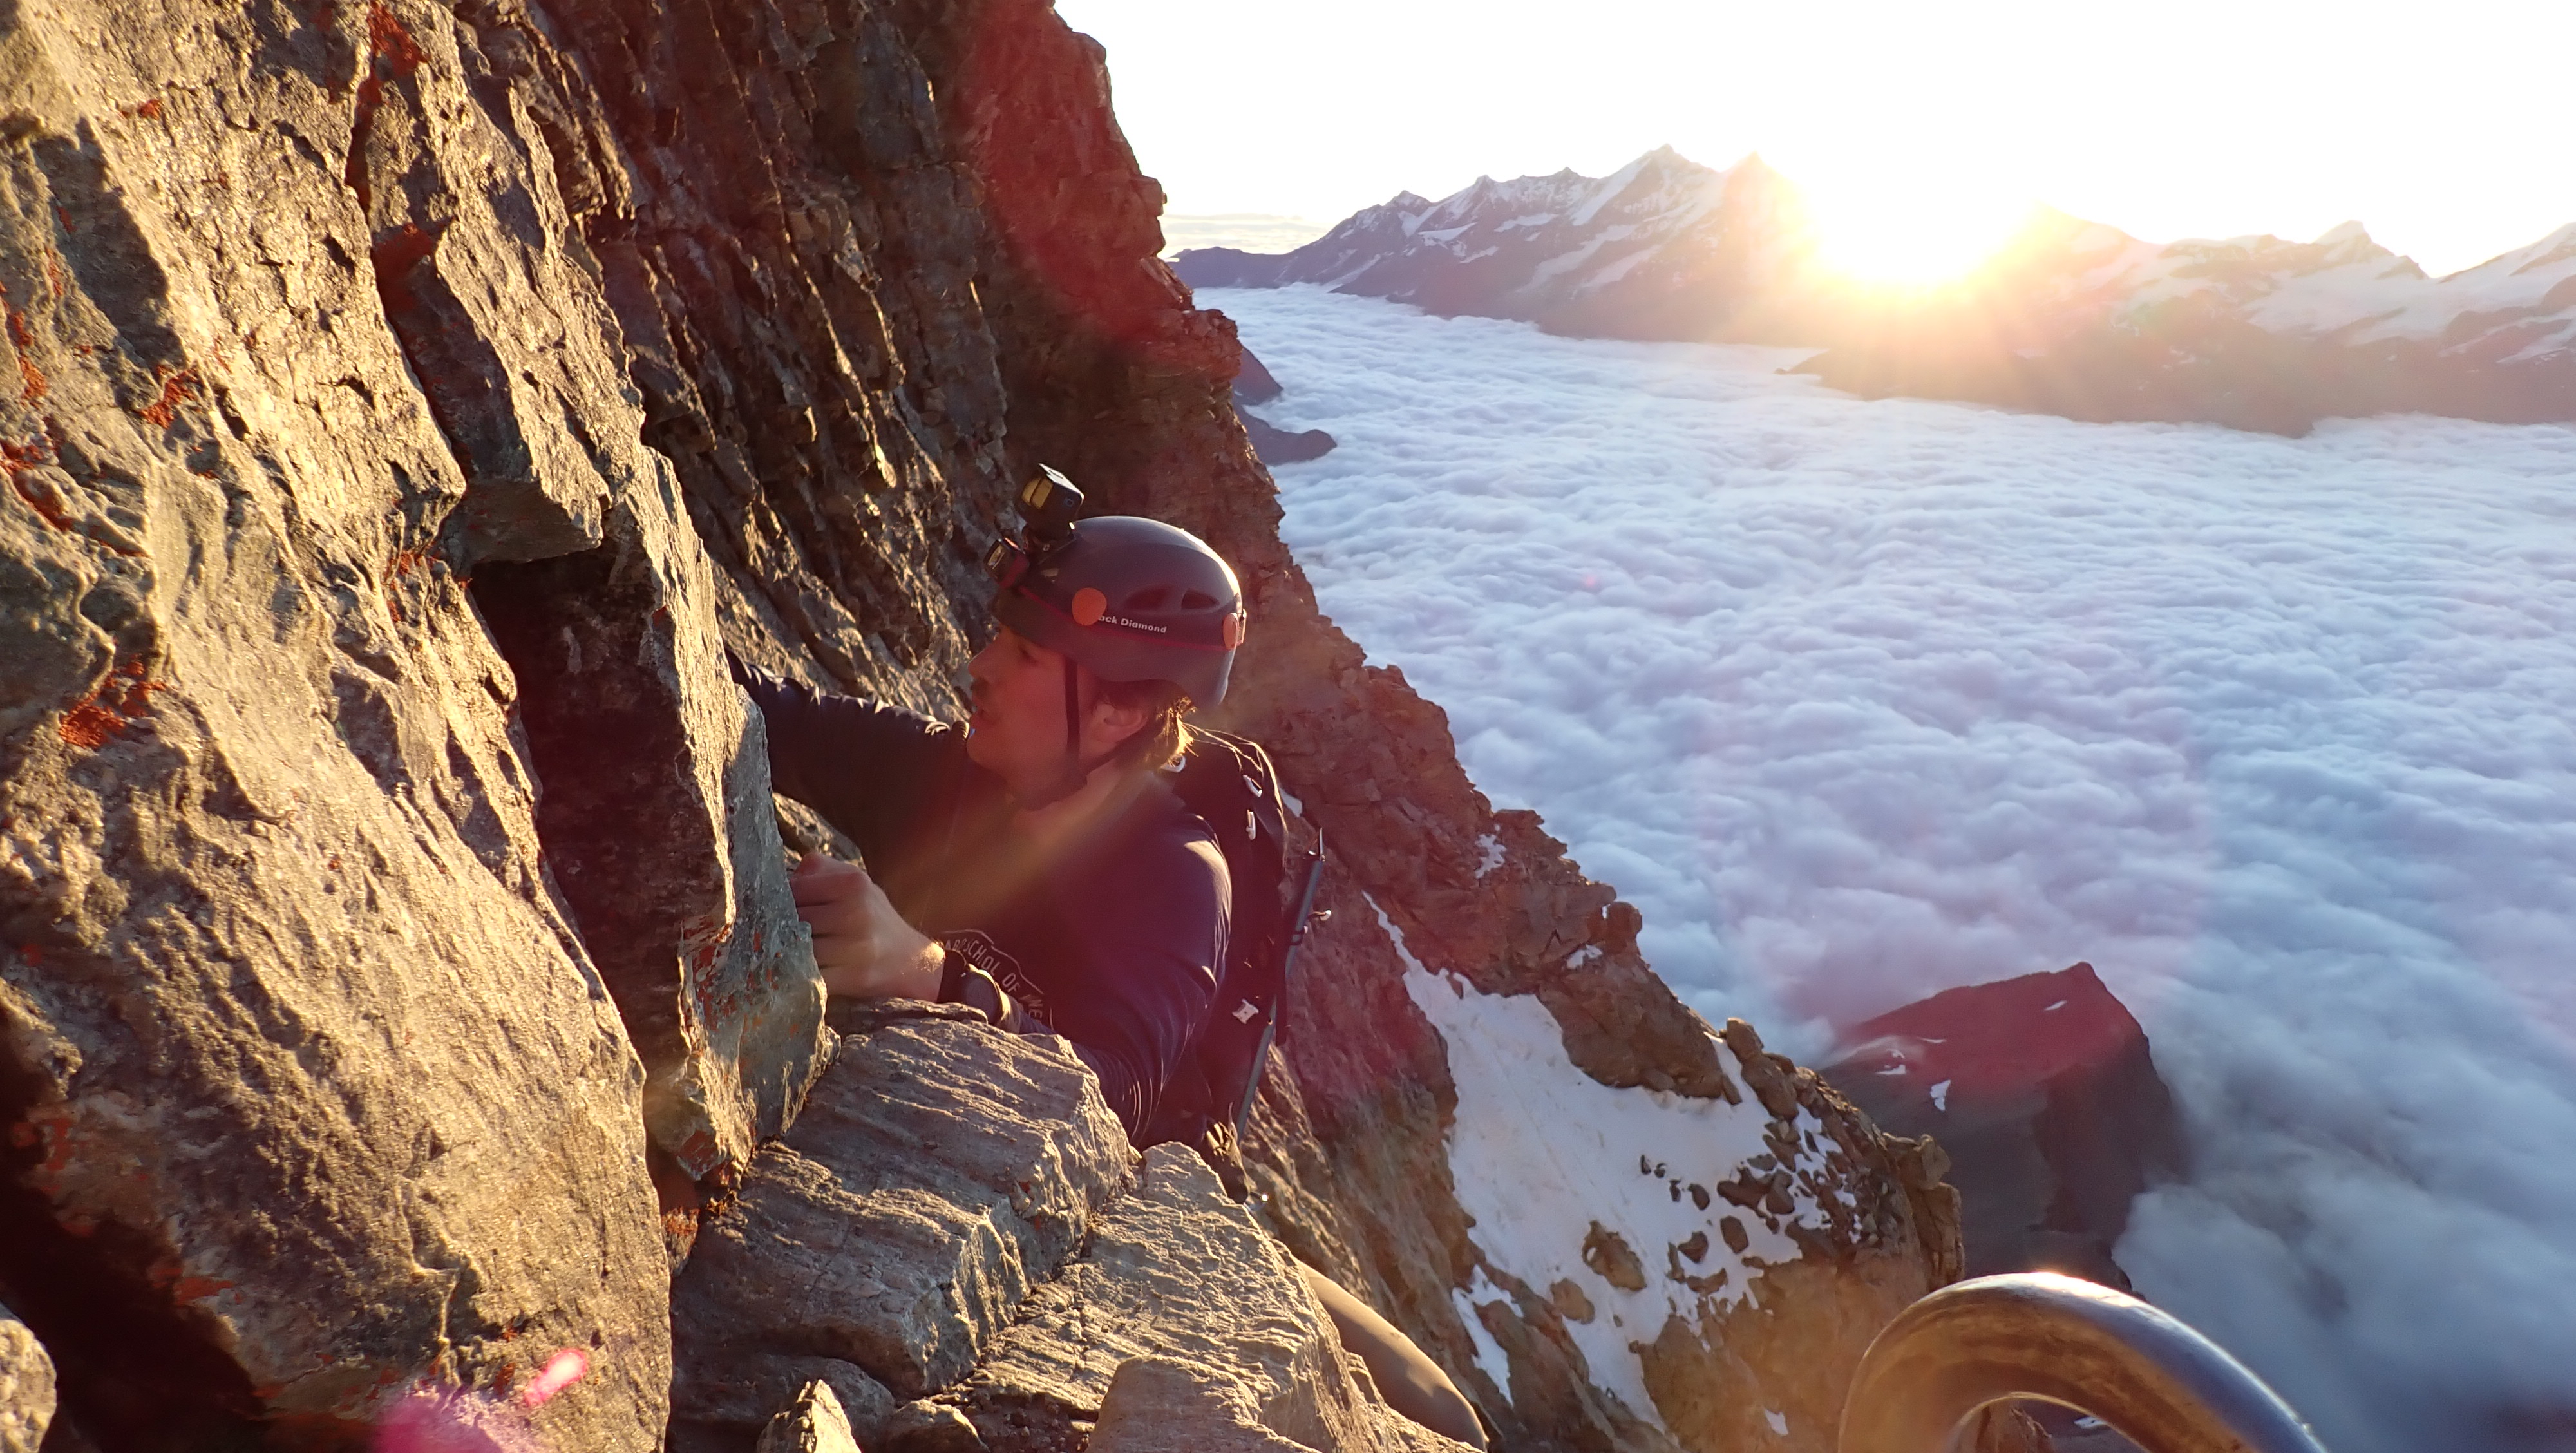
Next there is a short fixed rope of questionable quality that leads directly to the base of the 2nd technical section… the Solvay hut is now firmly visible above which makes route finding easier. This technical section was the most difficult without a fixed rope. The holds are not bad, and the rock is not loose, but it is little slippery and if you are nervous you should probably rope up and take advantage of the bolts with some quick draws. You don’t want to fall. This section tops out at the Solvay hut.
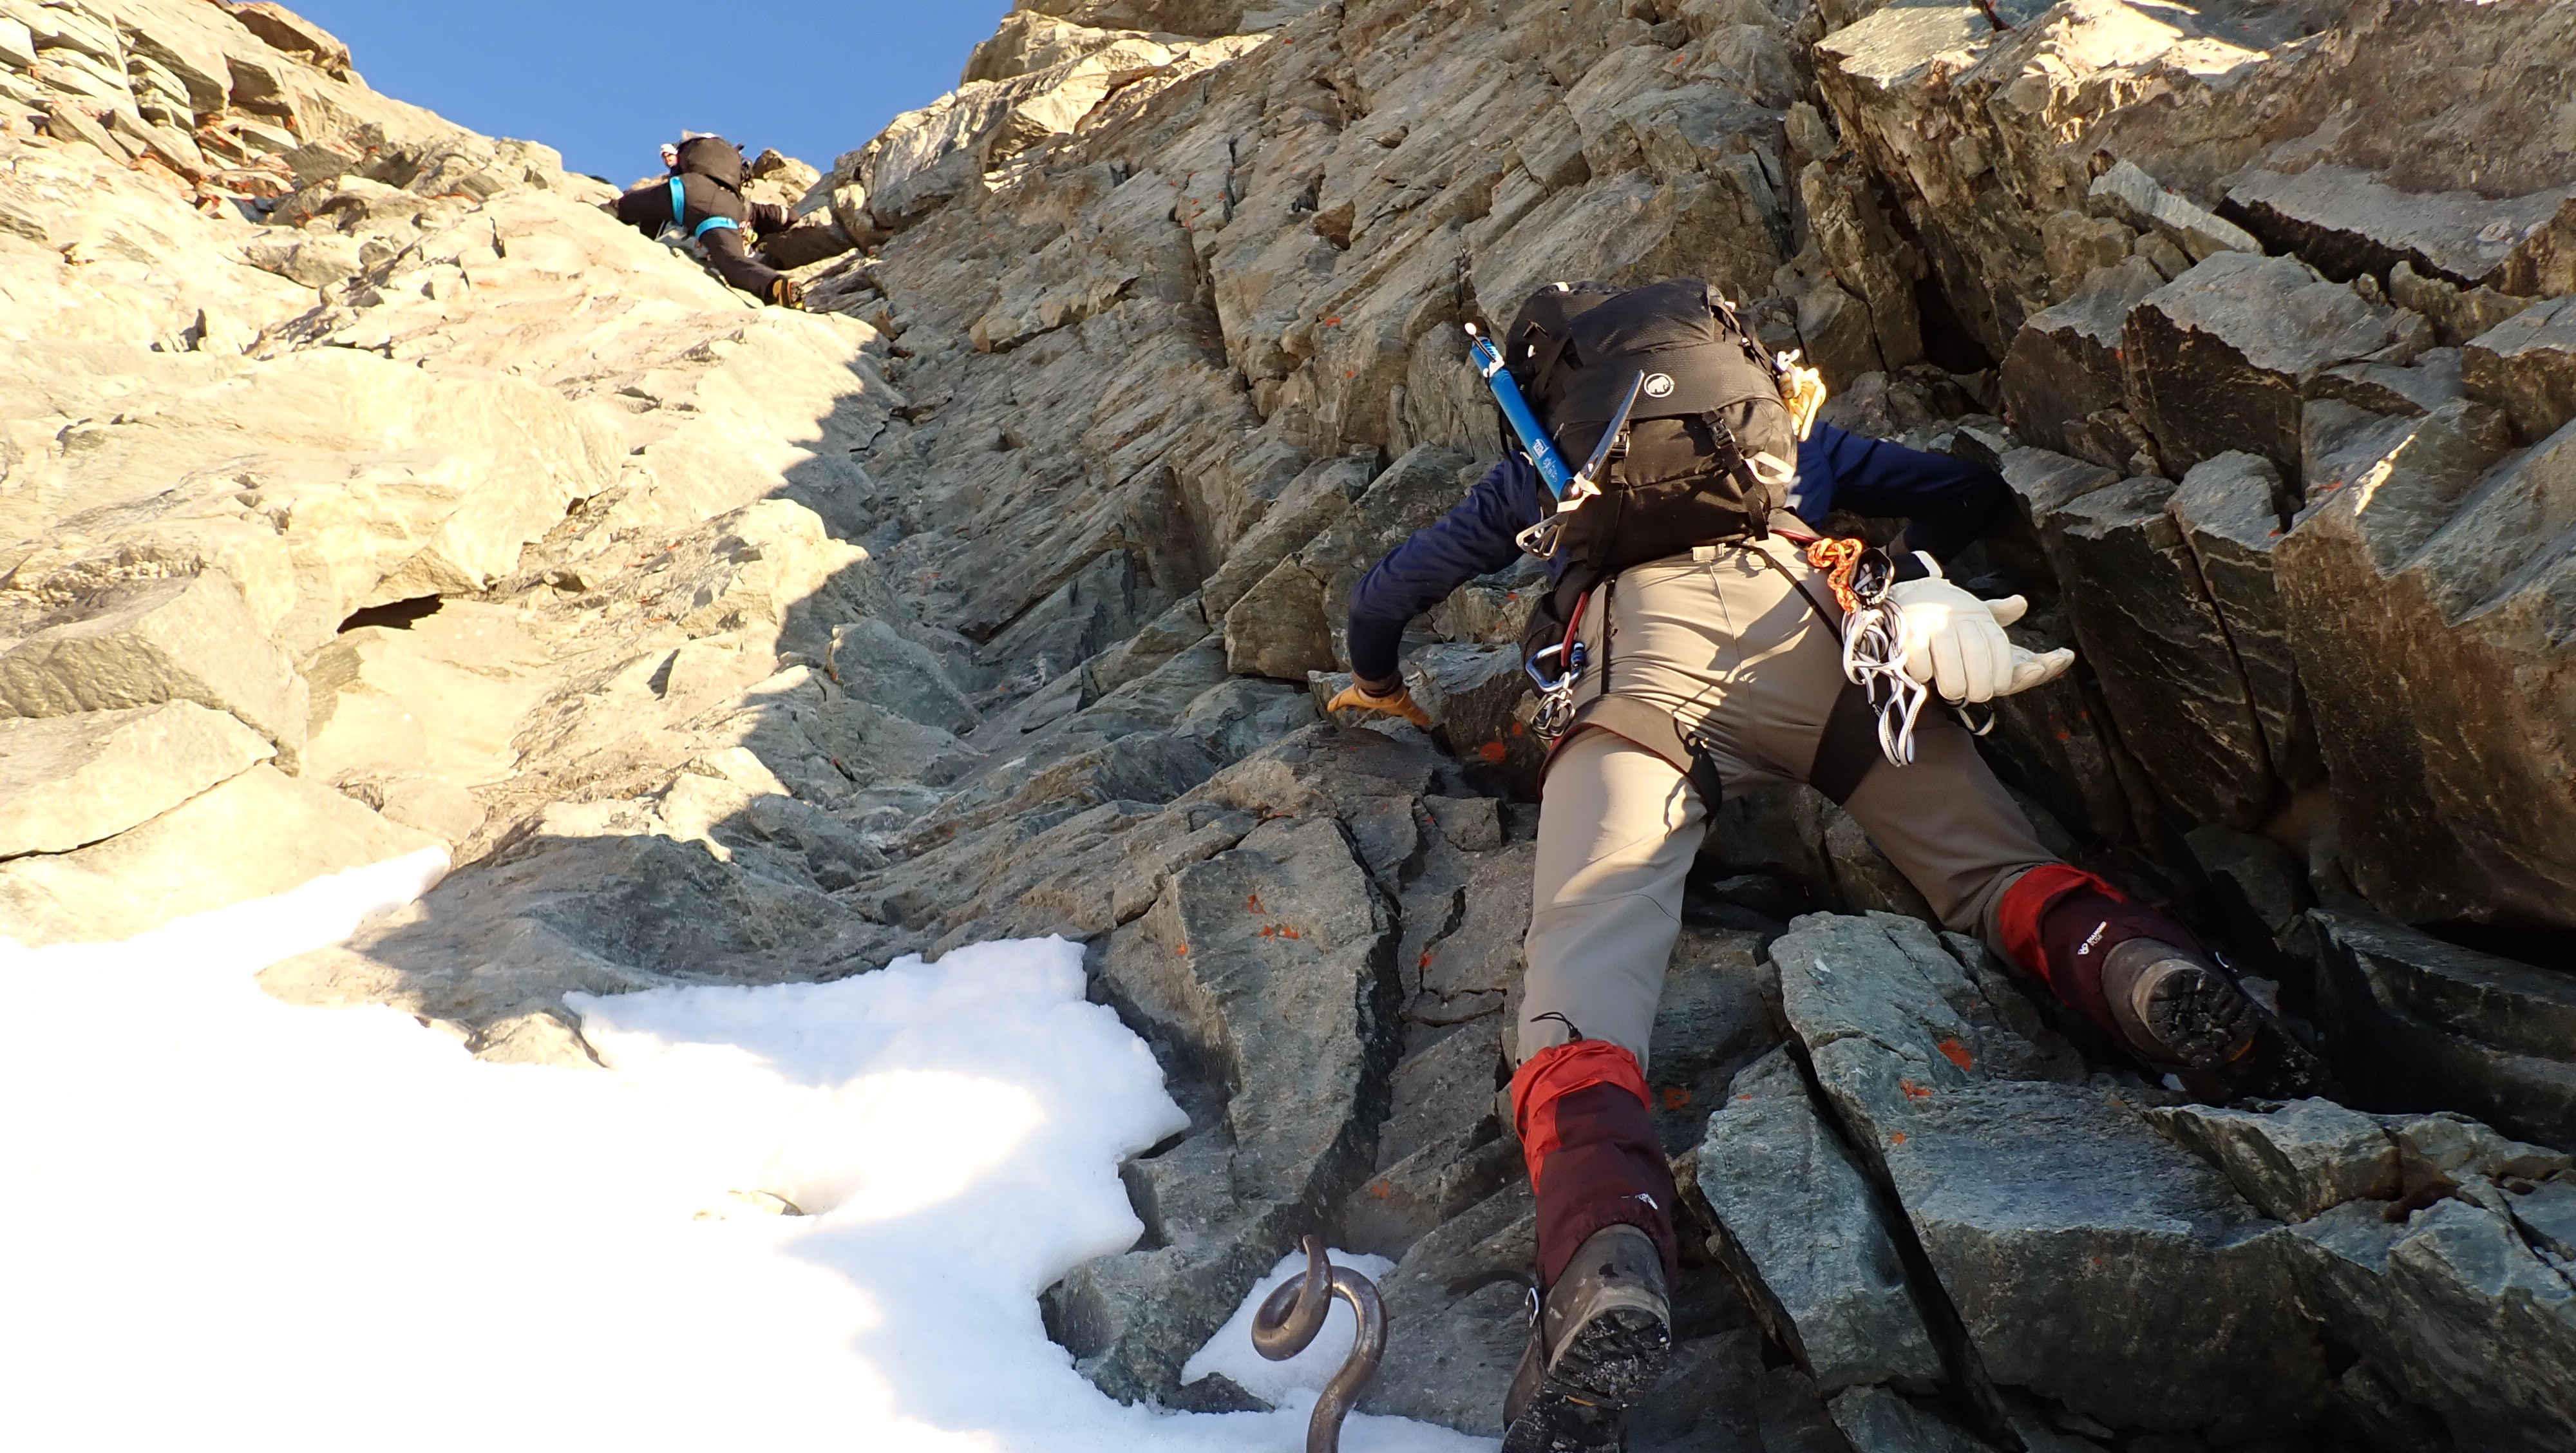
From the backside of the Solvay hut you start at the horn anchor and climb directly up the rock wall. The holds are good, and once you are over the ledge there is protection placement, and a metal spike to grab. From there you can continue onto the ridge.
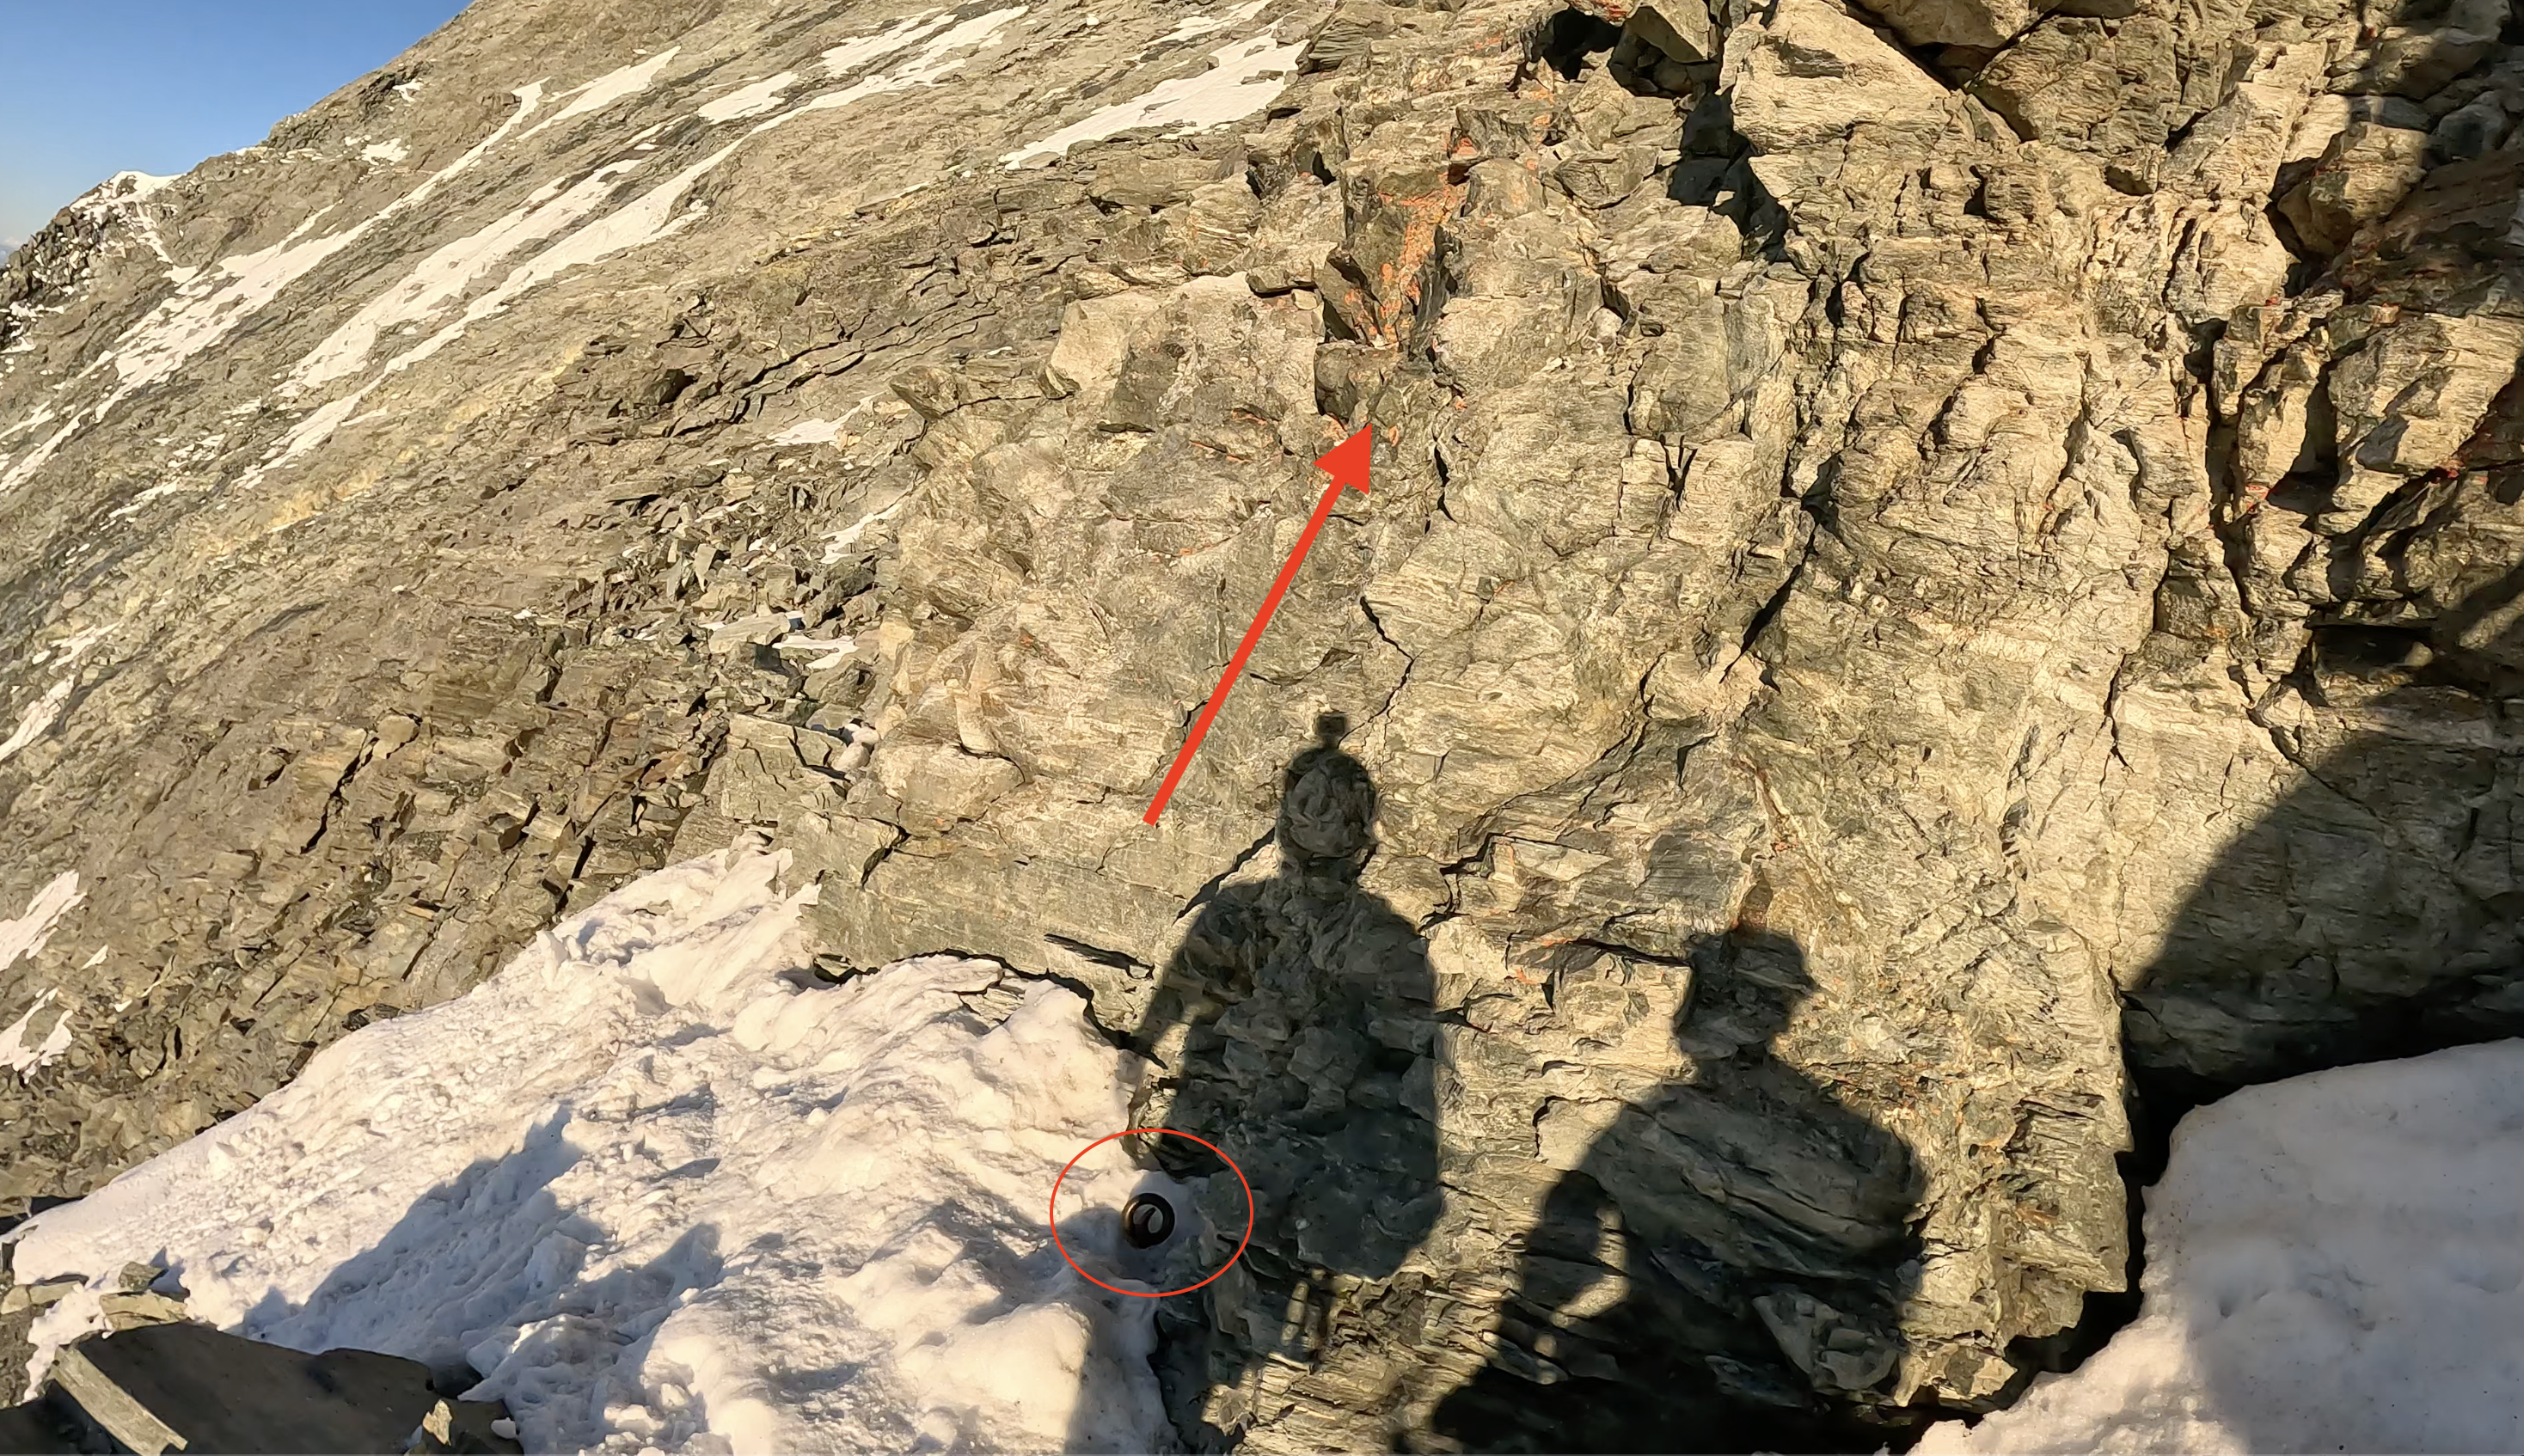
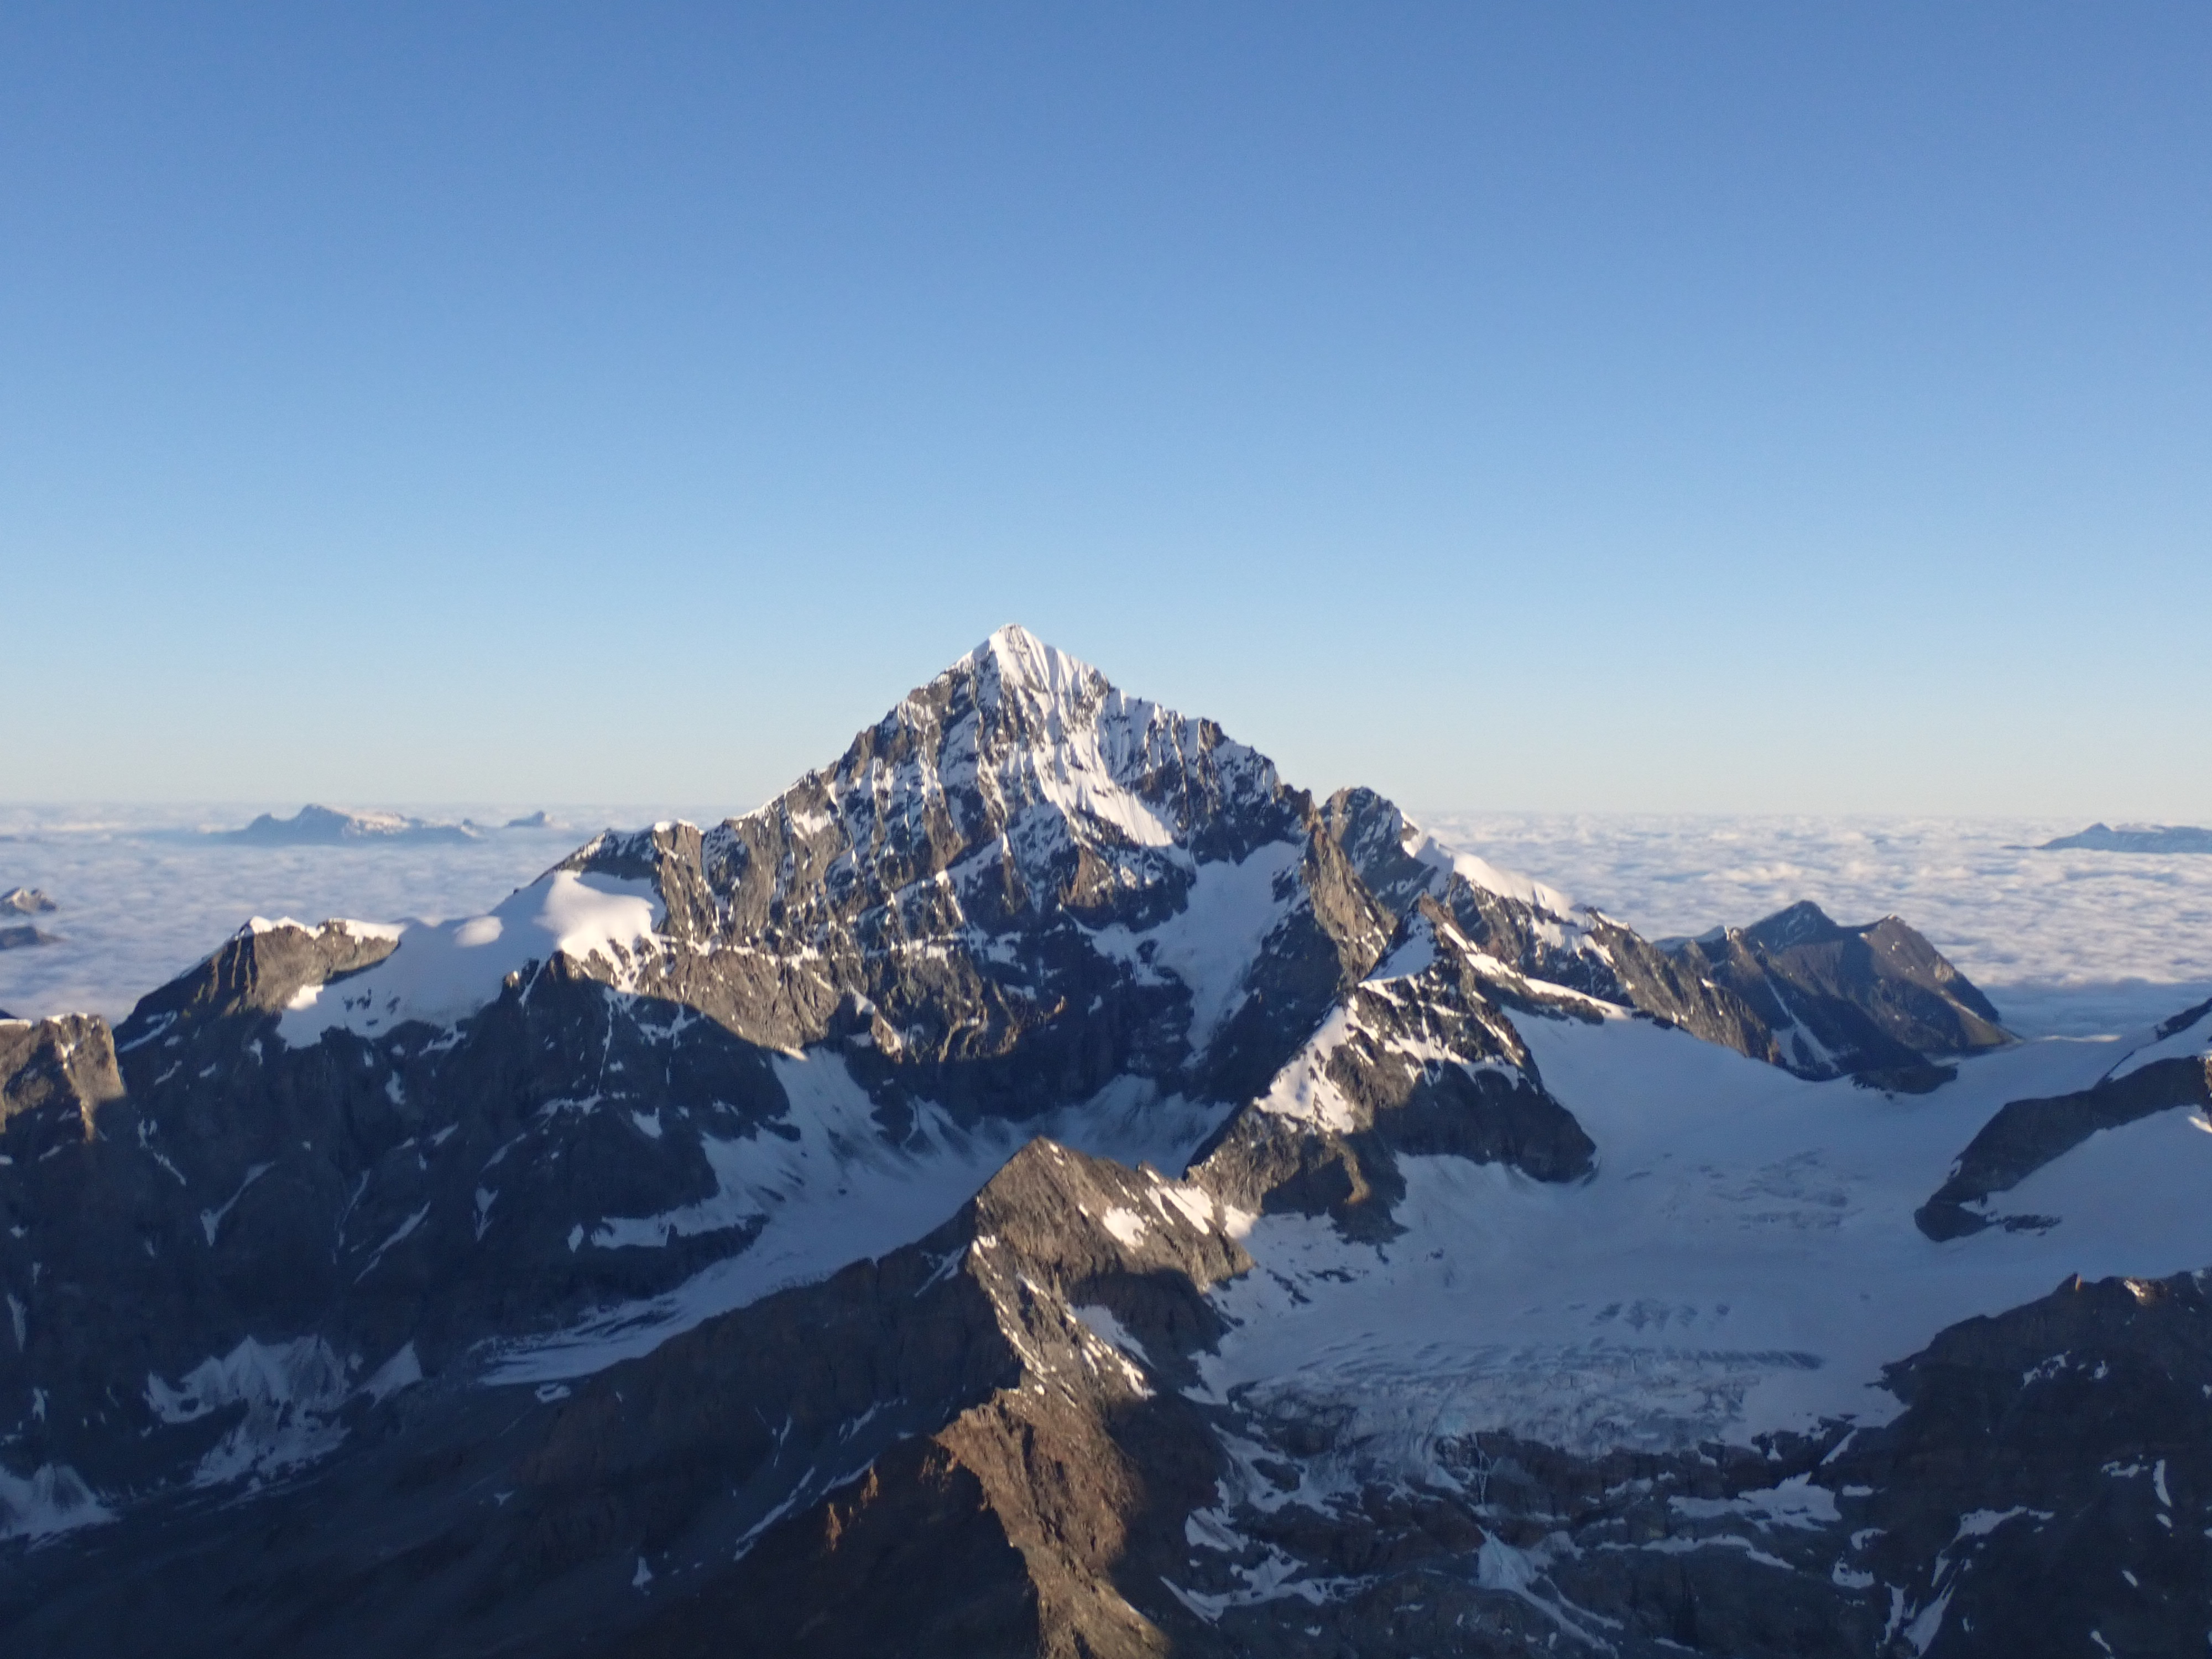
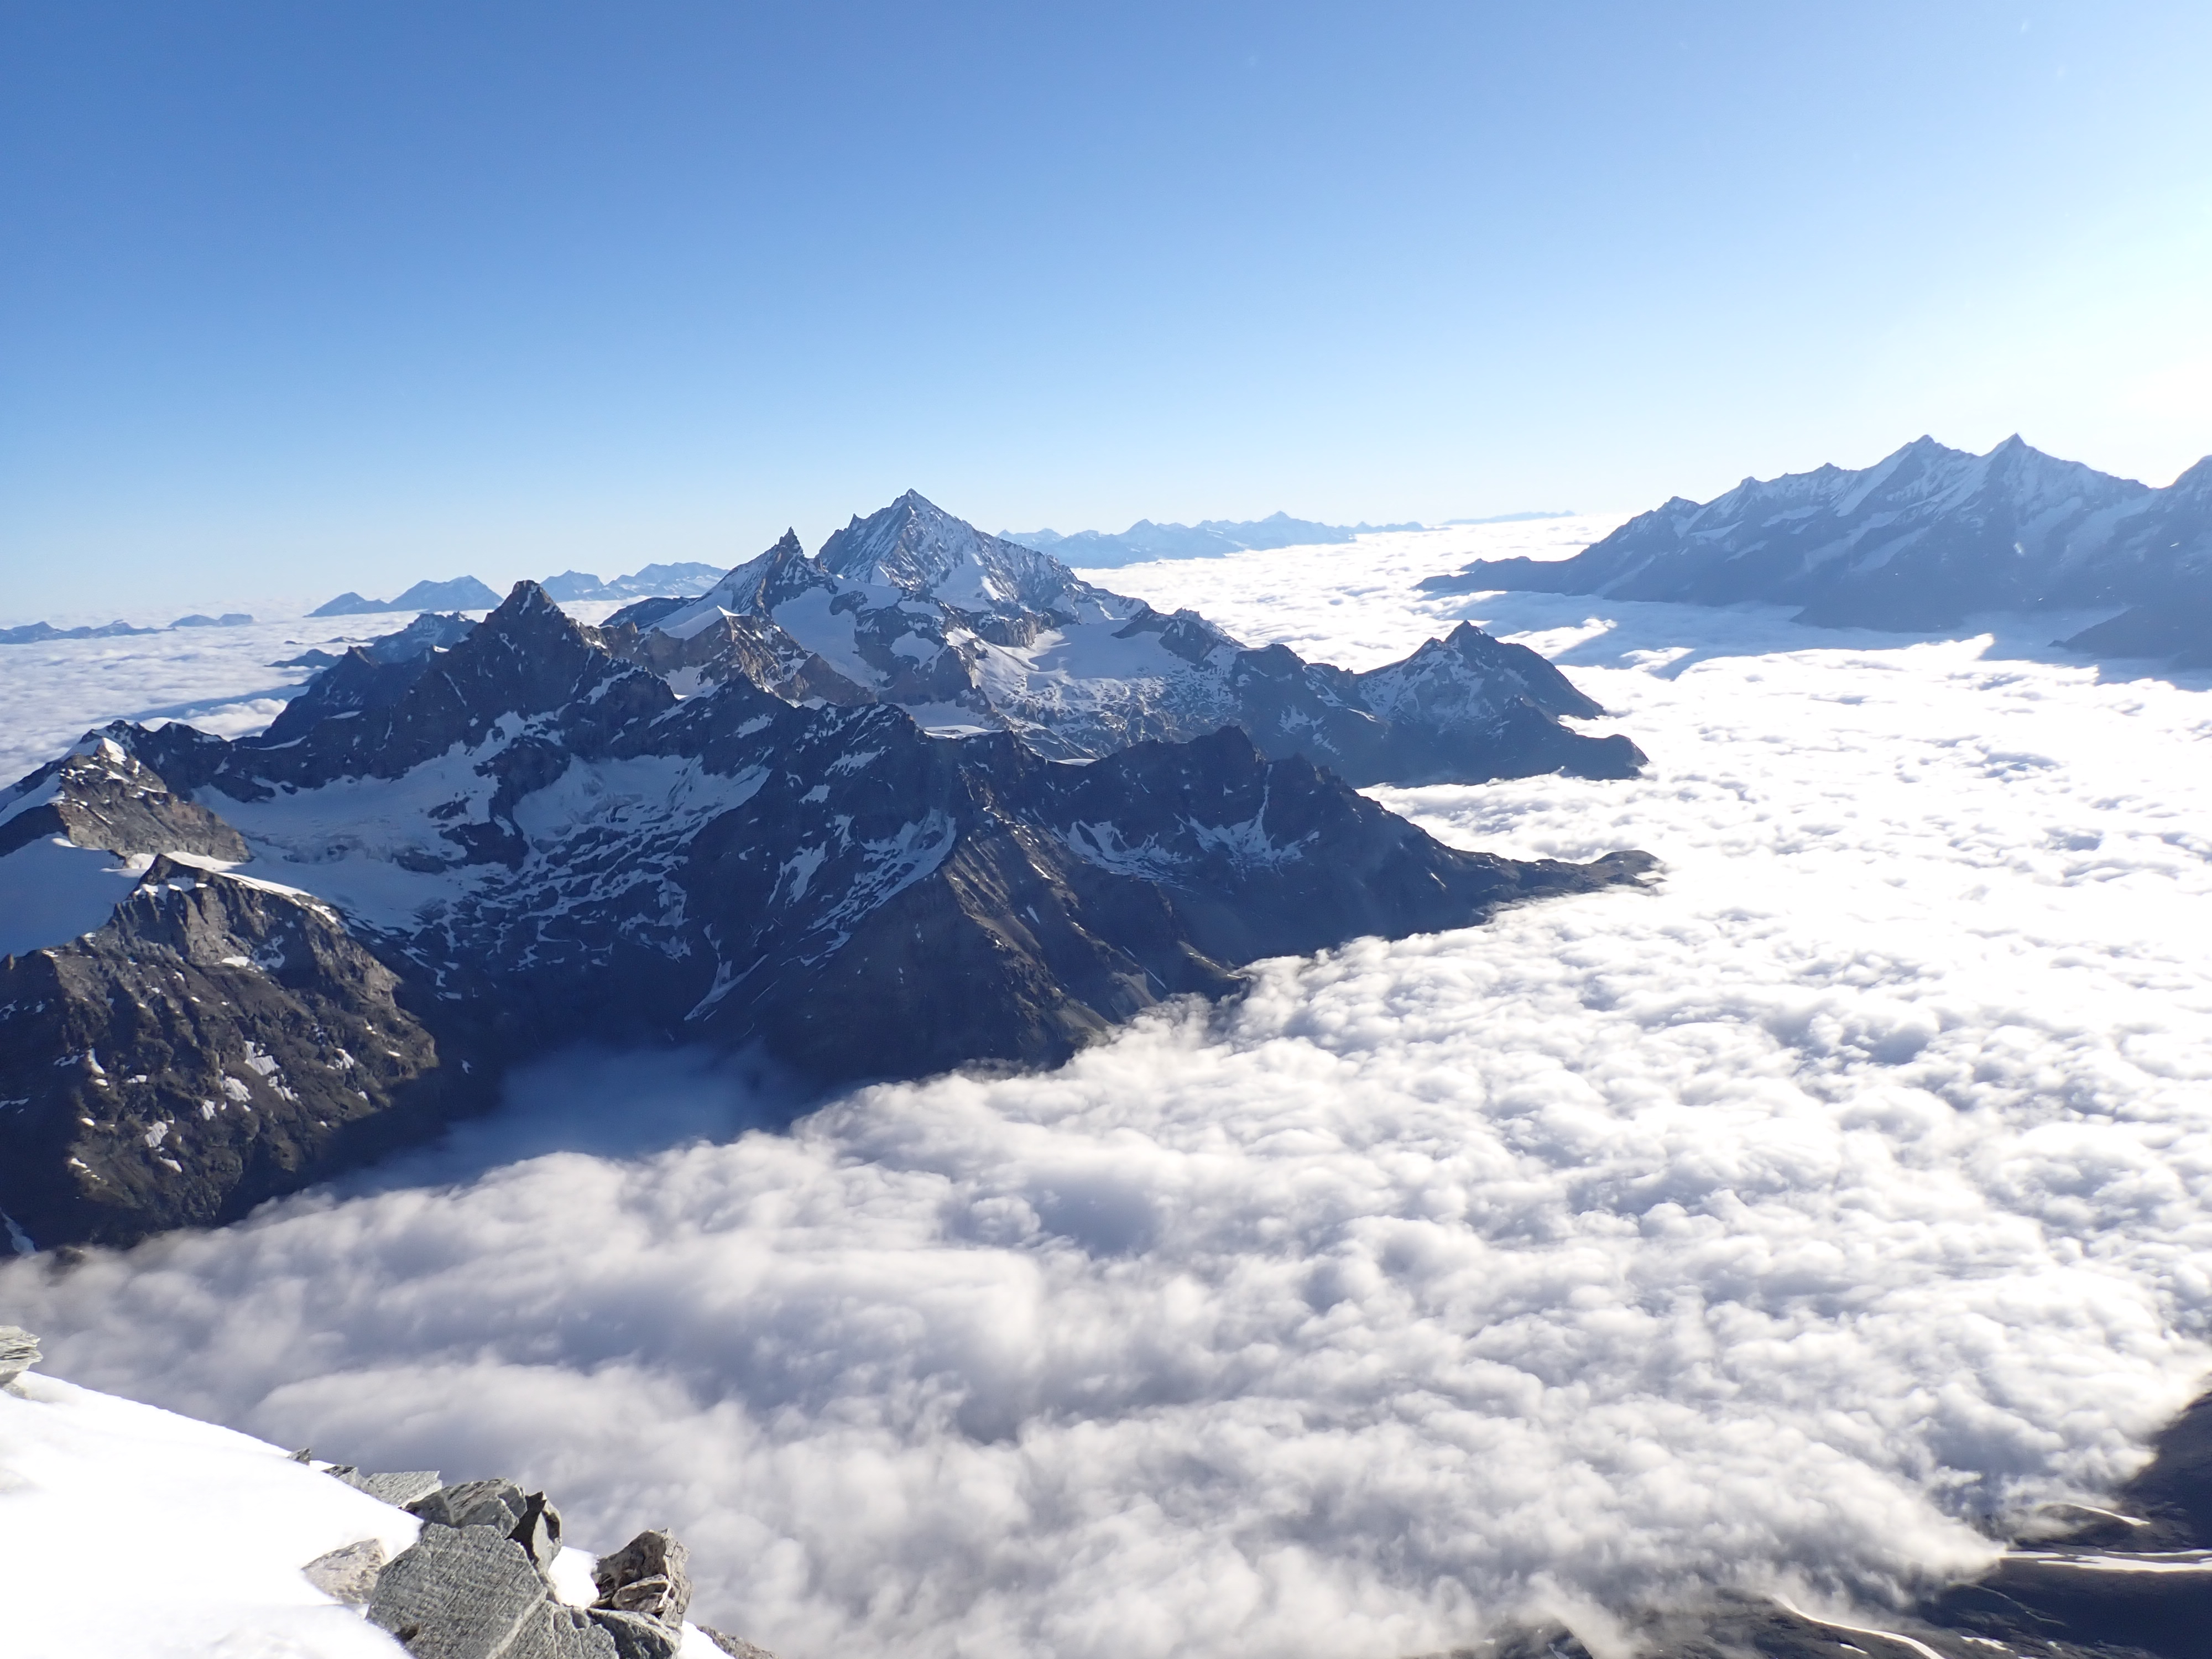
The Ridgeline has some exposure, but there are bolts place sporadically and the route is well defined by crampon scrapes. There are some incredible views of the surrounding peaks. I don’t know their names, so feel free to comment if you do.
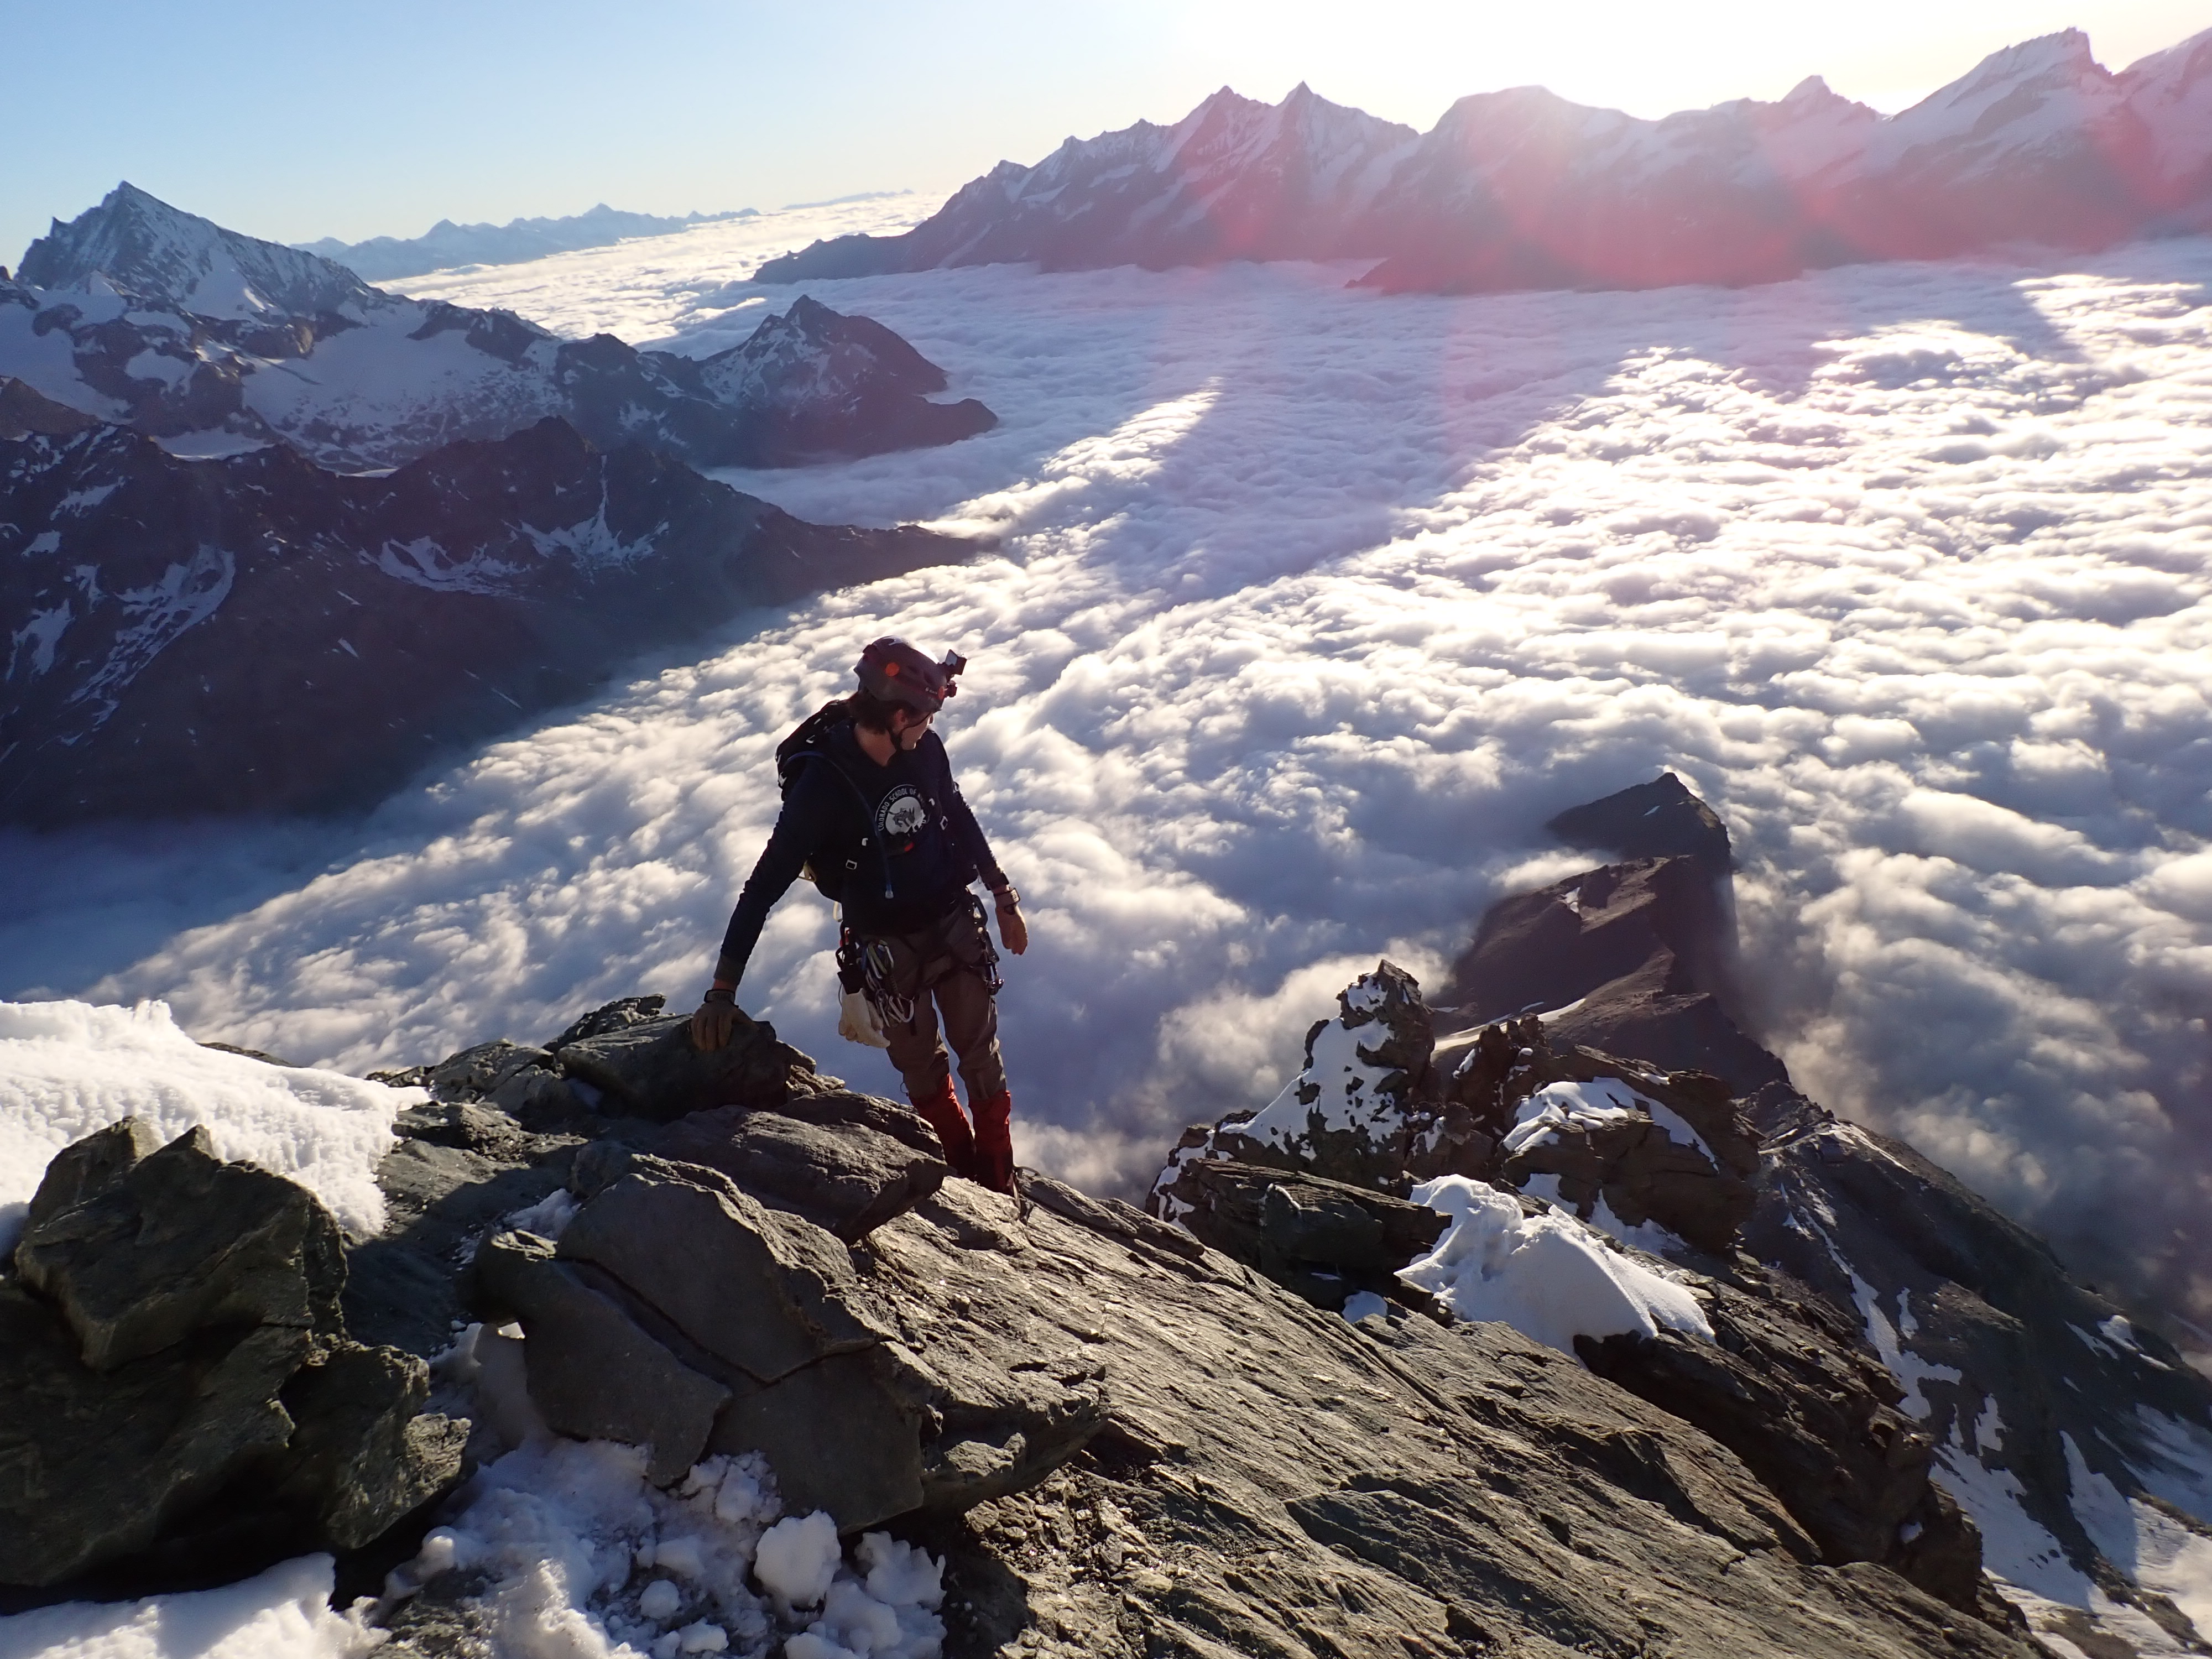
We stayed generally on the ridge or just to the left until we could see a set of fixed ropes. In the below image you can see several of the guided parties along the route above us.
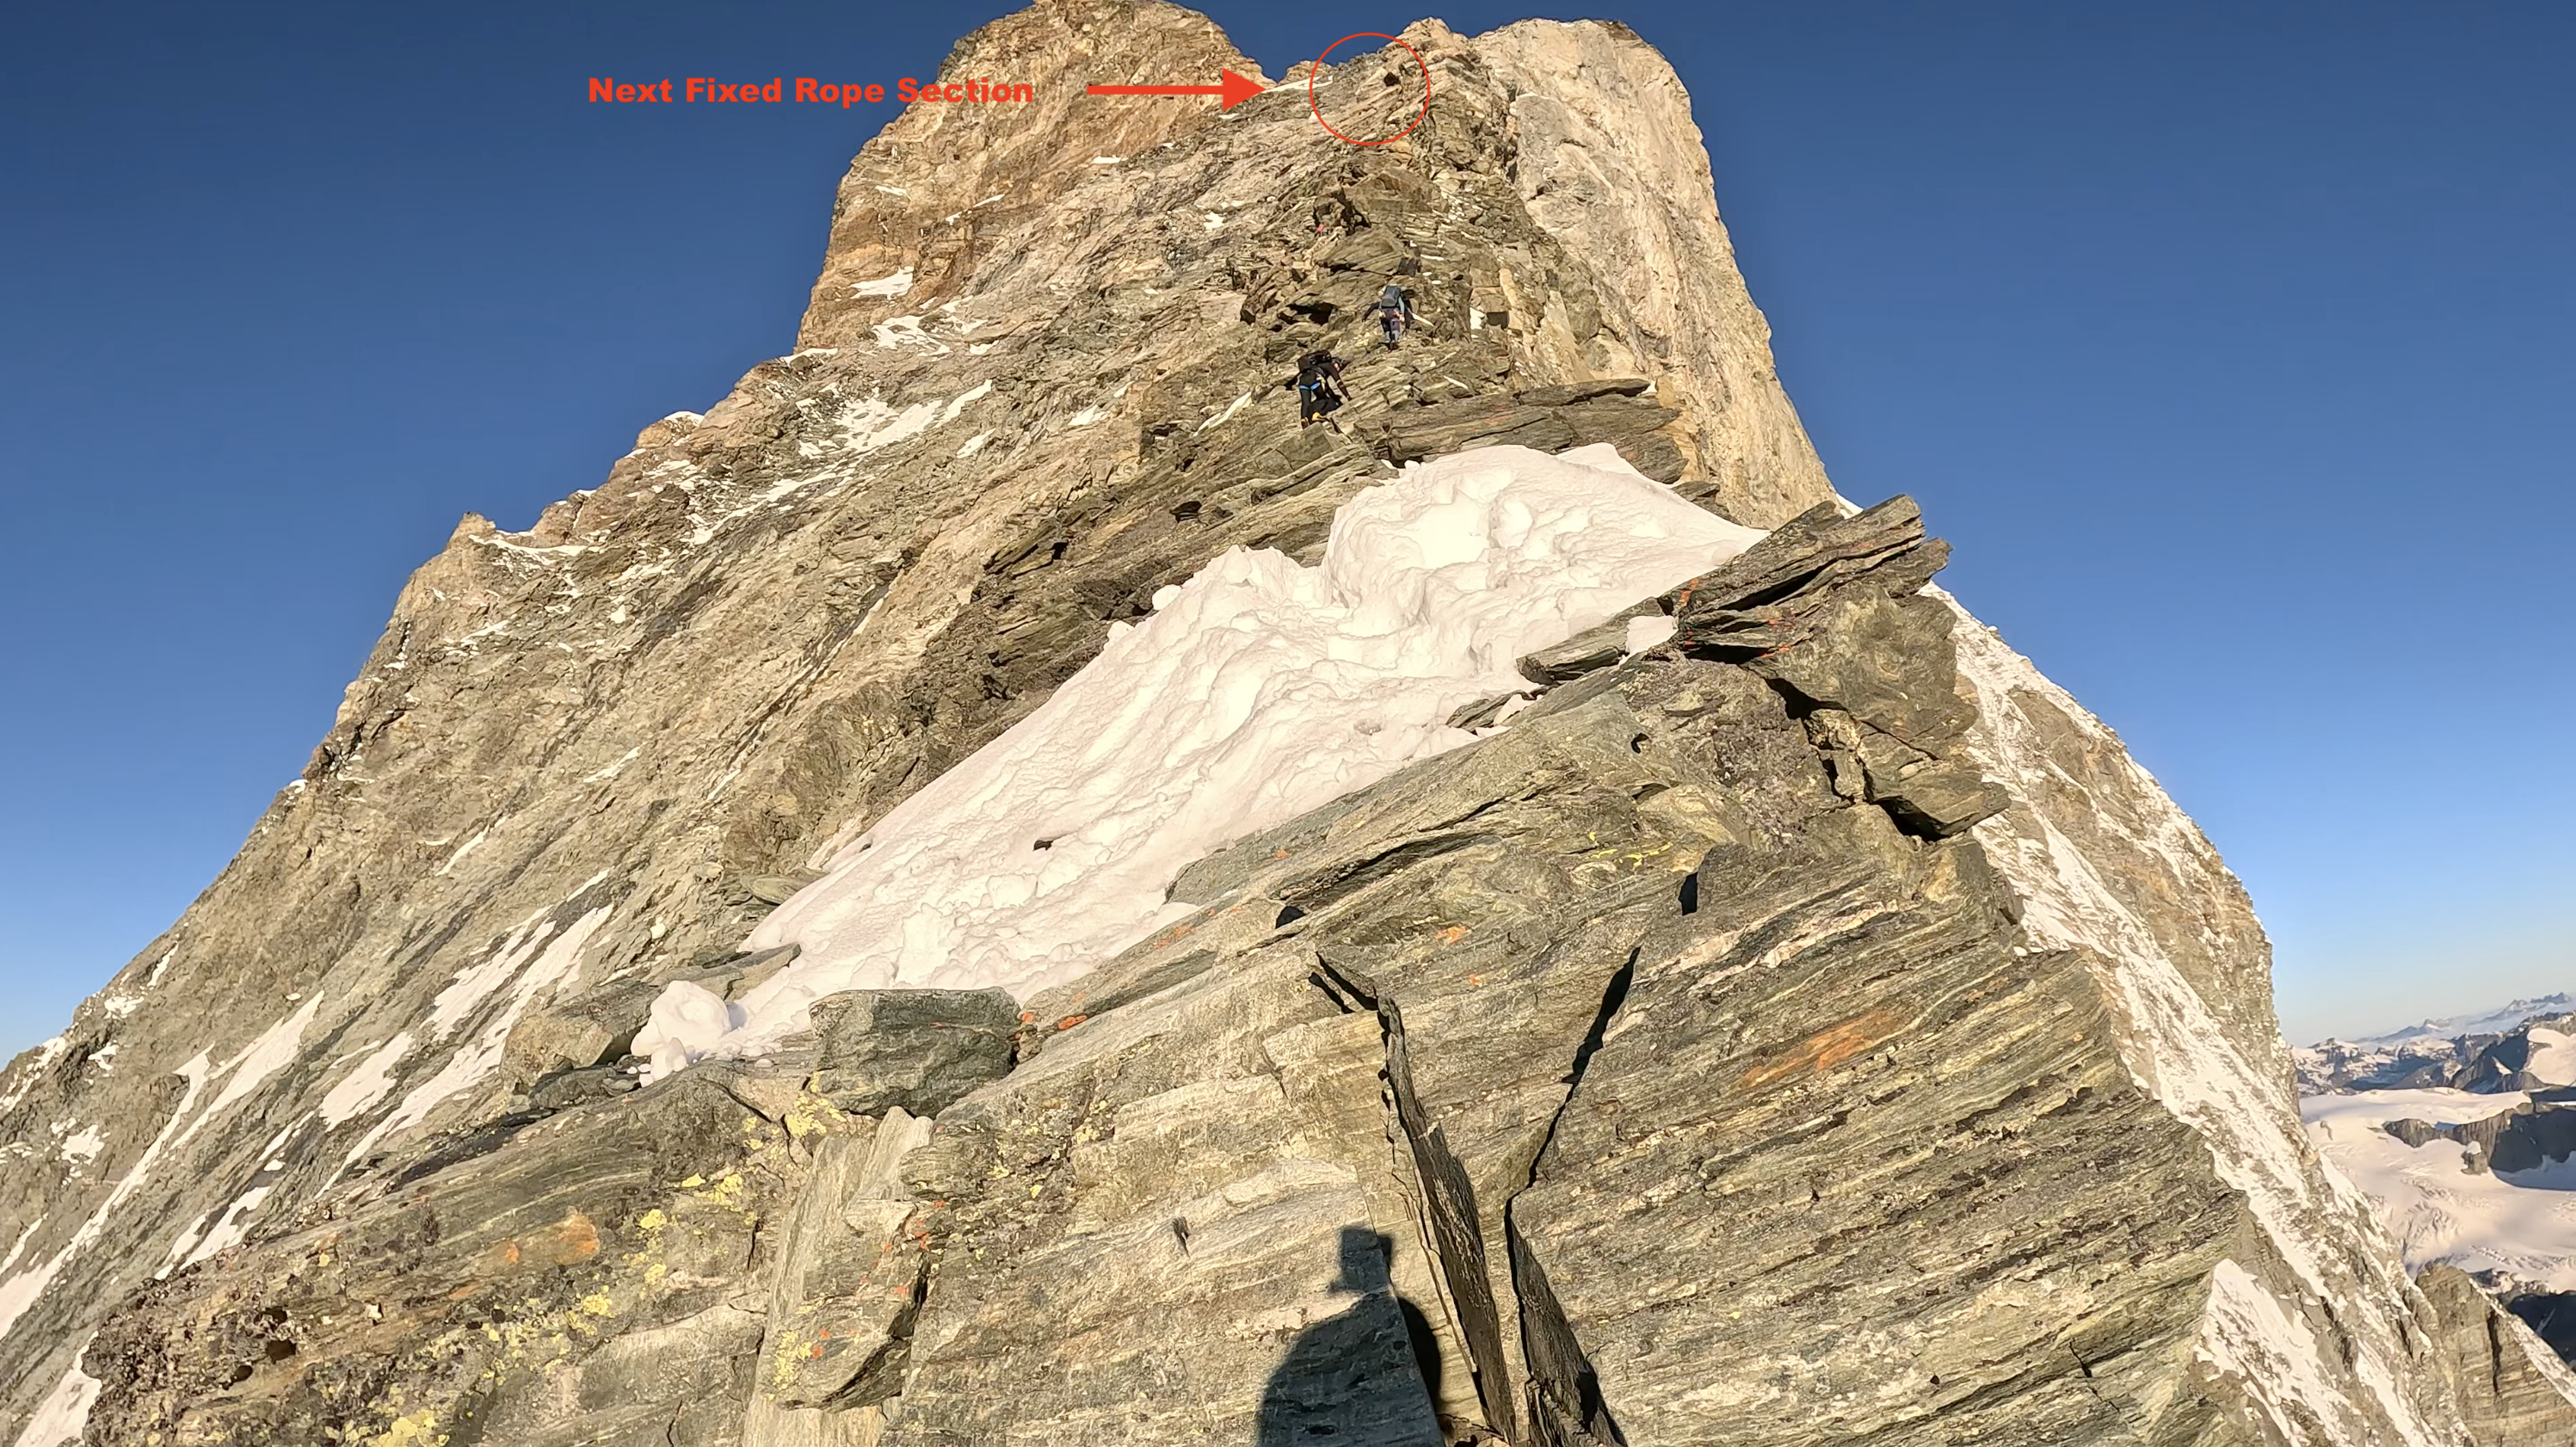
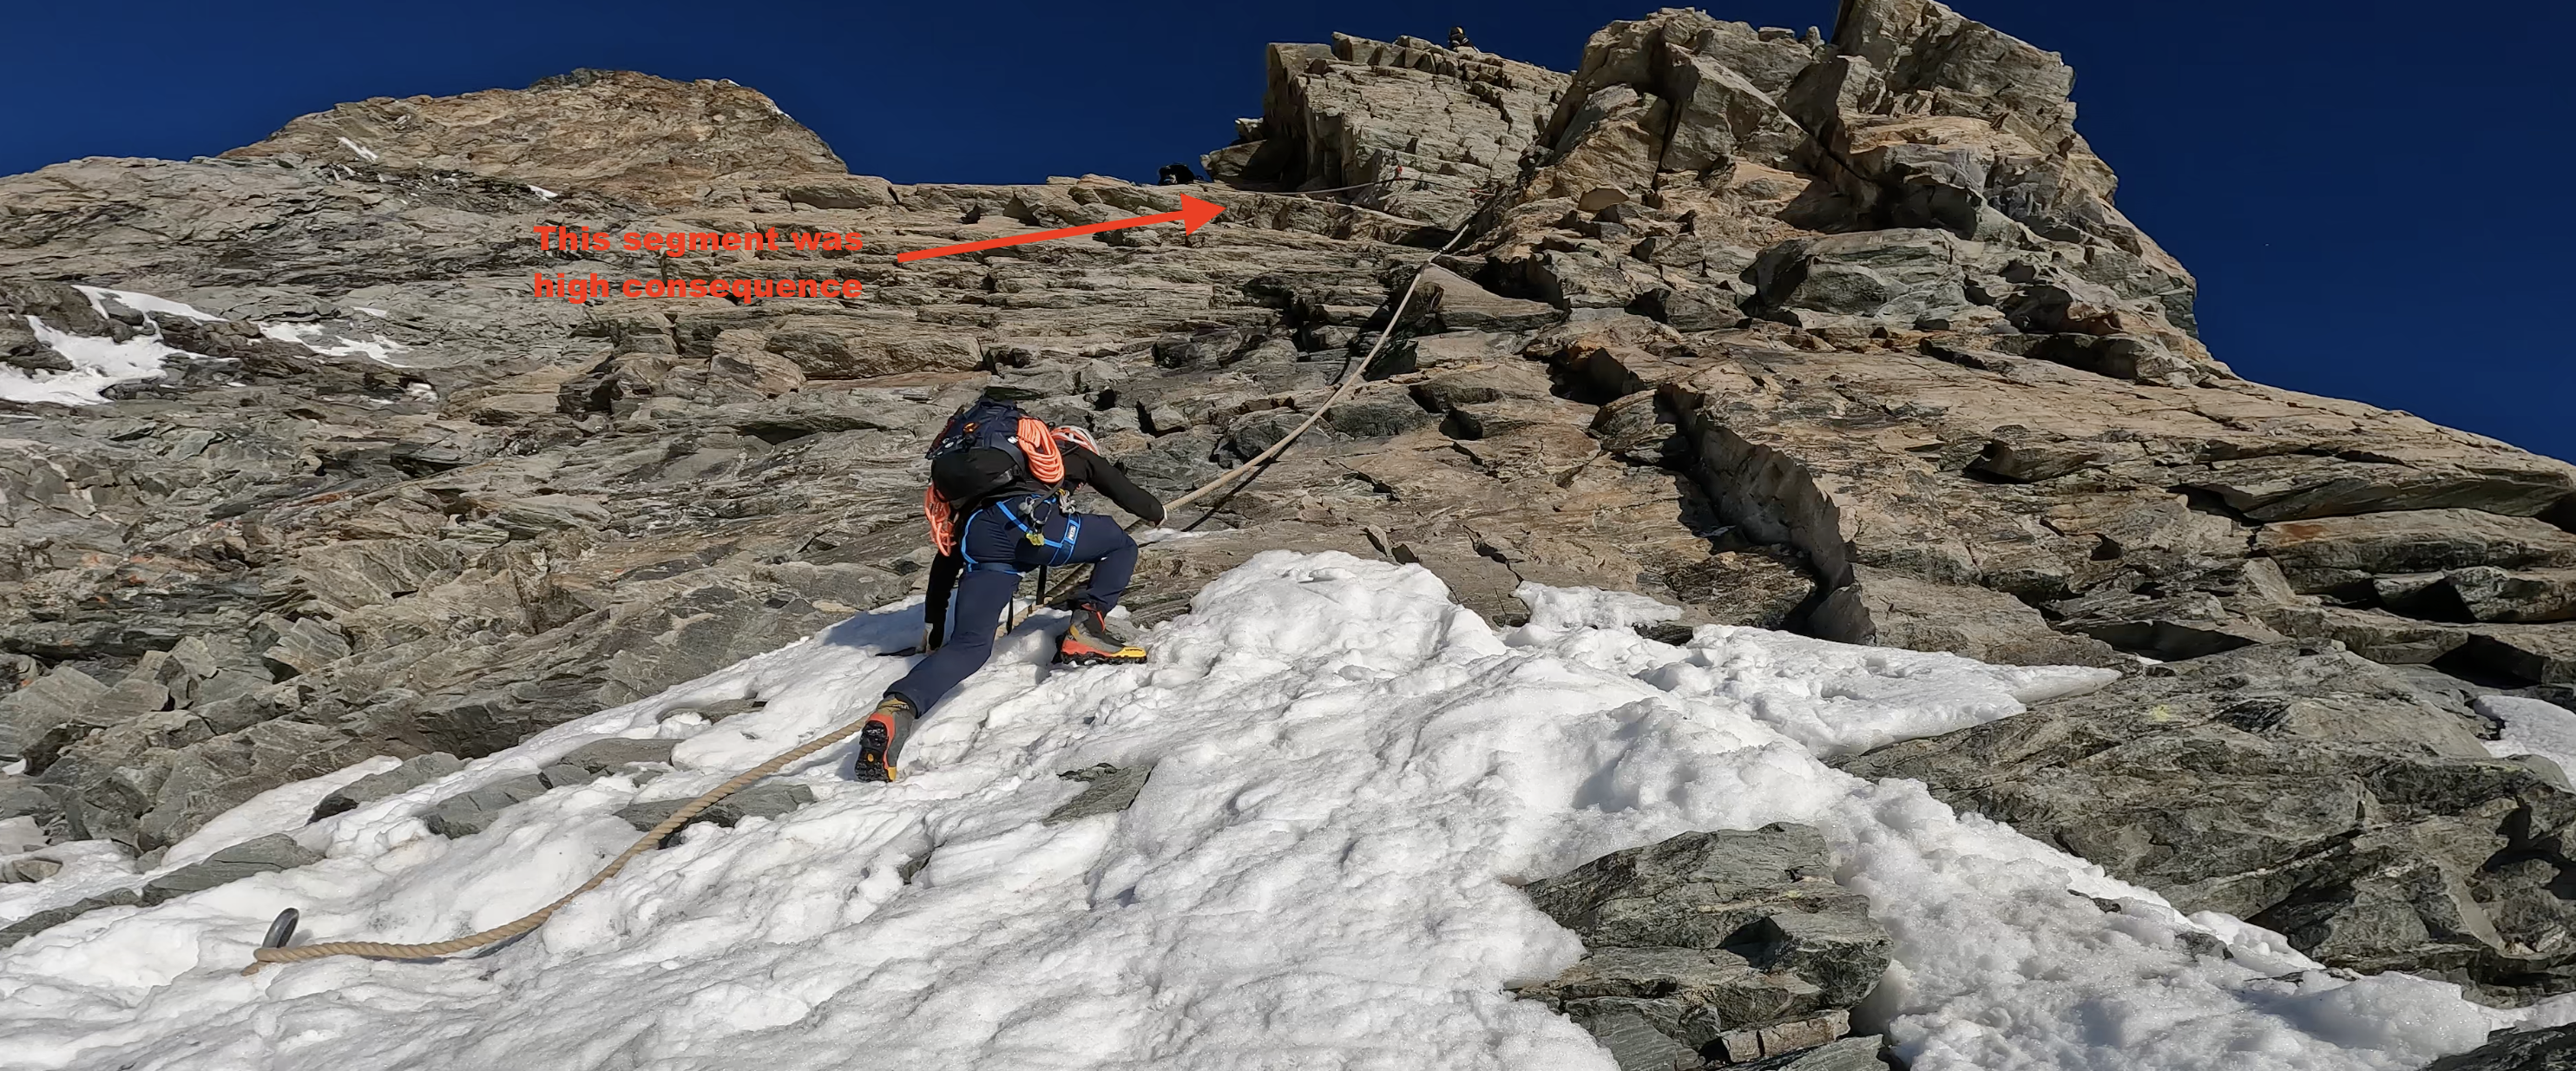
The fixed rope section was not difficult, but it required commitment and trust in the fixed rope. It’s worth watching the video to see the exposure.
Above these fixed ropes was made difficult by the snow, and the fact that we hadn’t put on our crampons yet. I went straight up a mixed ice/rock gully while the guides snaked climbers right more directly on the Ridgeline (I couldn’t see them when I first started going up).
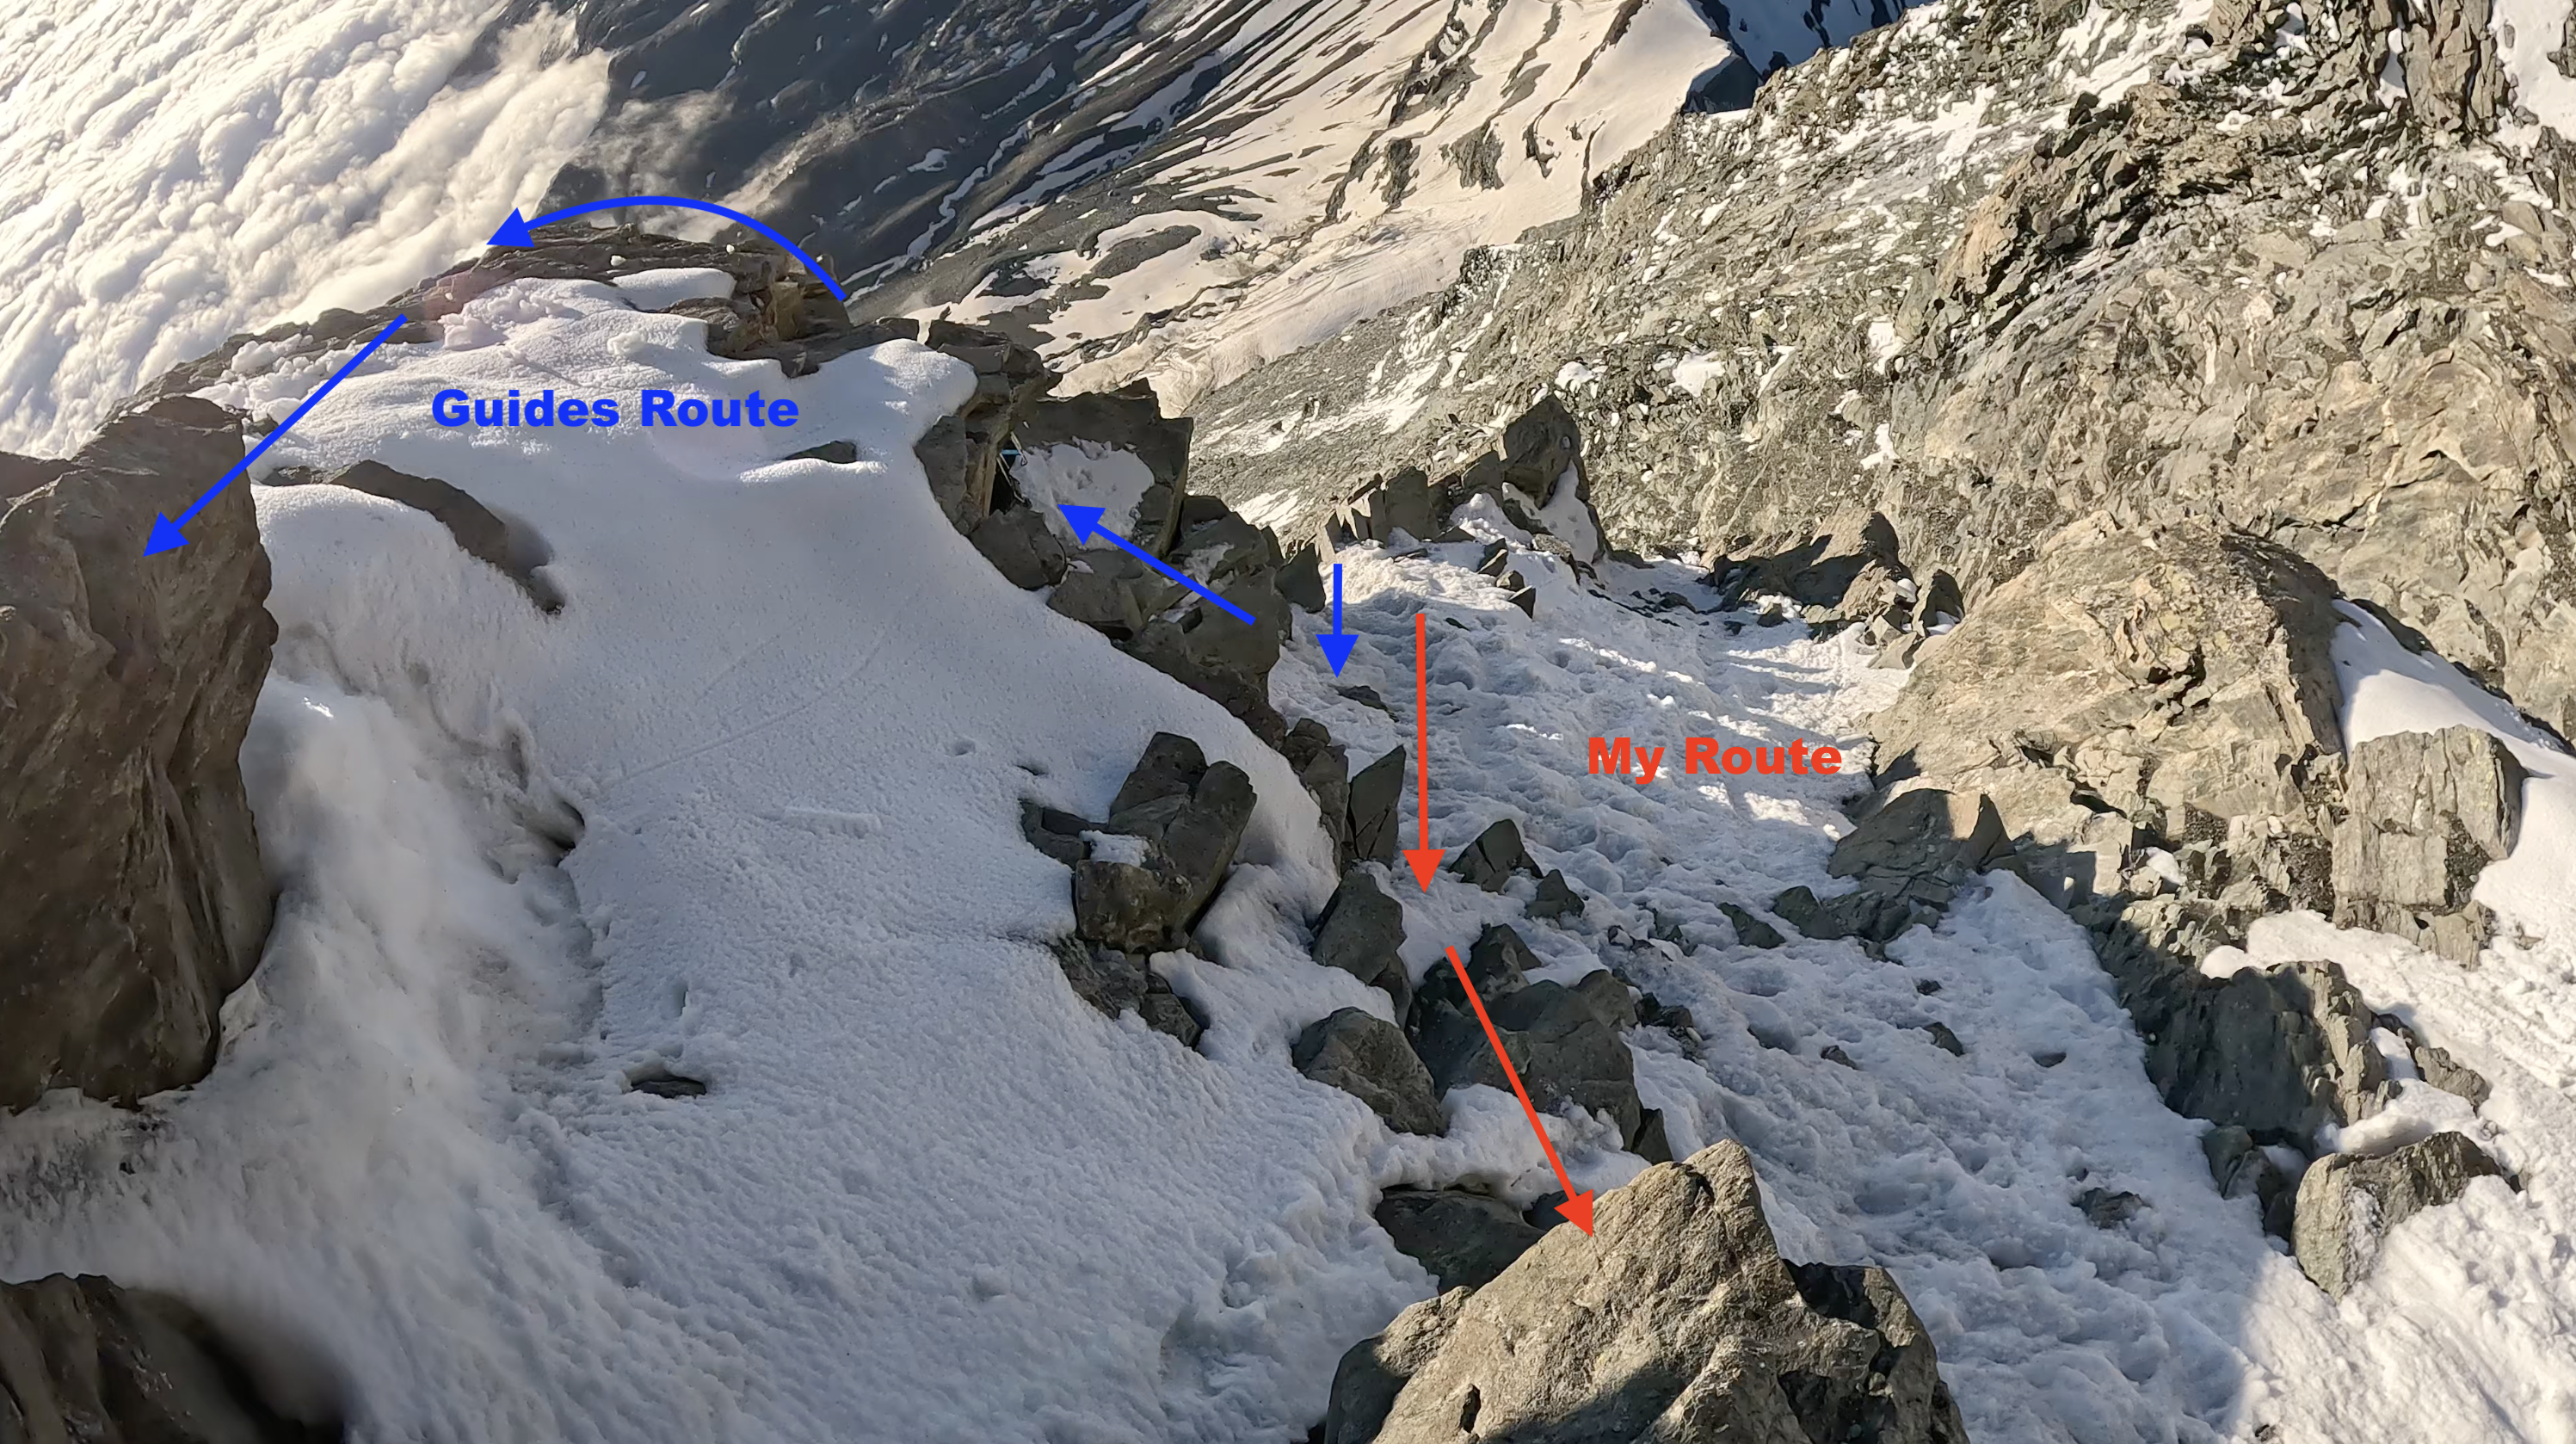
Once we got back on the Ridgeline we stayed pretty much on the ridge or slightly climbers left until we caught up to the guides putting on their crampons. We followed suit. The summit seemed close… yet the guides estimated we were at least an hour away. They were right.
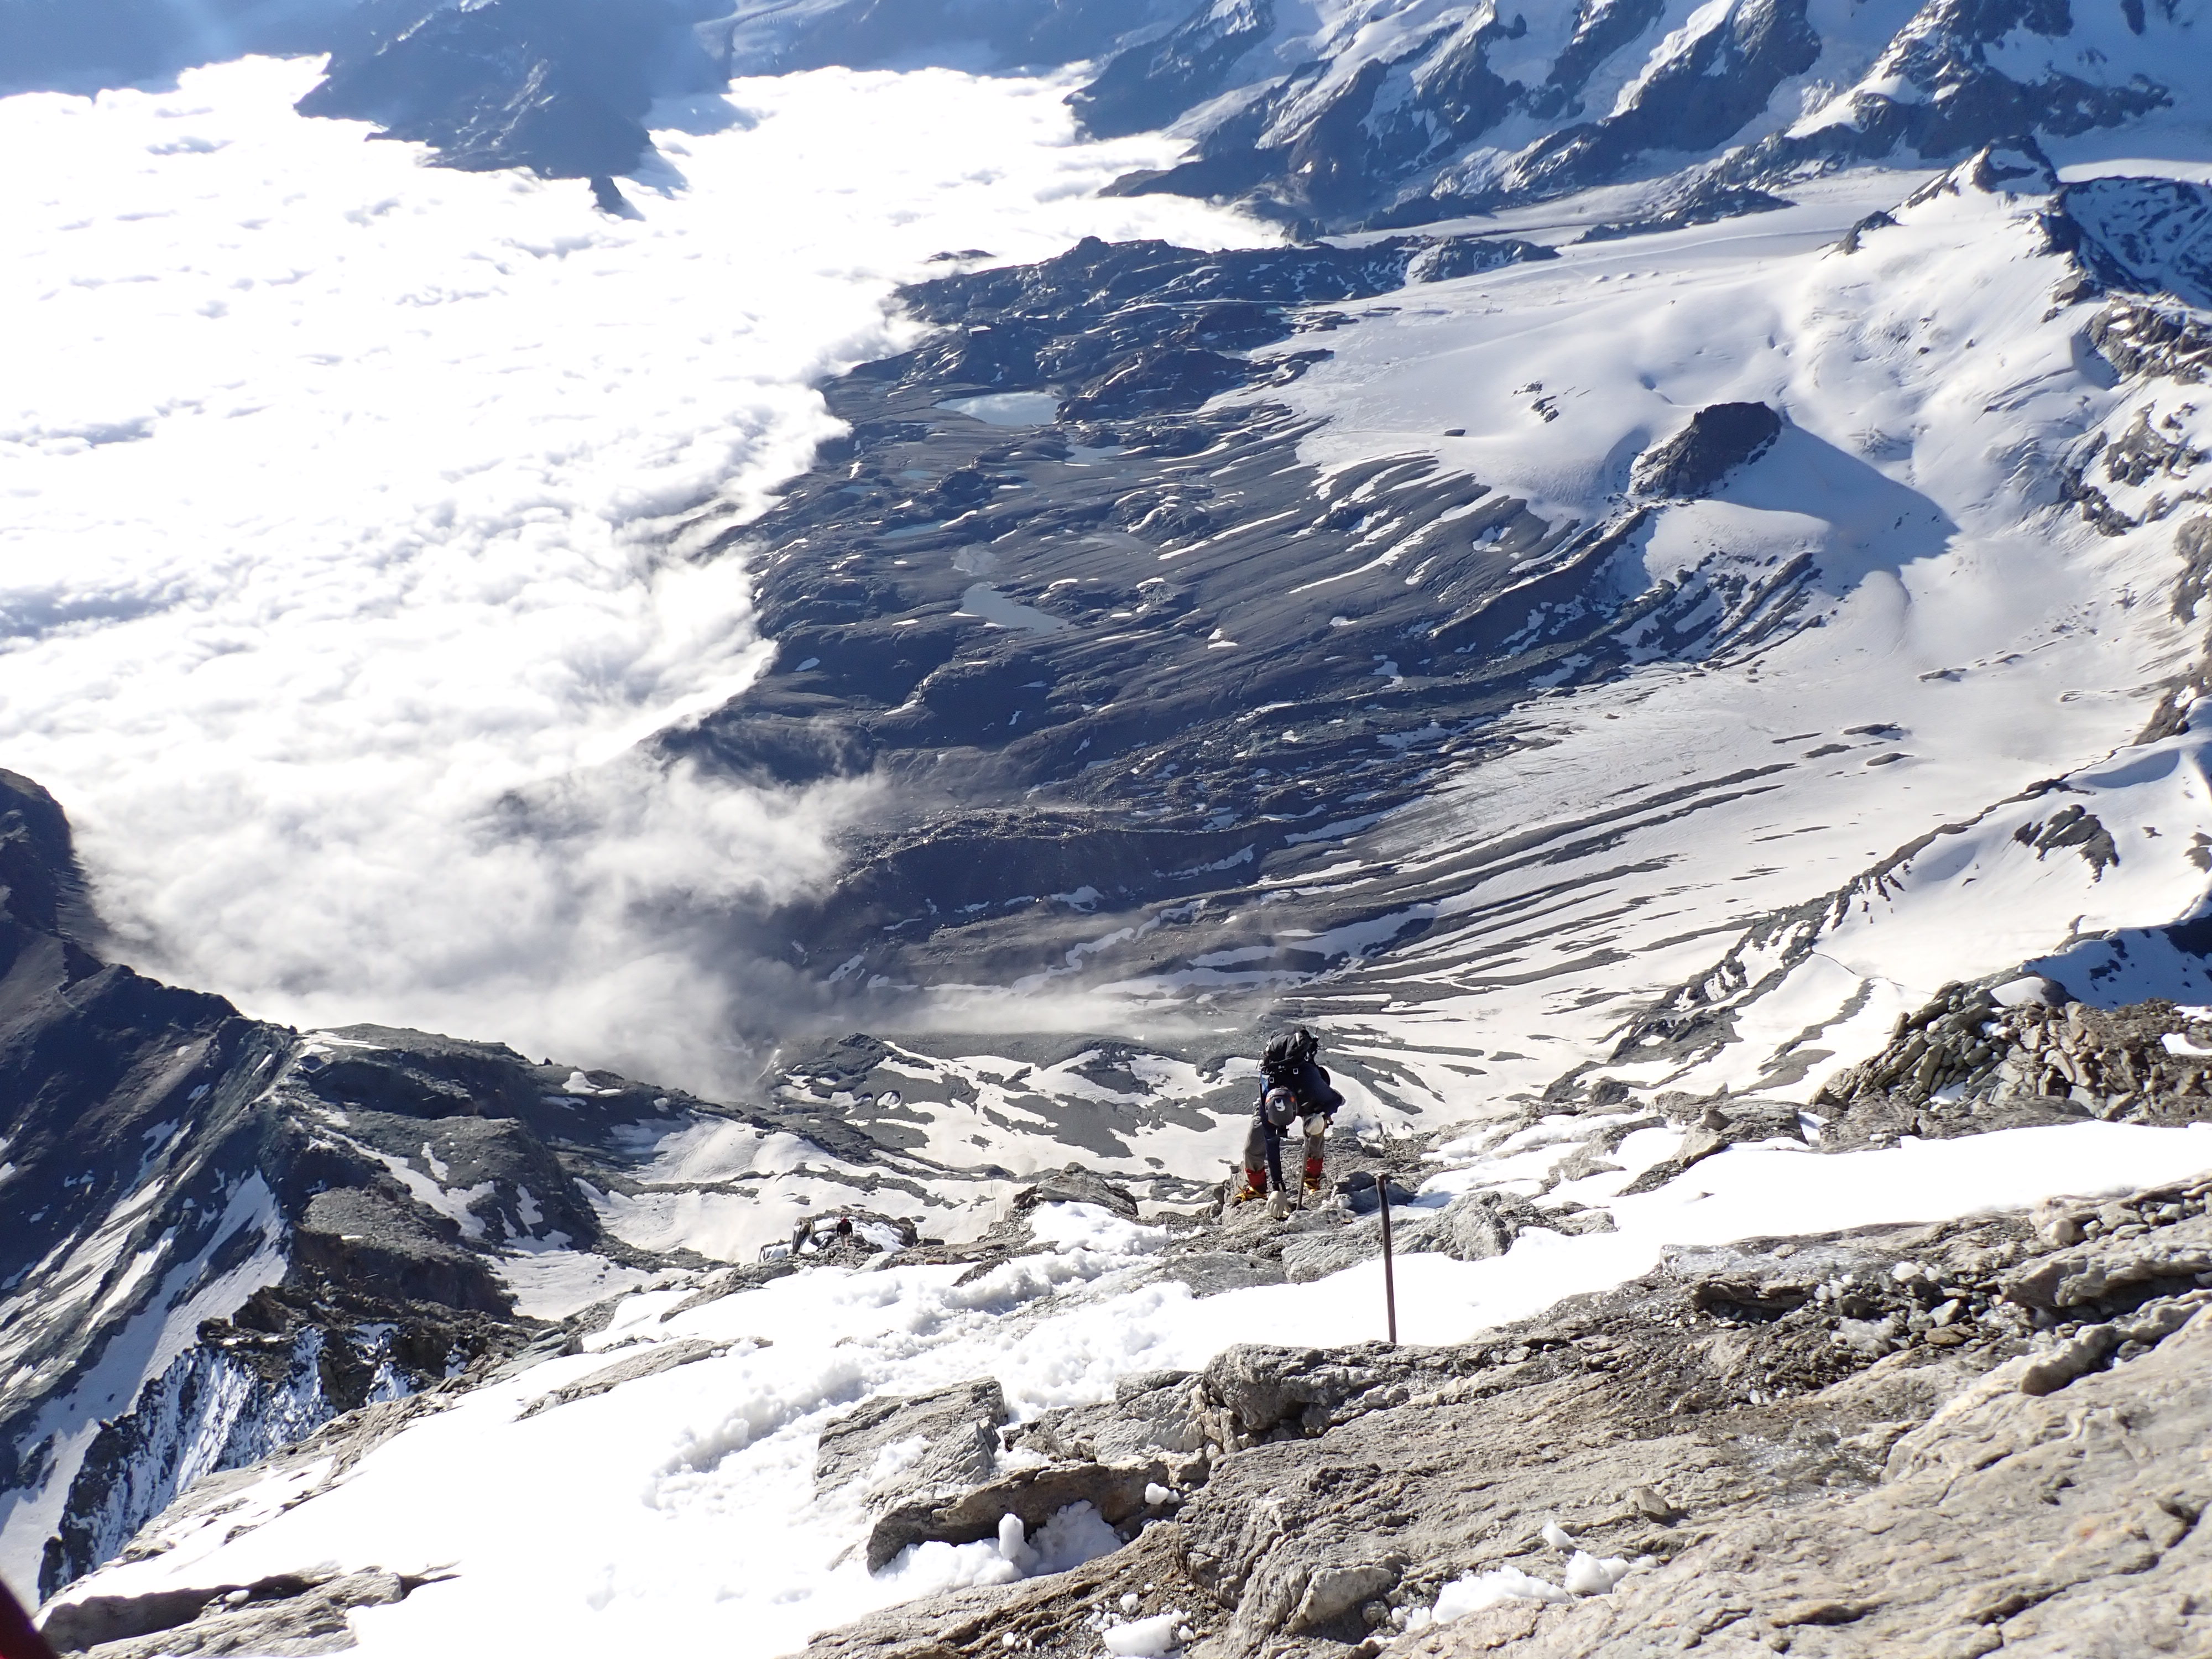
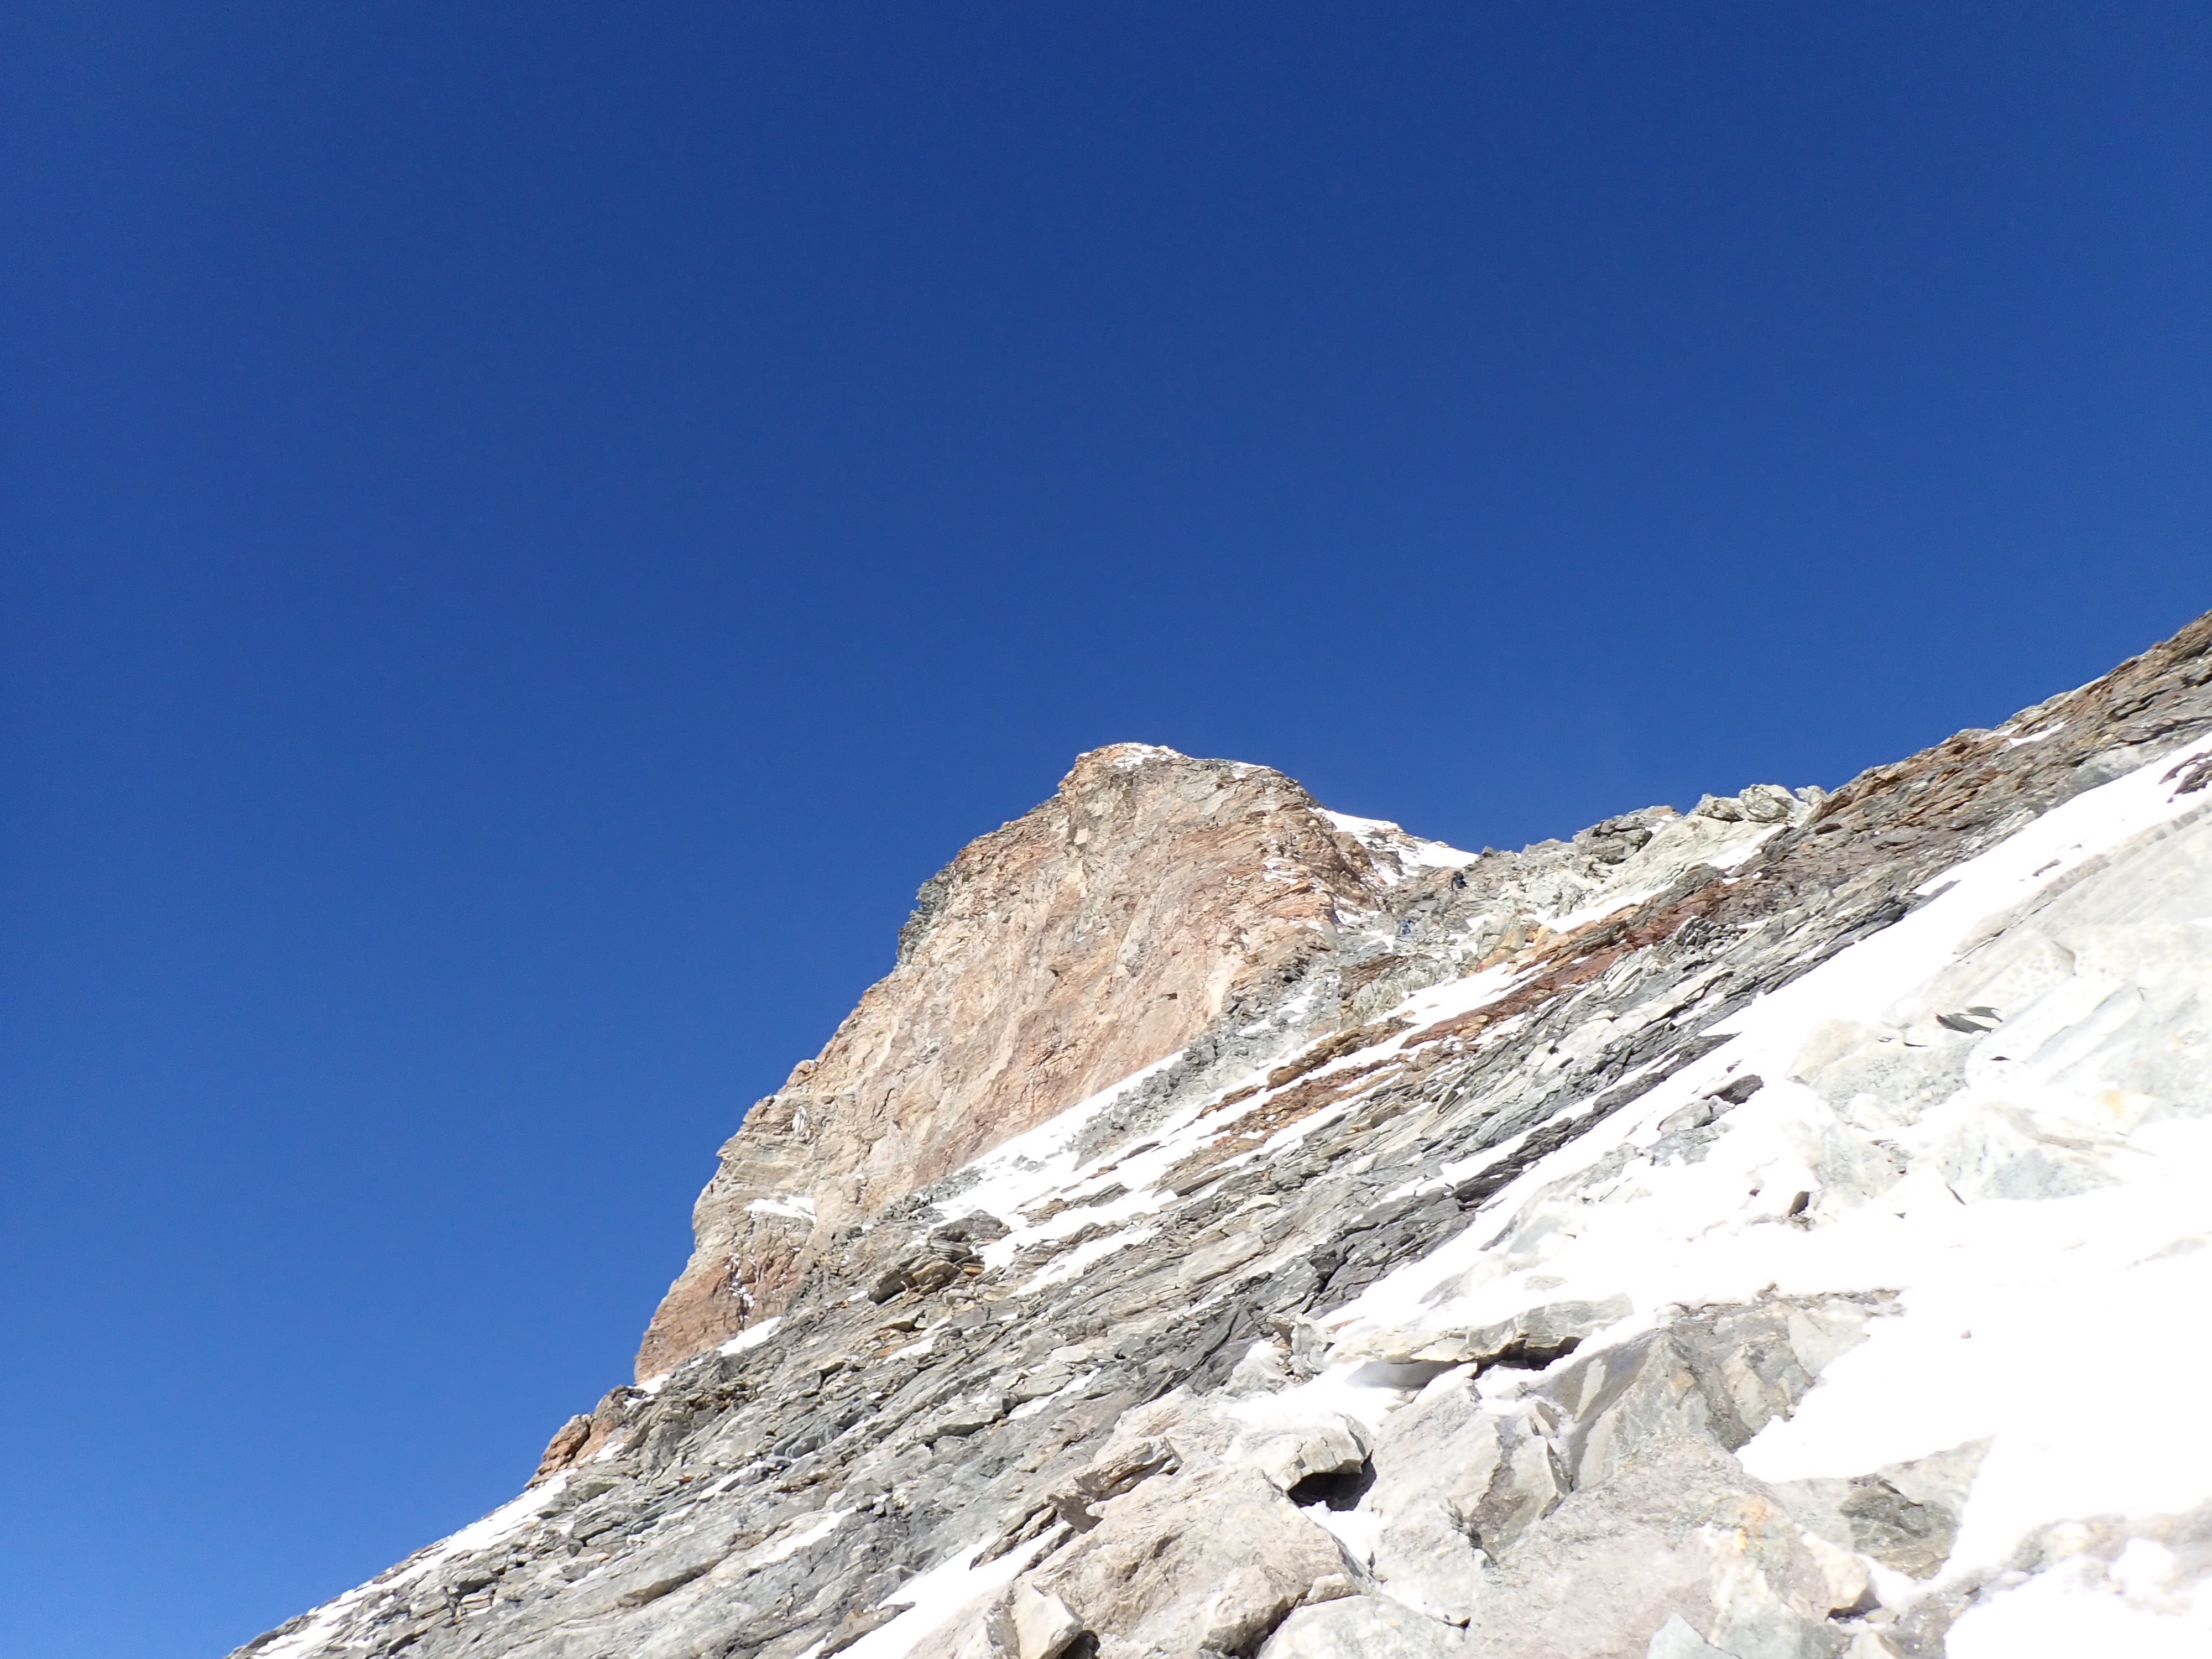
In the next image you can make out the guide above us, from where he is we regained the ridge then followed it to the base of the upper fixed ropes.
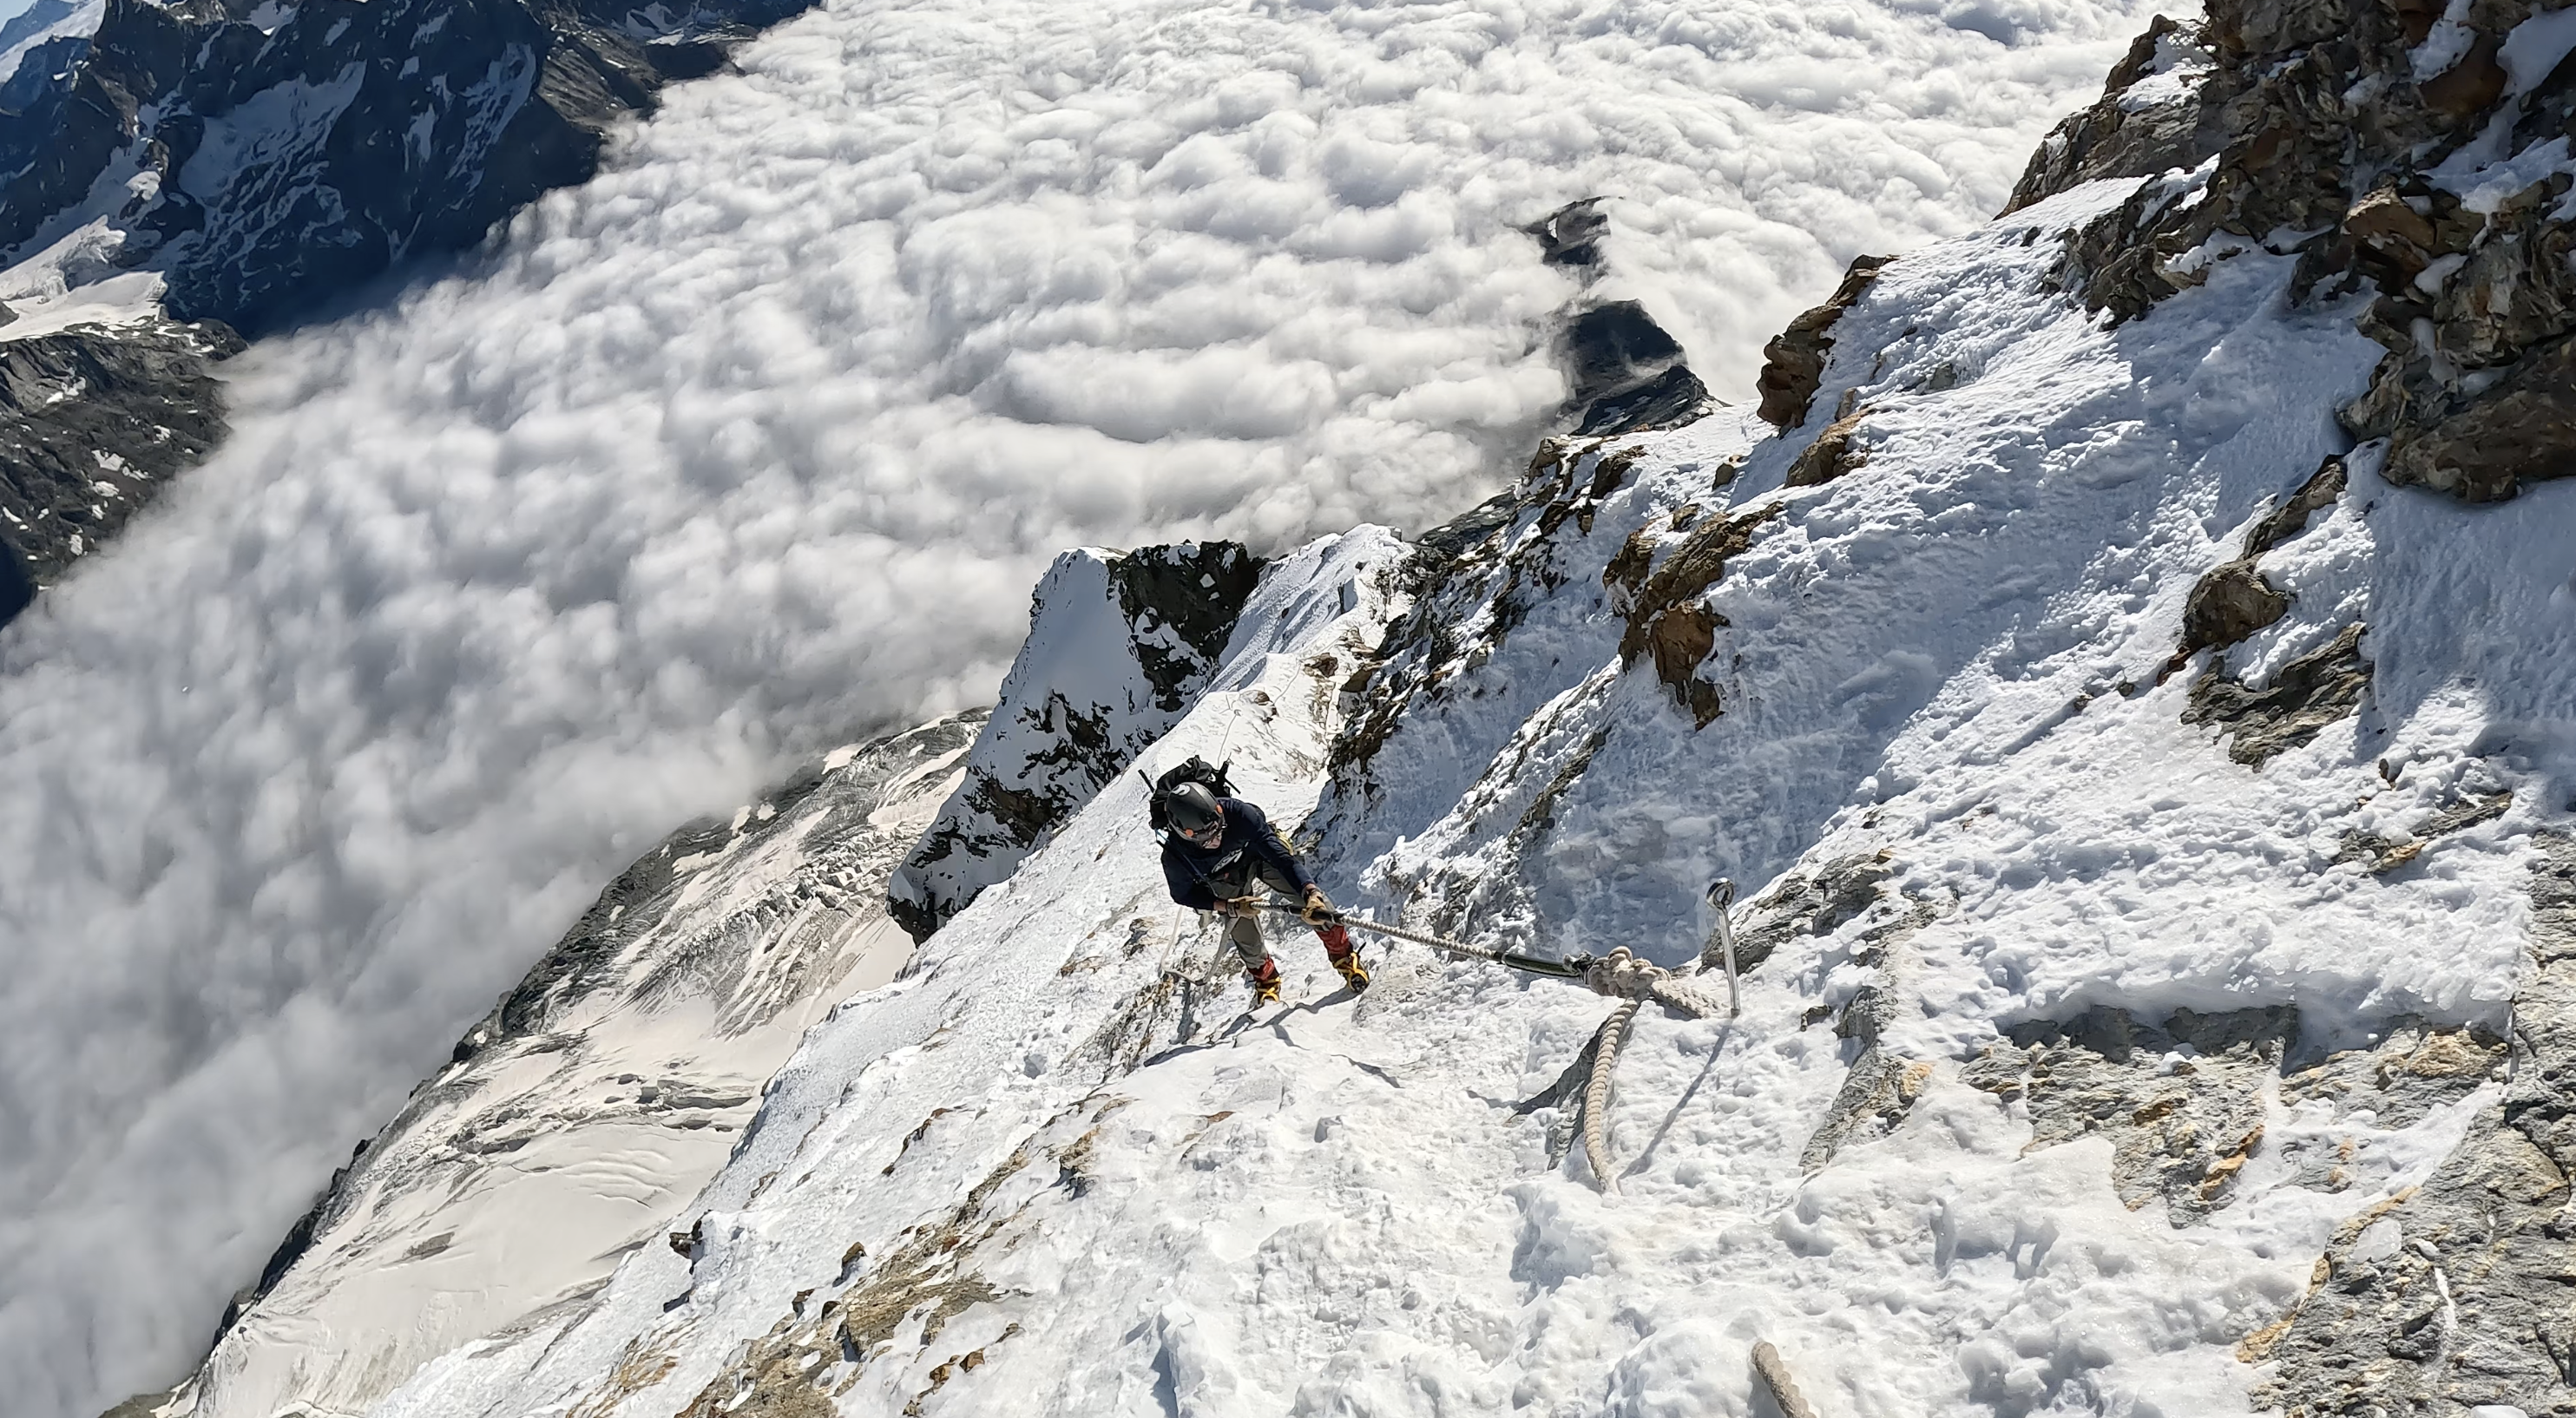
The upper fixed ropes were more difficult than I expected. They make navigation easy, but still require lots effort to pull up. They are tougher than the ropes at the bottom. There was one section in particular that gave us difficulty, if you watch the video you can see how we did it… there is probably a better approach.
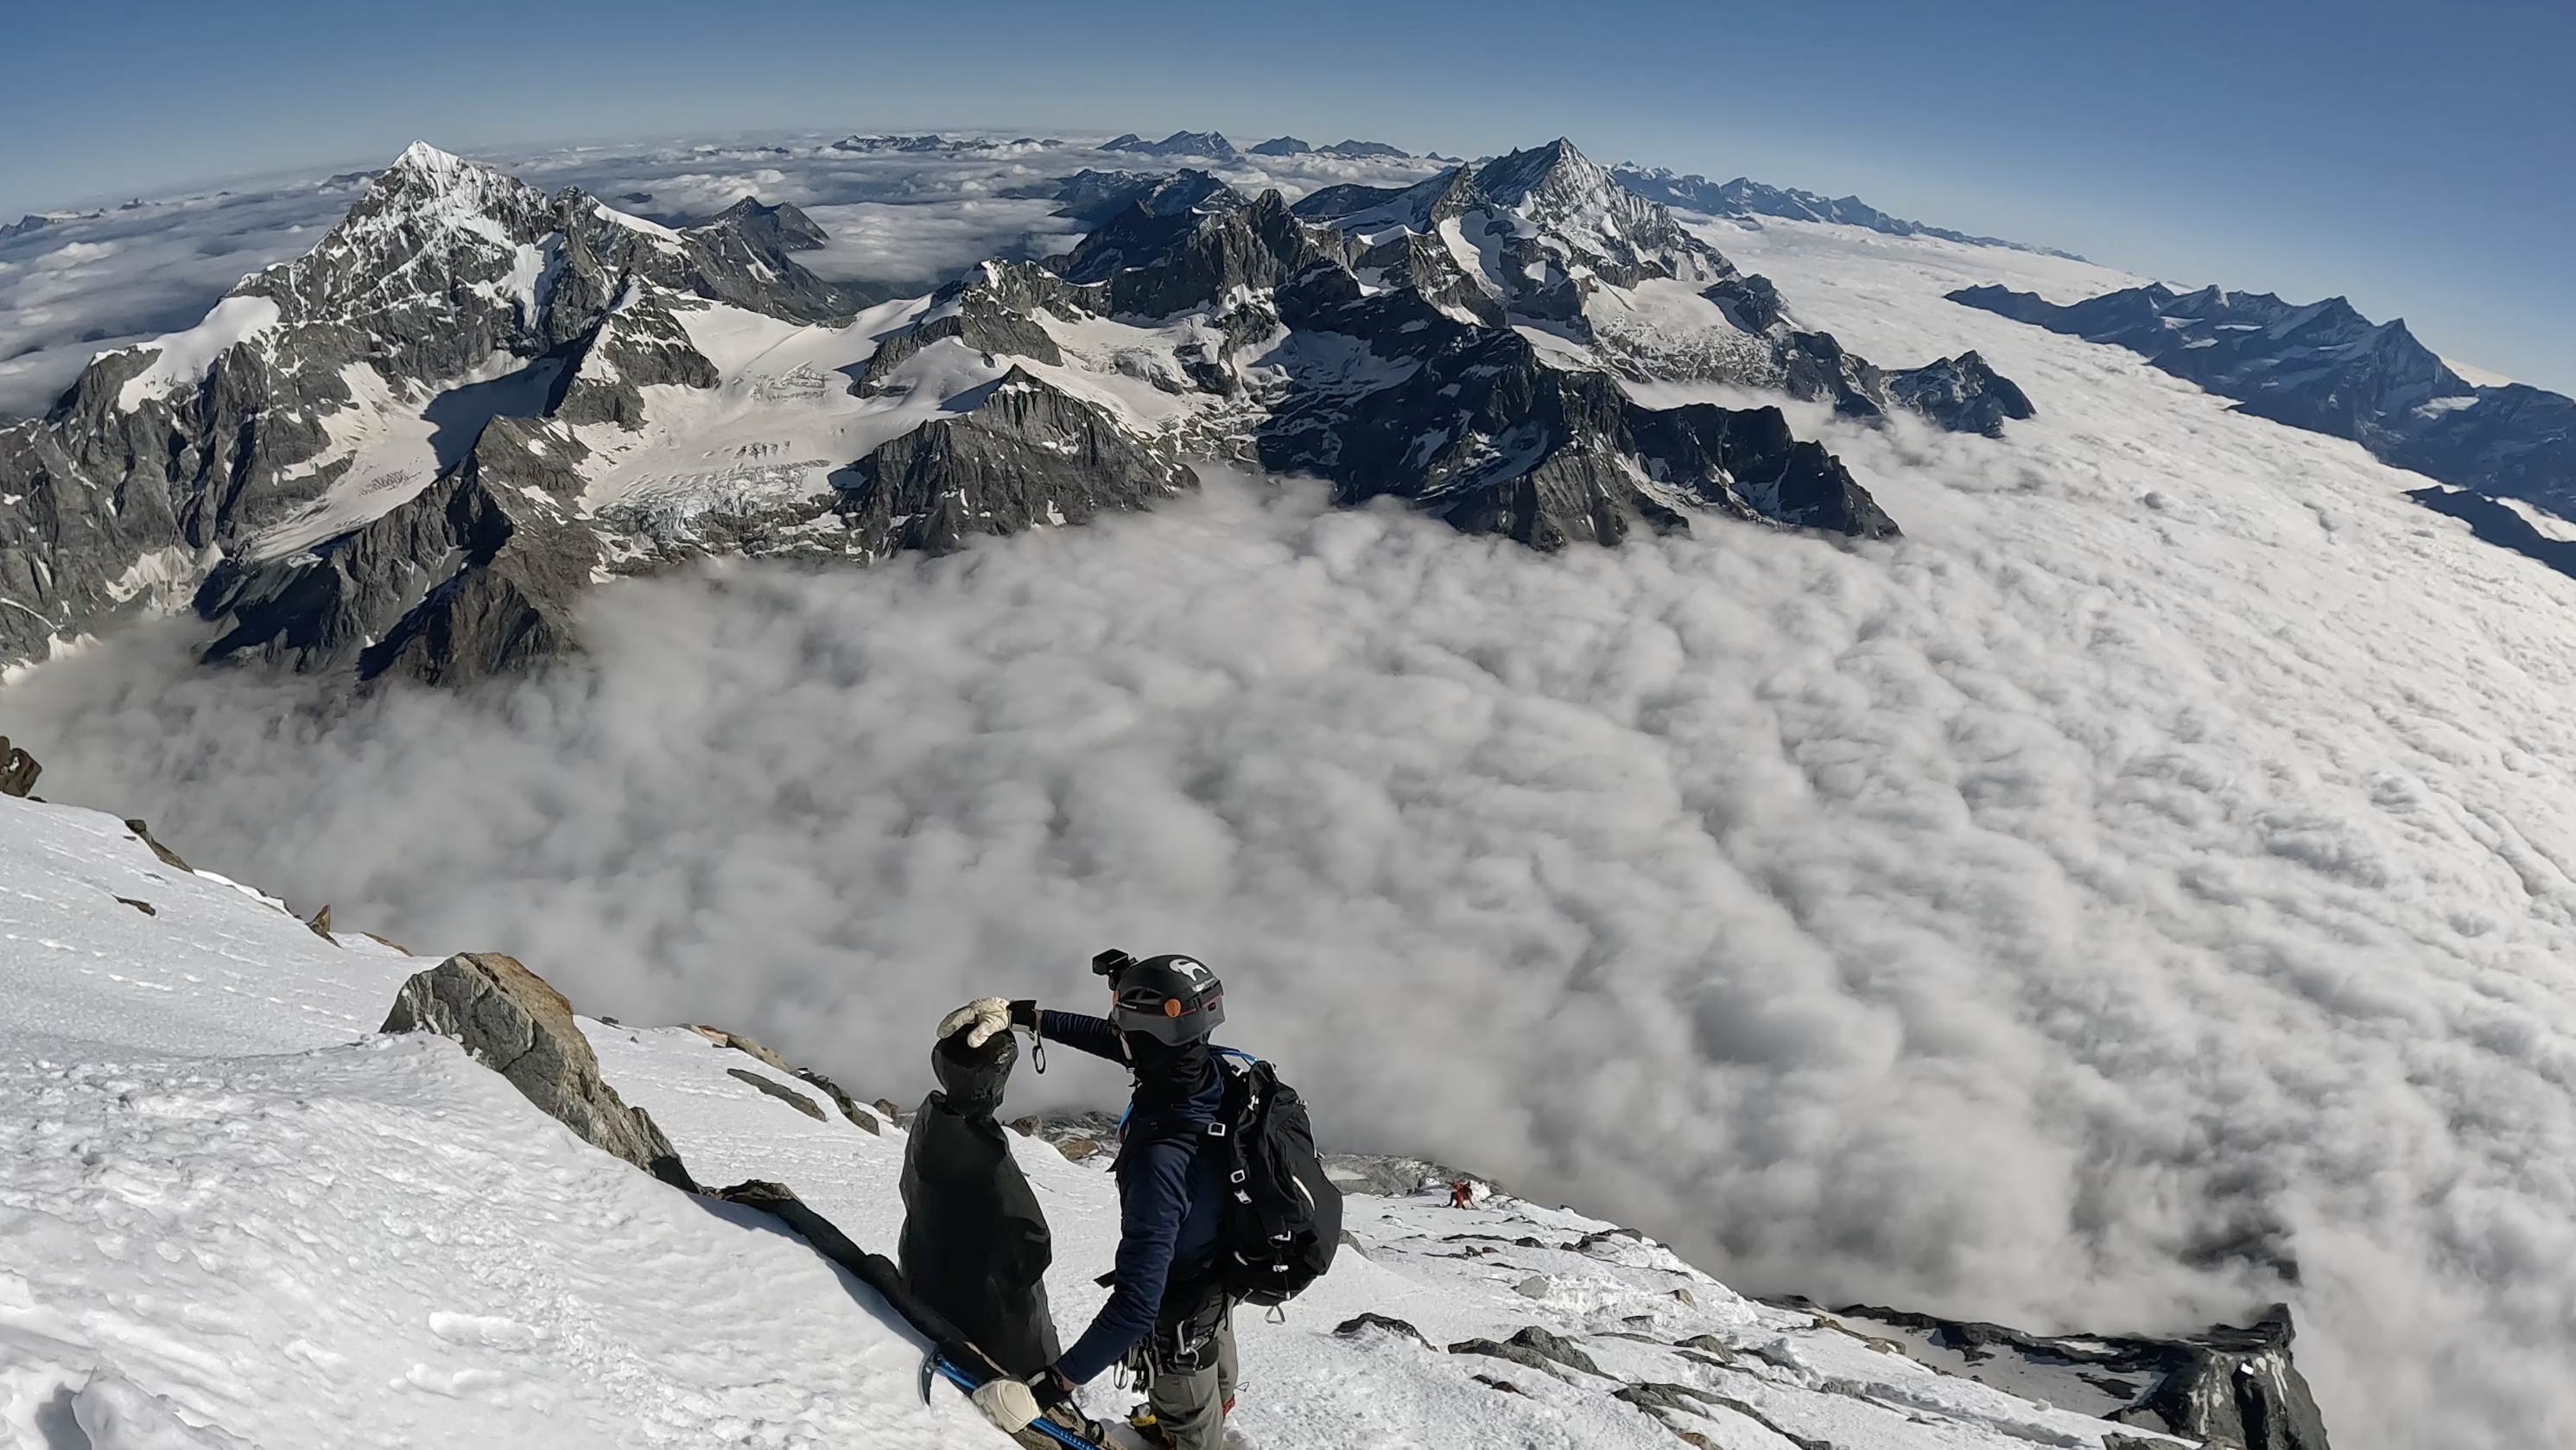
At the top of the fixed ropes we pulled out our ice axes and pushed to the summit. The obligatory rubbing of Saint Bernard’s head for good luck was very satisfying.
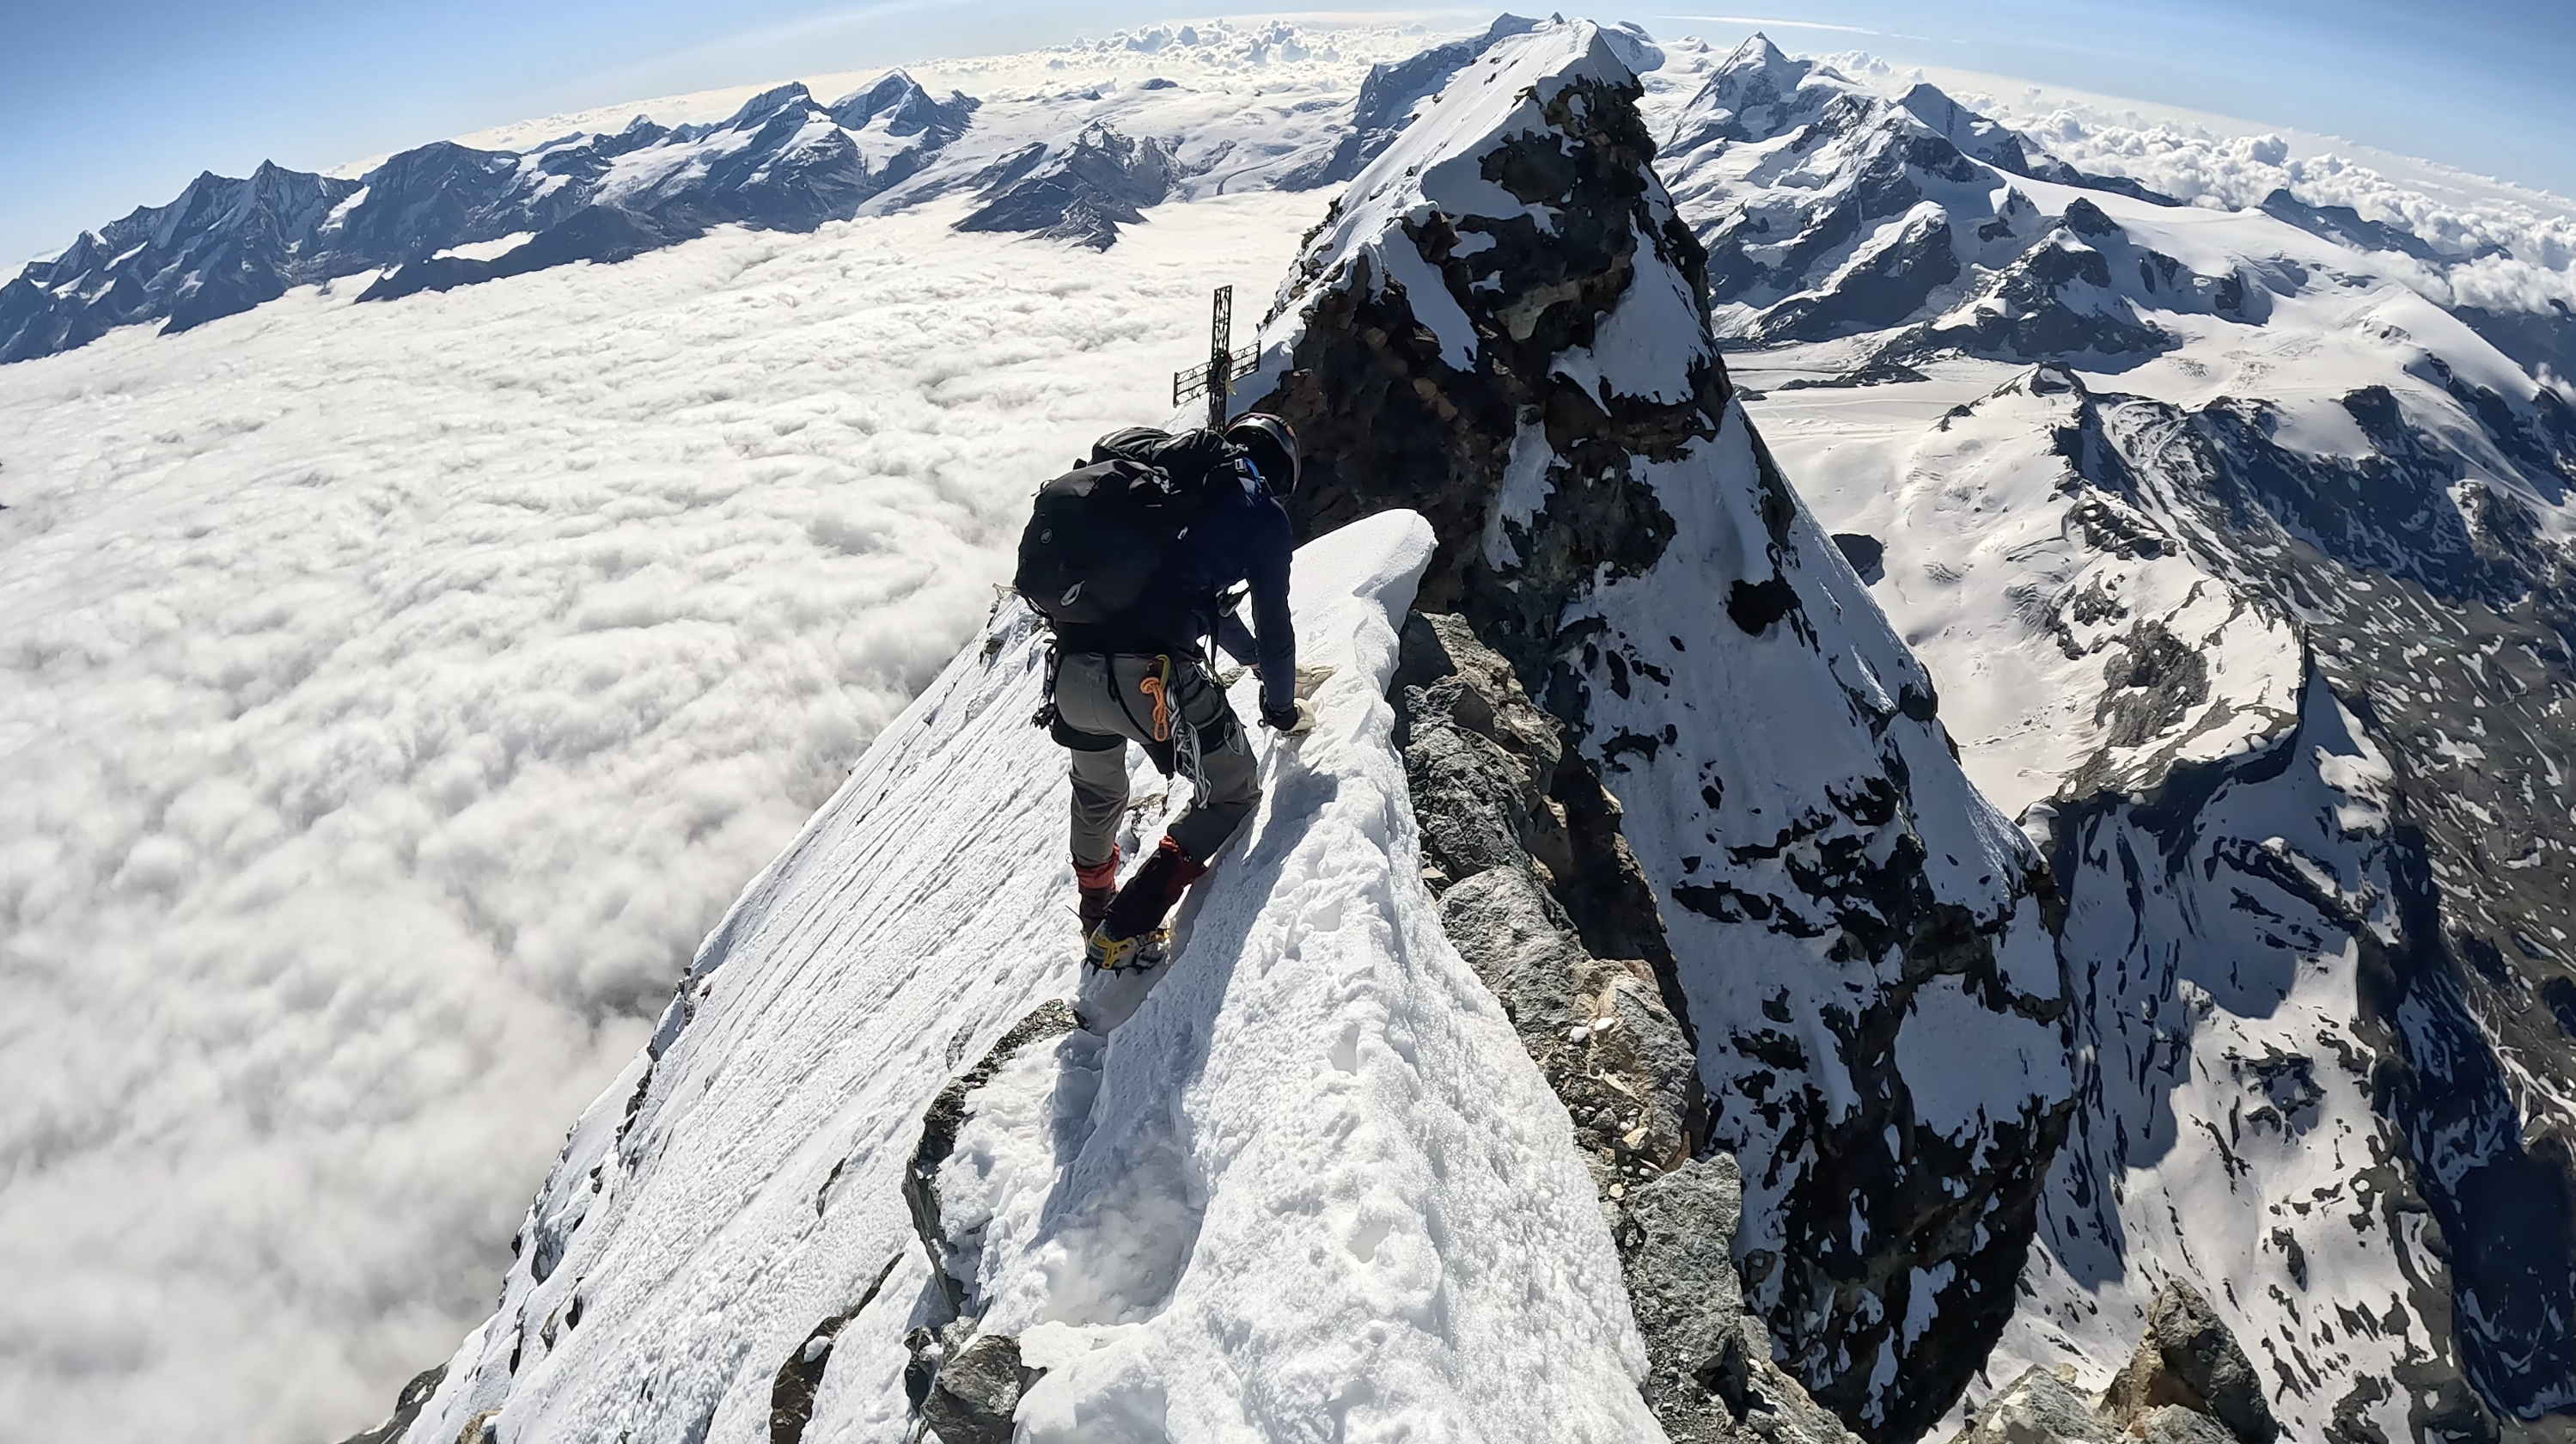
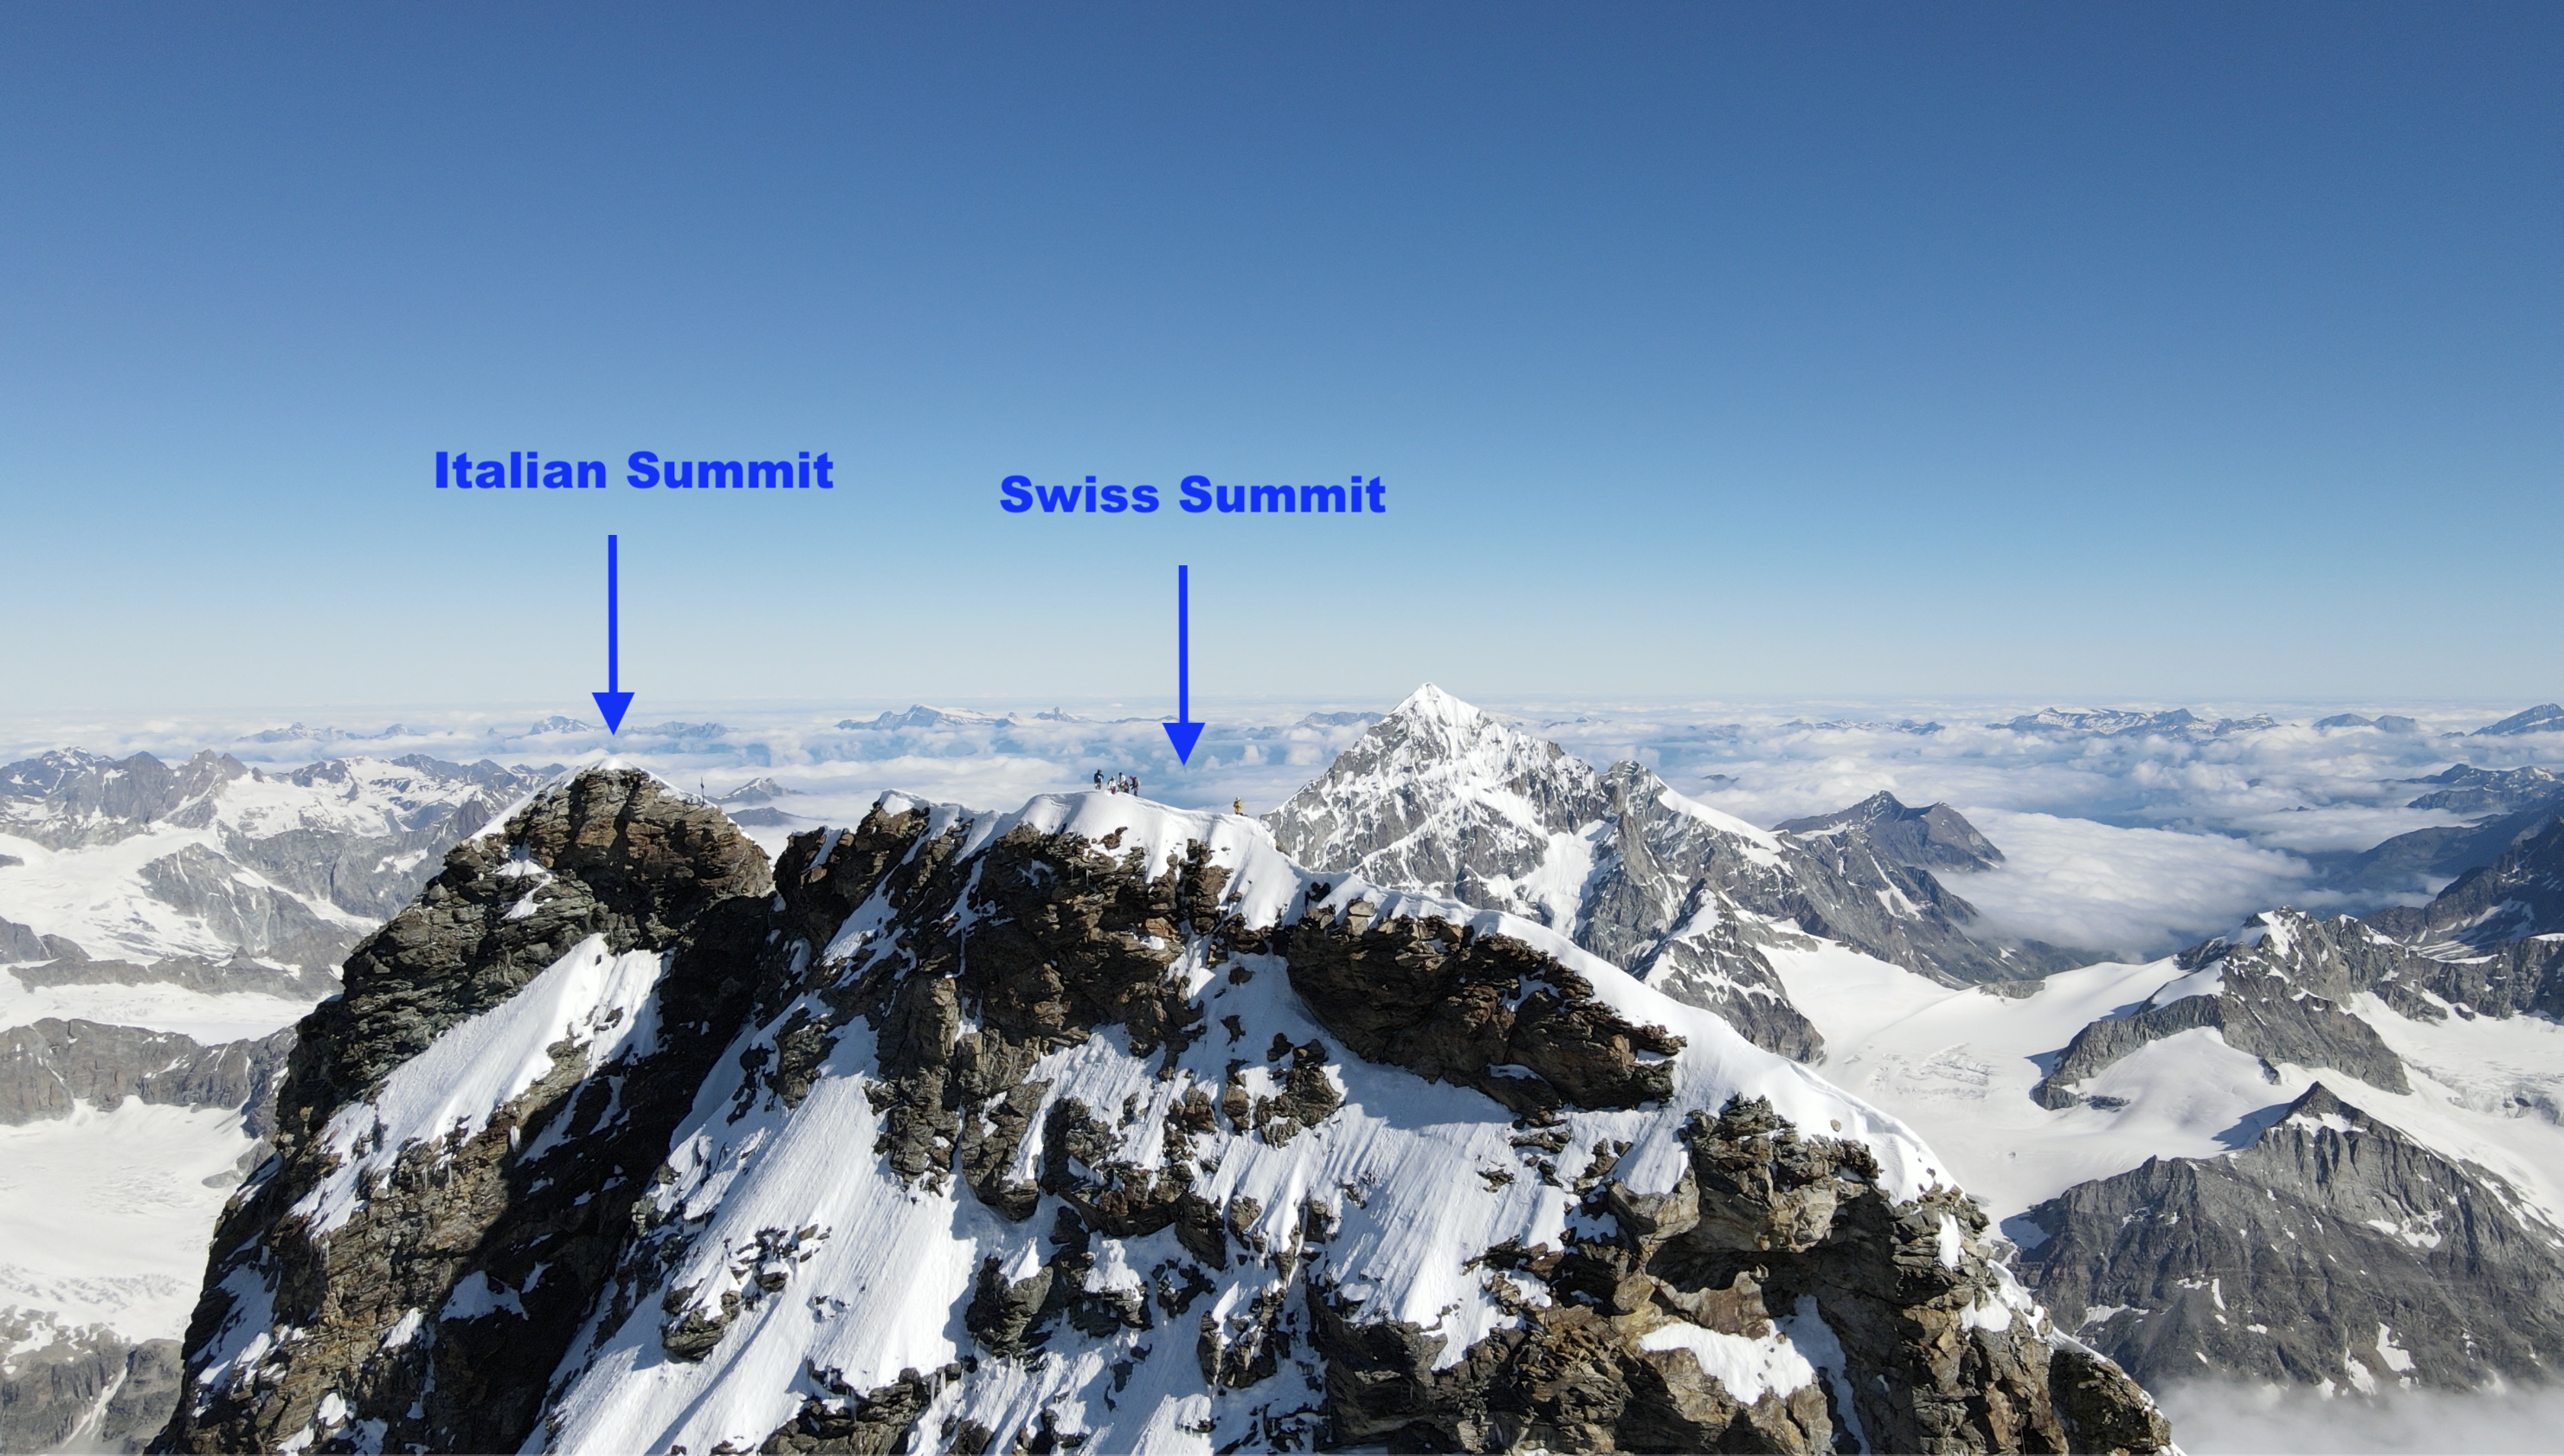
Which Puts us on the Swiss Summit! 8:48 AM which is just about 5 hours from when we left the Hornli Hut. The traverse from the Swiss to Italian summit was narrow, and had high exposure on both sides. Take you time. Below is us looking back at the Swiss Summit from the Italian one.
I got some aerial shots as well:
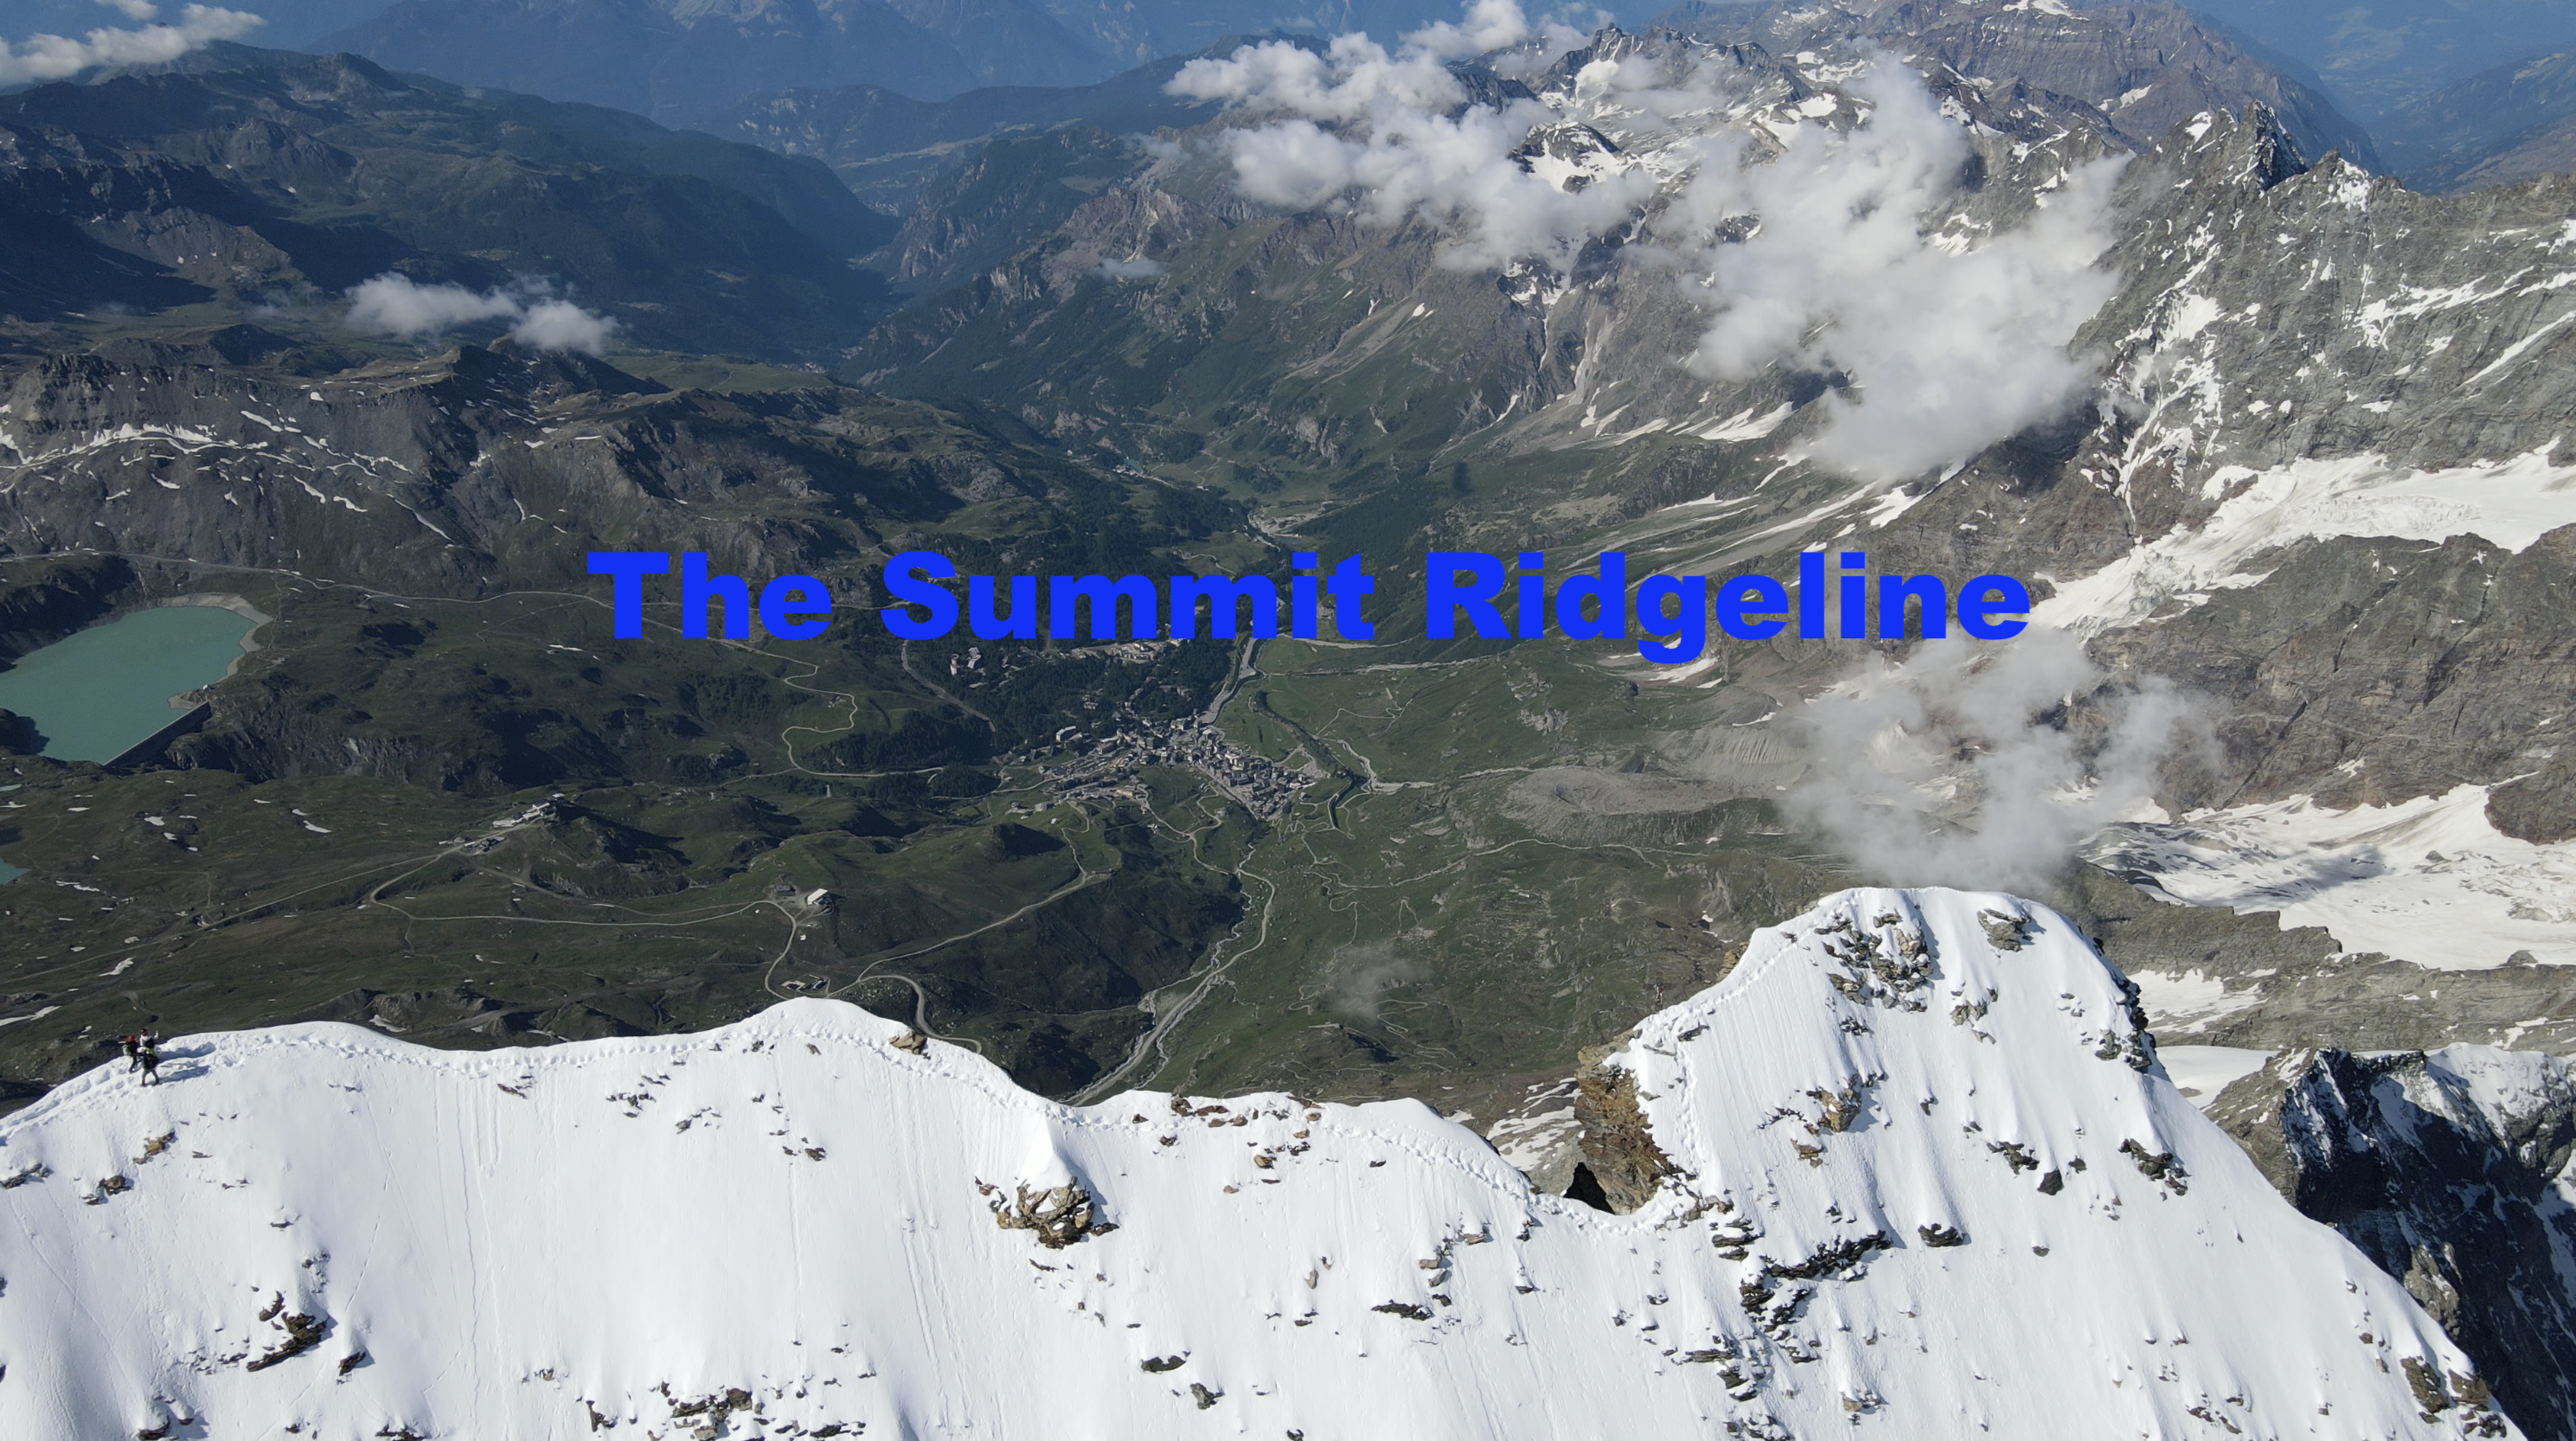
This shot looks back over the ridgeline towards Italy.
And that’s the Matterhorn! My final and perhaps most important words of caution are in regards to the descent. The Swiss guides say when you get to the top you are only 1/3 of the way done. If even that. It took us 5 hours to ascend the matterhorn and 8 hours to get back down. It requires constant focus, and you cannot make a mistake. Joey and I followed the format of the guides, I belayed him down to a spike, and then he belayed me from that spike while I down climbed so if I fell, I would only fall to where he was. This lifeline was put to the test when I down climbed the 2nd Technical section below the Solvay Hut. I had finished the downclimb and was stepping off the rock onto the snow level with where Joey was belaying me. I slipped in the ice, and Joey caught me before I had fallen more than 3 feet. You can’t afford any mistakes.
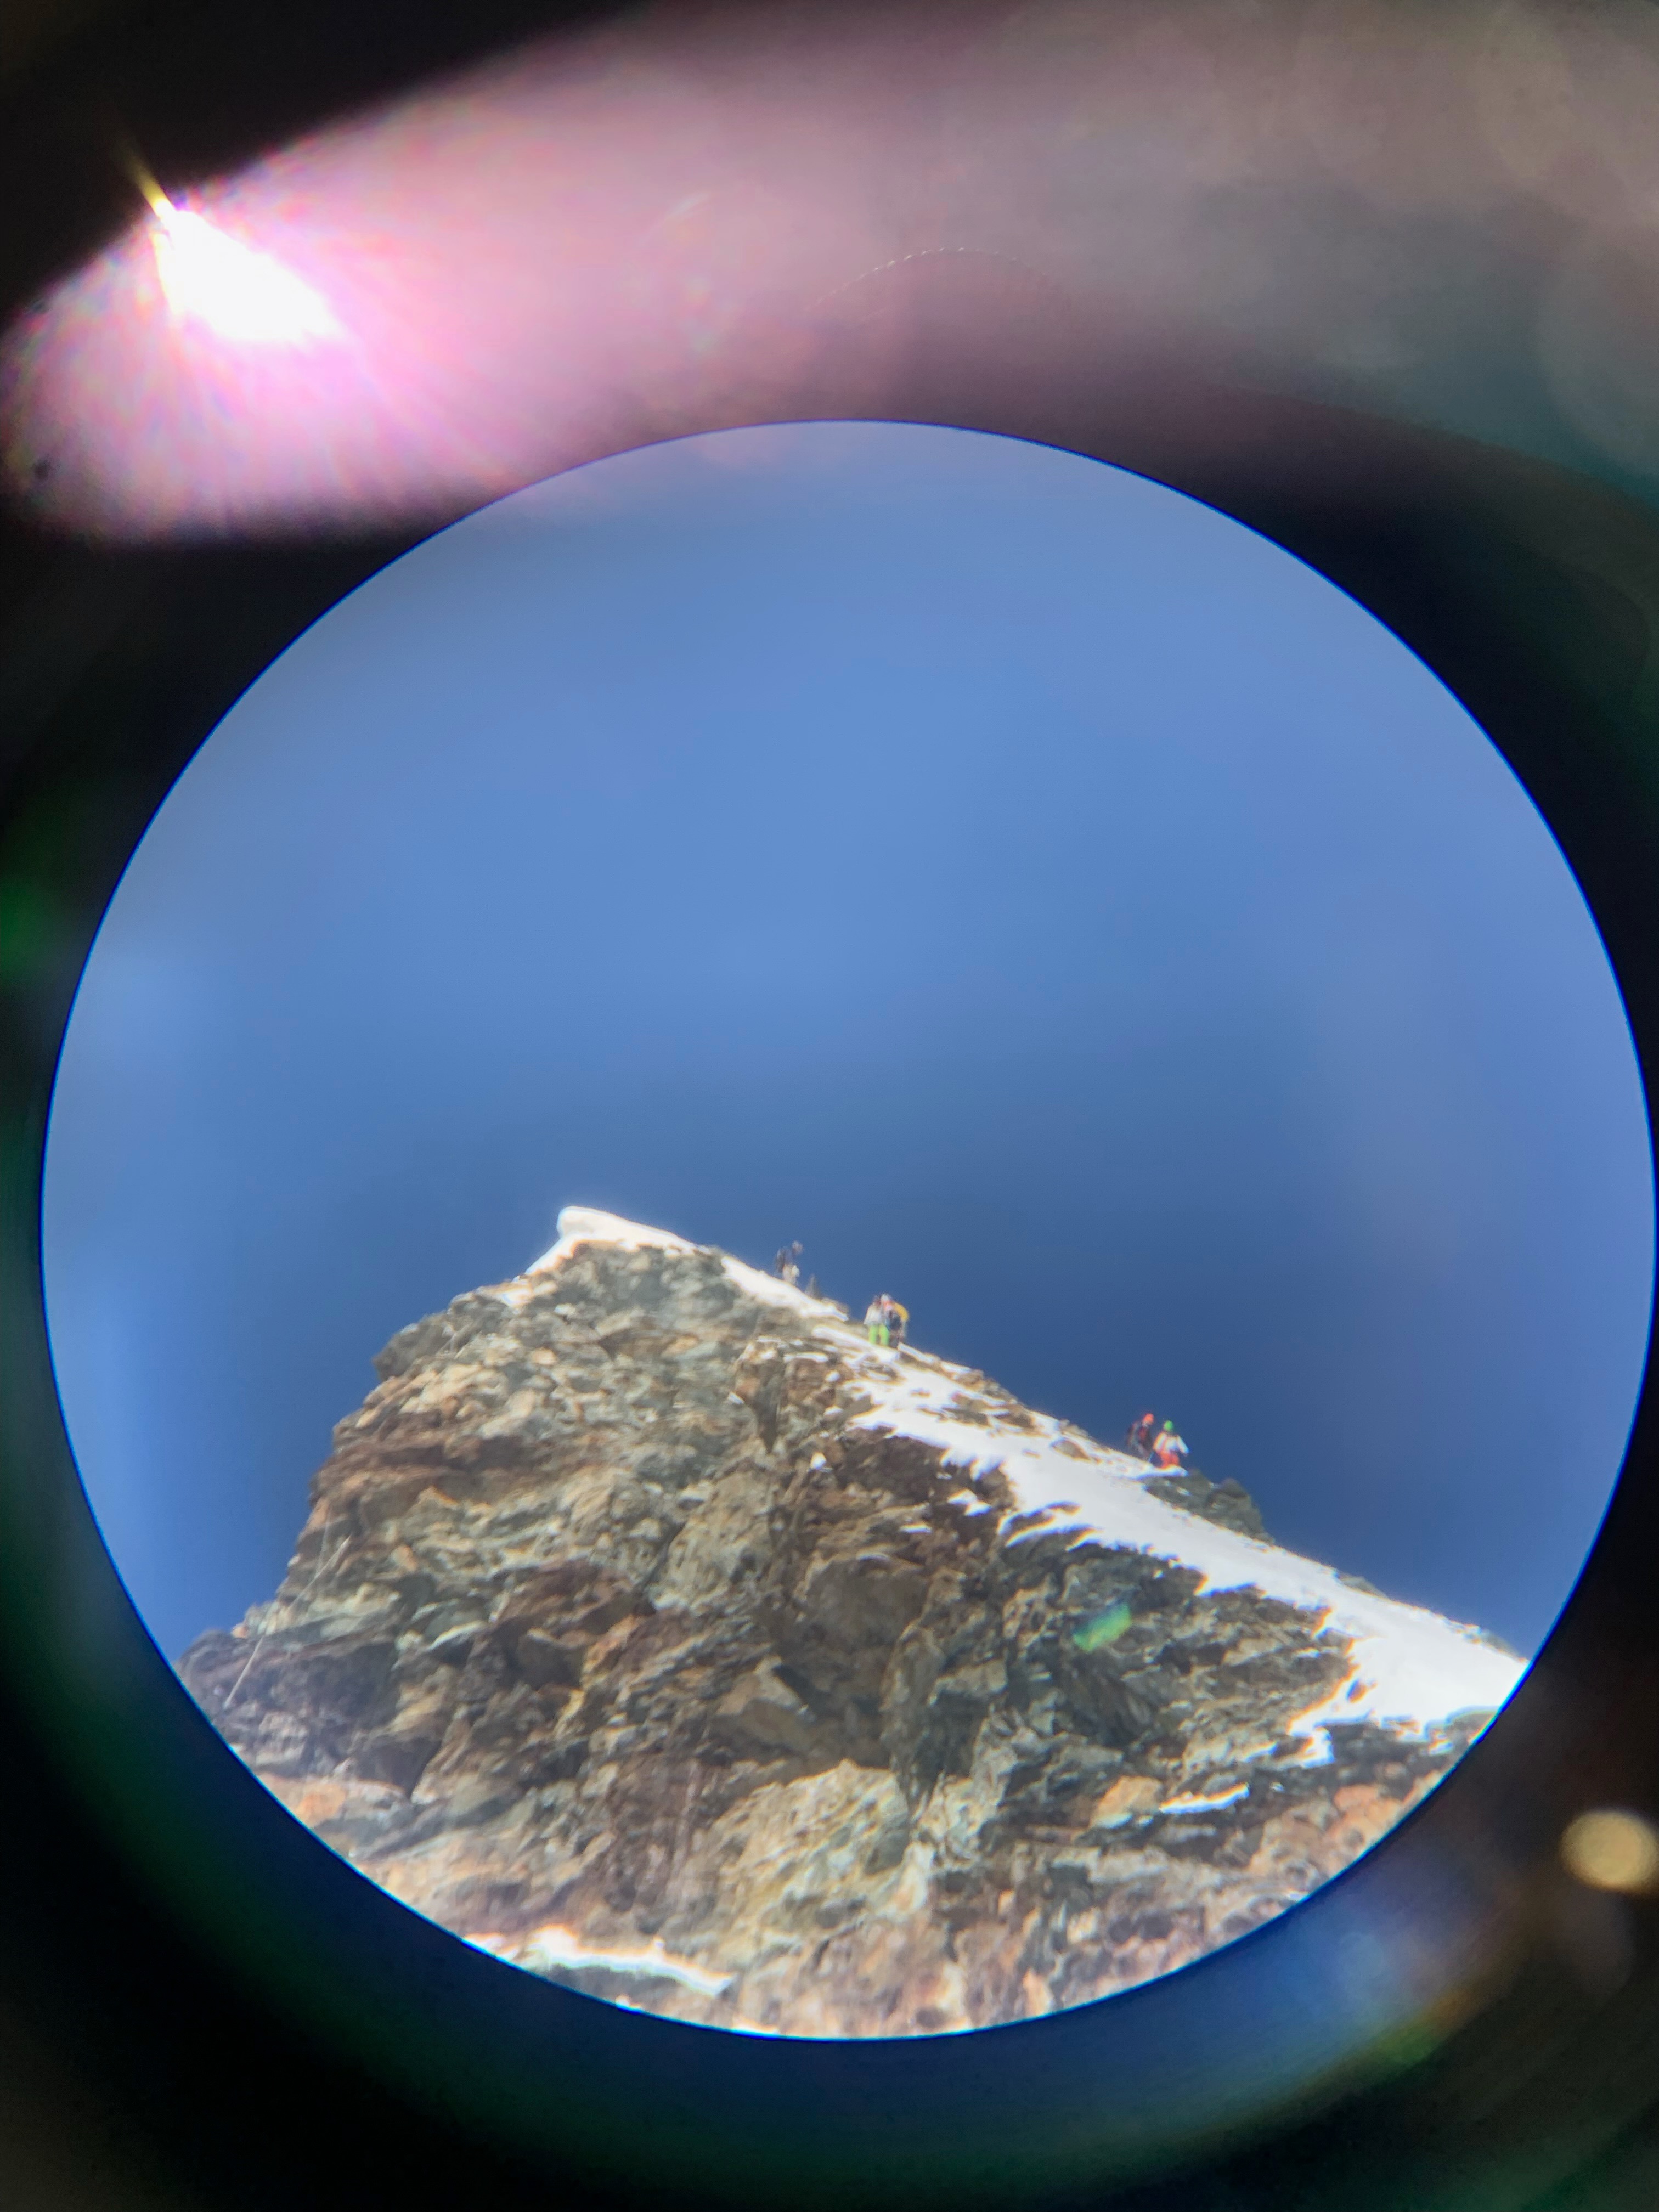
The Horlni Hutt has a 20x scope which Joeys dad used to take this photo of us coming off the summit. Its pretty amazing how much of the route is visible from the Hornli Hut.
Feel Free to Reach out with any questions!
gusbatcho
I like to Climb and Ski